

With Christmas comes a crazy amount of food and desserts. Most of us have recipes that have been in our families for a while now and use every Christmas. Well, how about we add another. This Christmas Monster Cookies recipe is a quick and easy recipe that is perfect for the holidays.

Christmas Monster Cookies
This Monster Cookie recipe is so good! Filled with peanut butter, chocolate chips, M&M’S, sprinkles, oatmeal, and more these cookies are big on flavor but in reality, these cookies are a cute little bite-sized treat! These will be the perfect treat to share with friends and family.
If you are looking for other Christmas cookie recipes, I have a few family favorites that I think you will enjoy. My Chocolate Christmas Cookies are full of yummy and so easy to make. If you are looking for more of a traditional holiday cookie, my Linzer Cookie recipe is absolutely perfect. Our Soft Christmas Sprinkle Cookies are easy to make, a great recipe for the kids to help with, and work great as a Cookie Swap Exchange recipe.

Ingredients
- Butter- Use unsalted butter to control the amount of salt.
- Sugar- Every great dessert has sugar in the recipe.
- Peanut butter- This will be added to the butter for flavor
- Egg- These will need to be at room temperature.
- Vanilla extract- Use pure extract for the best flavoring.
- Yellowcake mix- This will allow for a quicker process.
- Oats- You can use the minute oats for this recipe.
- M&M’s- You will need green and red Christmas ones.
- Chocolate chips- You will need Semi-sweet chips for this recipe.
- Sprinkles- You will need Christmas sprinkles for the top.
- Candy eyes- These will be used for decorations.
How to Make Christmas Monster Cookies
- Set the oven to 350 degrees and use parchment paper to line a baking sheet. Place it aside.
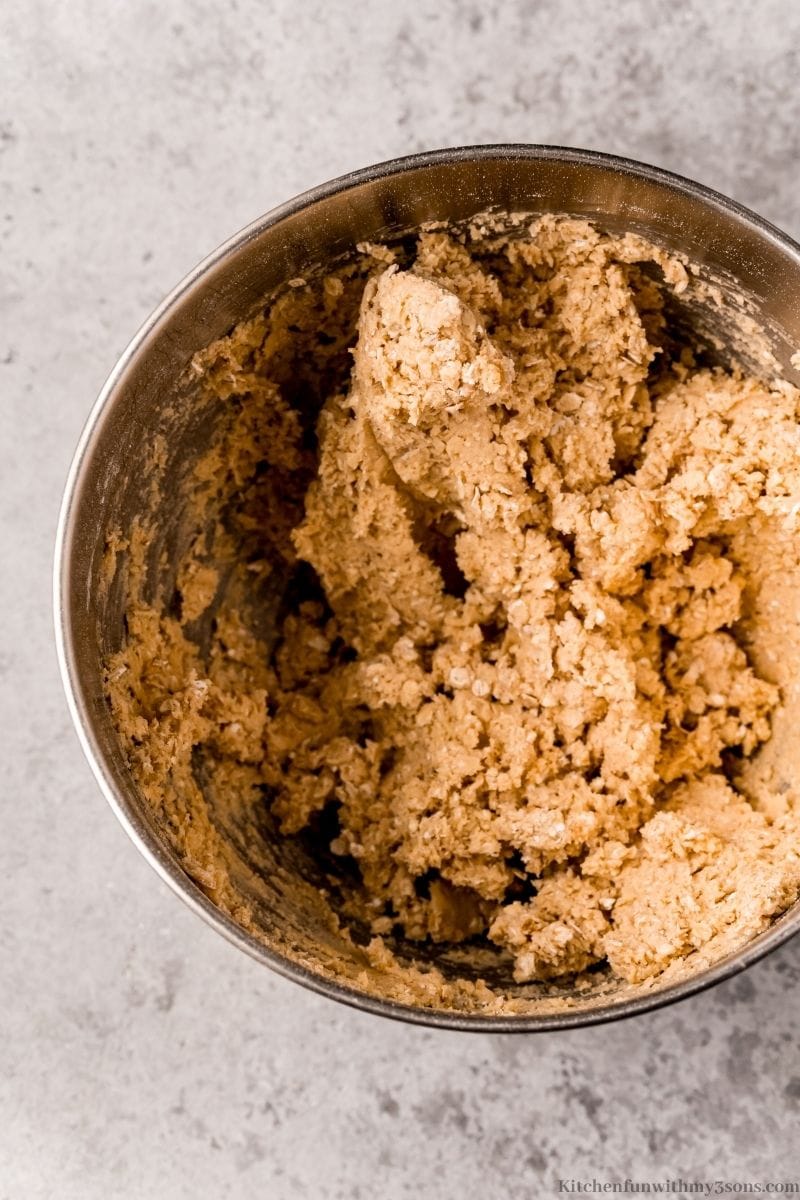
- Add the butter, sugar, and peanut butter into a large bowl or standing mixer and cream together using a fitted paddle attachment until light and fluffy.

- Add in the egg and vanilla and mix until fully incorporated.
- Pour in the cake mix and oats and combine. Then, add in the M&M’s, chocolate, and sprinkles and use a spatula to fold in.
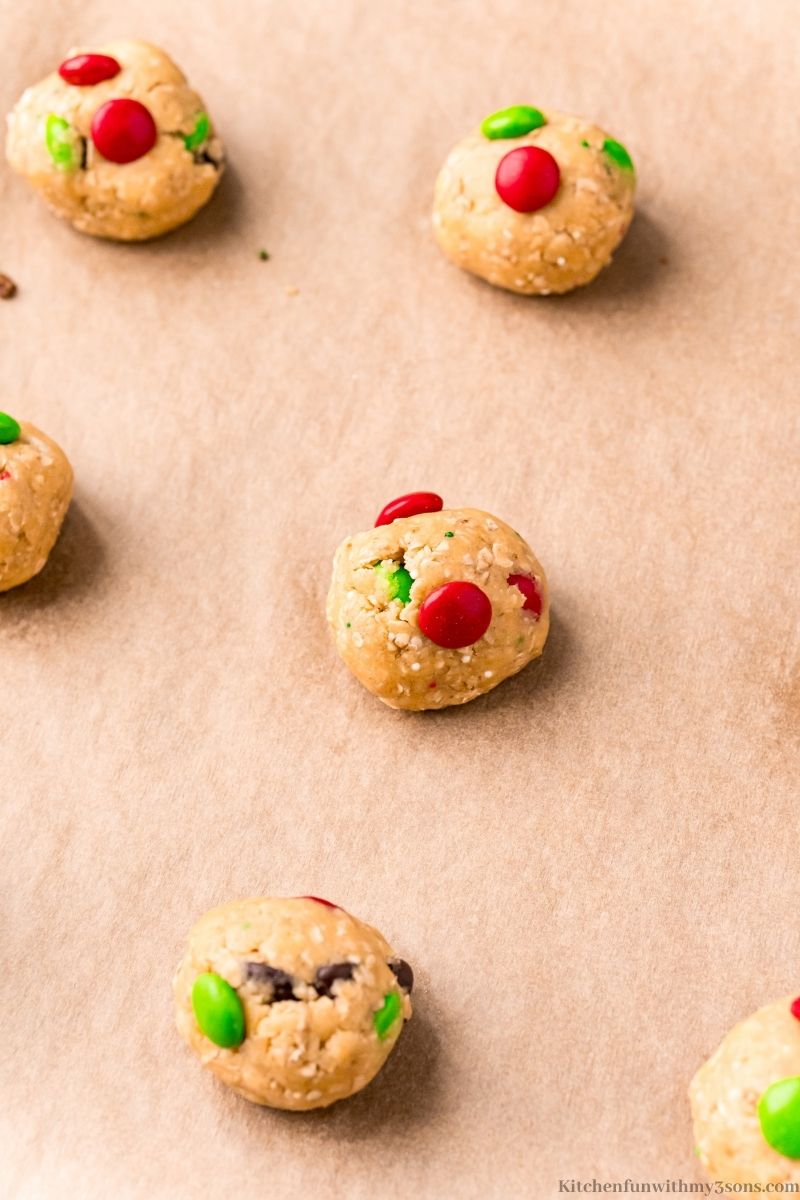
- Scoop the dough using a medium cookie scoop, and arrange the dough balls onto the baking sheet about 2 inches apart. For a more clean finish, use your hands to roll the balls.
- Place in the oven, bake for 10-12 minutes and when done, remove and allow to cool for 5 minutes.

- Place on a cooling rack to finish cooling.

Why Are They Called Monster Cookies?
This Monster cookie is so tasty. You may wonder why it is called a Monster cookie. The reason is because of the mash-up of flavors and ingredients. With so many add -in’s, this is the monster of all cookies.
Can I Make These Christmas M&M Cookies Ahead of Time?
You can prepare most of the ingredients for this Monster cookie ahead of time. All you will need to do is prepare the dough and place it in the fridge or freezer depending on how ahead of time you want to prepare. But, remember fresh is always best!

More Cookie Recipes
- Christmas Cookie Bars
- Christmas Chocolate Chip Cookies
- Christmas Red Velvet Cookies
- Soft Christmas Sprinkle Cookies
- Christmas Hot Cocoa Cookies

Christmas Monster Cookies
Ingredients
- ¾ cup butter softened
- ½ cup granulated sugar
- ½ cup peanut butter
- 1 large egg
- 1 teaspoon vanilla extract
- 1 box yellow cake mix
- 2 cups minute oats
- ½ cup Christmas M&M’s
- ½ cup semi-sweet chocolate chips
- 1 tablespoon Christmas sprinkles
- candy eyes
Instructions
- Heat oven to 350°F and line a baking sheet with parchment paper; set aside.
- In a large bowl or stand mixer fitted with a paddle attachment, cream together the butter, sugar, and peanut butter until light and fluffy.
- Beat in the egg and vanilla until fully combined.
- Add the cake mix and oats and stir just until combined then fold in the M&Ms, chocolate chips, and sprinkles.
- Use a medium cookie scoop, drop balls of dough 2 inches apart on the prepared baking sheet. You can roll the balls between your palms for a more finished edge.
- Bake for 10 to 12 minutes.
- Cool for 5 minutes on the cookie sheet before transferring to a cooling rack to cool completely.
Last Step:
Please leave a rating and comment letting us know how you liked this recipe! This helps our business to thrive and continue providing free, high-quality recipes for you.Nutrition


Leave a Review!
We LOVE hearing from you! Submit your question or comment here.
Your email address will not be published.