These festive Christmas Pinwheel Cookies are inspired by Dr. Seuss’s classic holiday story, “How the Grinch Stole Christmas!” They’re made with red and green wrappers that create a pinwheel effect when you twist them up. They’re perfect for a fun and whimsical Christmas party!
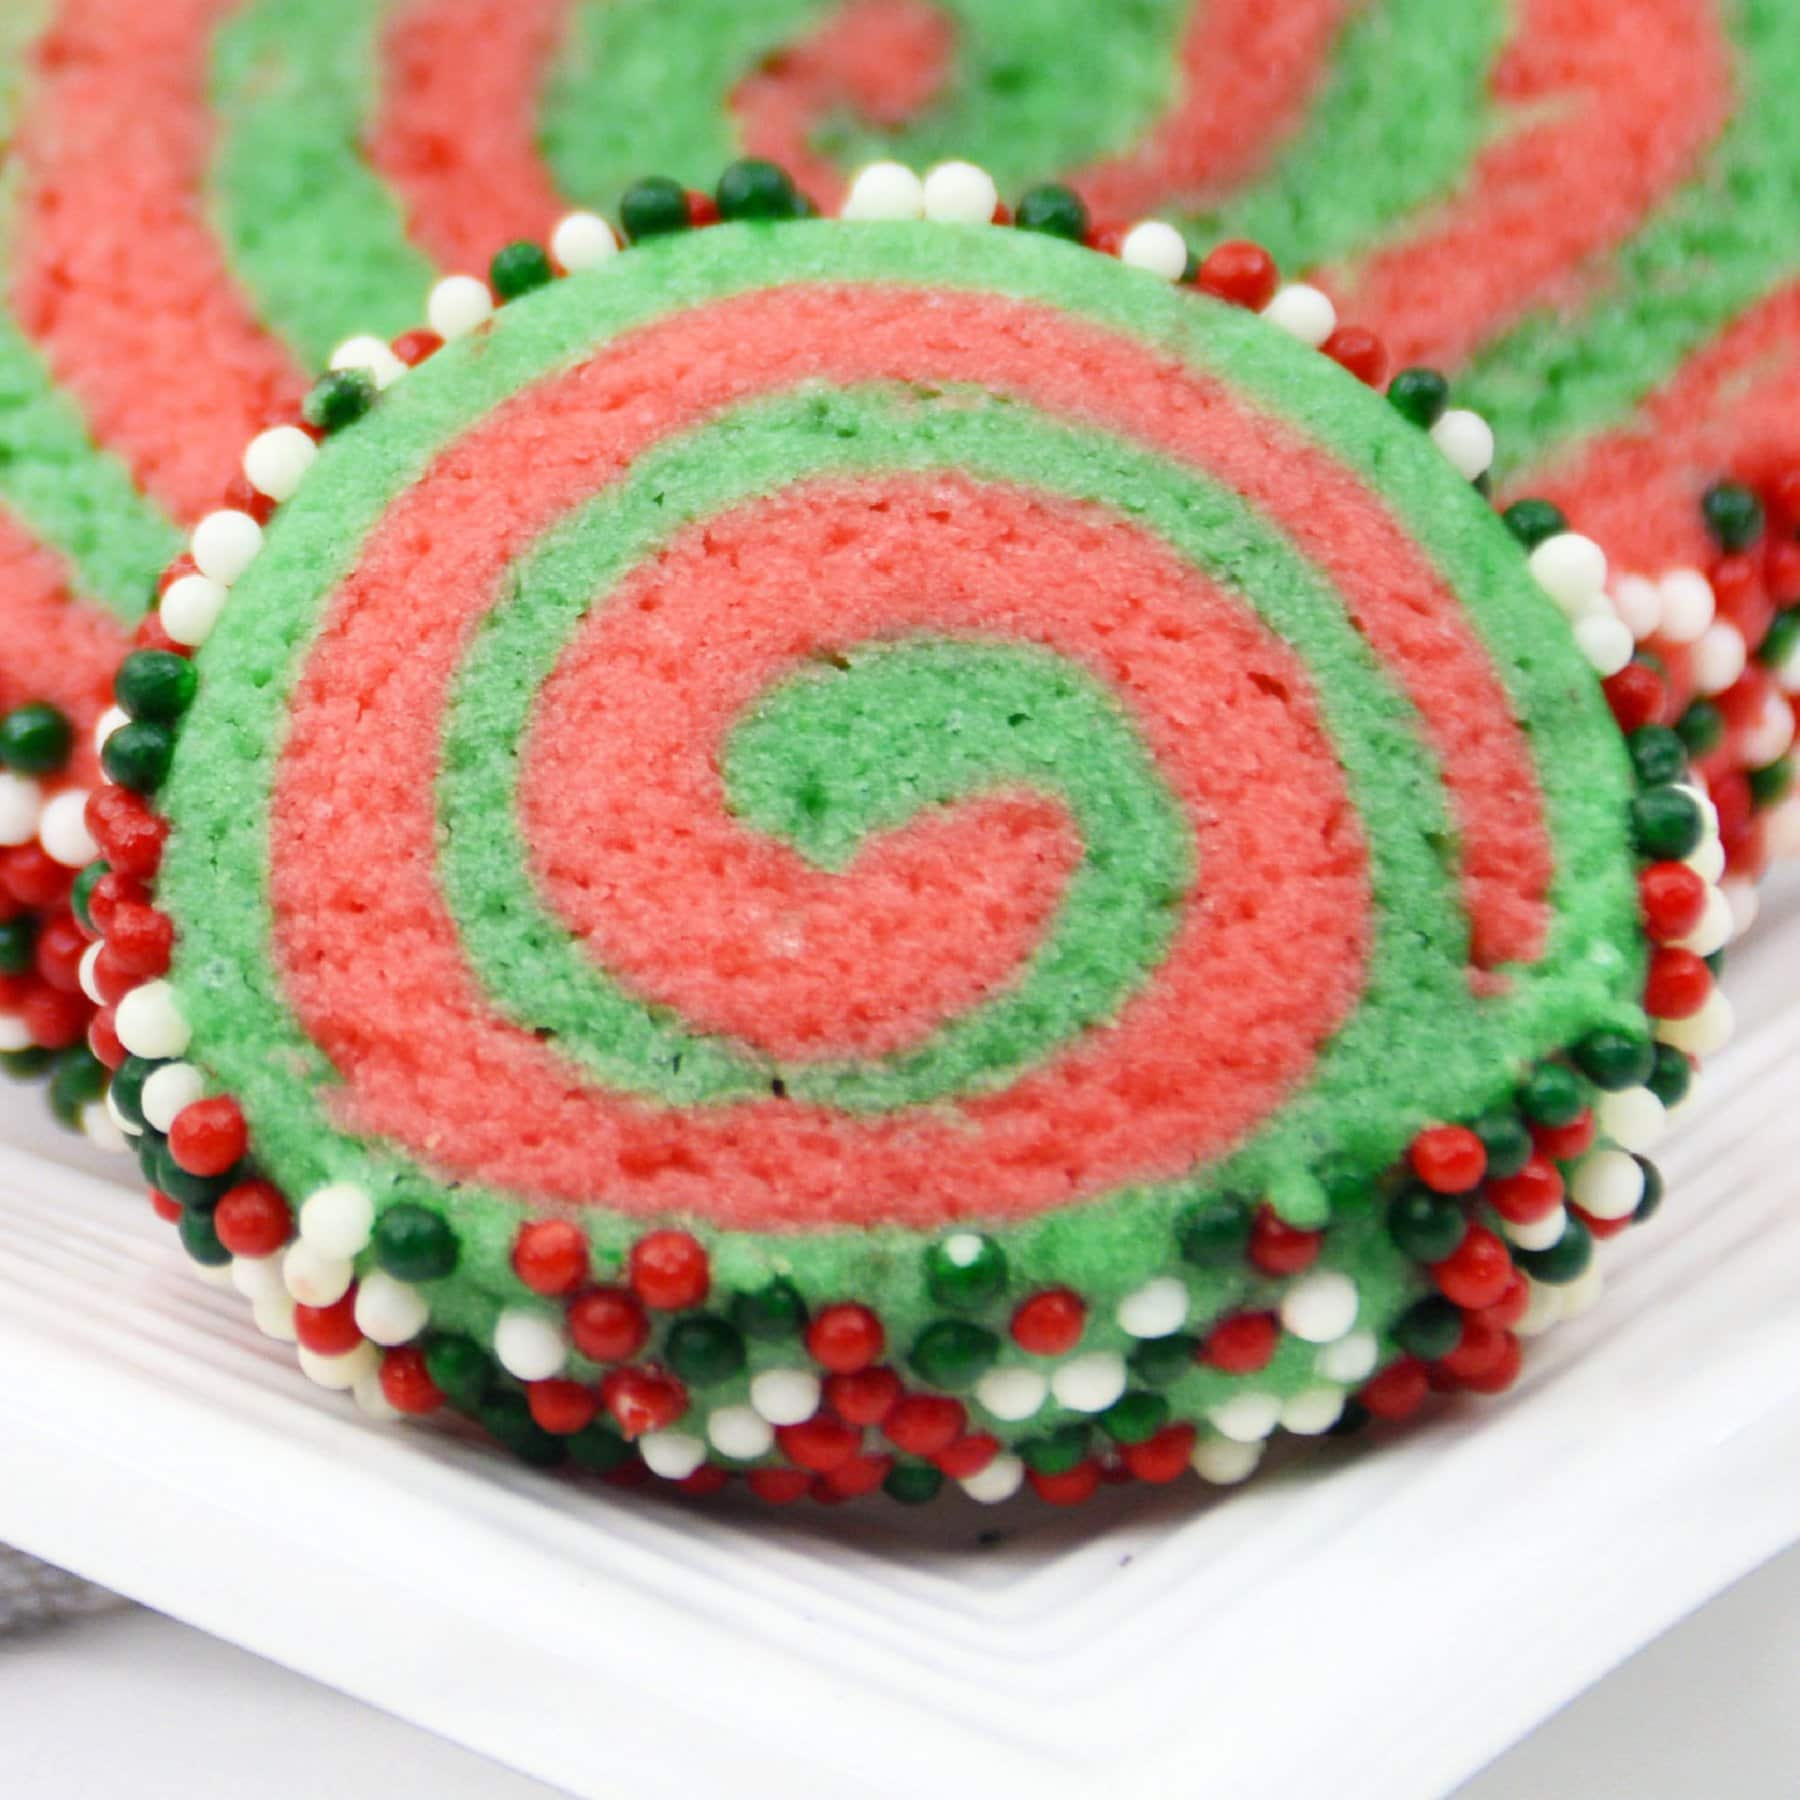
Easy Whoville Christmas Pinwheel Cookies
If you love the Grinch, you will love the most delicious pinwheel cookies. They are a fun and festive way to celebrate this holiday season with your family and friends. Plus, they’re super easy to make so you can spend more time enjoying the festivities than in the kitchen.
You won’t believe how simple it is to whip up these treats. Just follow our step-by-step instructions and soon enough, you will have a tray of Whoville Pinwheels ready for Santa Claus himself!
If you want to go all out and make even more Grinch-inspired treats, also try my Grinch Sugar Cookie Bars or these green Grinch Cookies.
What You’ll Need
Here’s a quick overview of what you’ll need to make these Christmas pinwheel cookies. Be sure to scroll down to the recipe card for specific amounts.
- Flour – All-purpose flour.
- Baking powder
- Kosher salt
- White sugar – Don’t substitute brown sugar for this recipe, regular white sugar is best.
- Butter – Unsalted and at room temperature.
- Eggs – Also at room temperature.
- Vanilla extract
- Red and Green Food Coloring- These colors are going to make the different swirls. You can change them from red and green but this is perfect for Christmas
- Holiday Sprinkles- You can use whatever kind of sprinkles you like I am using basic nonpareils. You can use sprinkles or jimmies. There are also more festive sprinkles that you can use if they have them at your stores.
How to Make Whoville Christmas Pinwheel Cookies
Are you ready to make the best pinwheel cookies ever? Here’s how to do it:
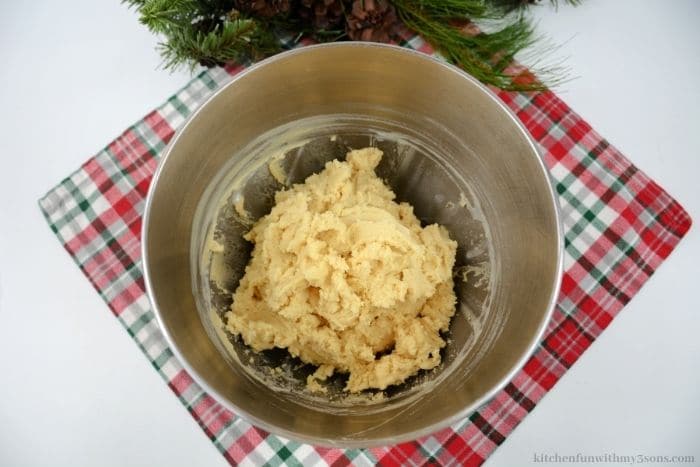
Make the Sugar Cookie Dough Base
- Combine wet ingredients. In a large bowl, add in the butter and sugar and beat with an electric mixer for five minutes. Pour in the eggs and vanilla and combine again until fully incorporated.
- Mix dry ingredients. Add all the dry ingredients into another bowl, and combine.
- Mix together the wet and dry ingredients. Just until fully incorporated.
- Add color. Separate the dough in half and place one portion into a bowl with several drops of red food coloring and combine using your hands. In the second bowl, add in the green food coloring and blend with your hands until fully incorporated.
Shape the Cookies
- Use parchment paper and cut into 4 separate sheets (13-inch x 11-inch). Place one piece of parchment paper onto a flat surface and add the red-colored dough ball. Place another sheet of parchment paper on top before using a rolling pin to form the dough into 11 in x 9 in about 1⁄4 inches thick sheet.
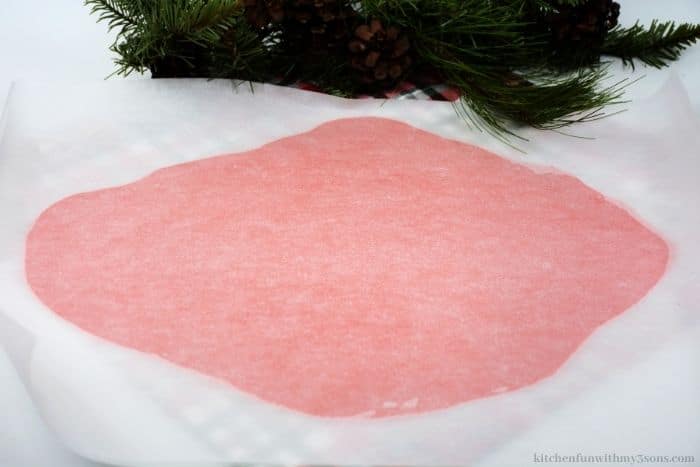
- Put the rolled-out and red dough onto a cookie sheet. Repeat the process with the green cookie dough.
- Chill. Transfer each sheet of dough to the fridge to chill for 10 minutes.
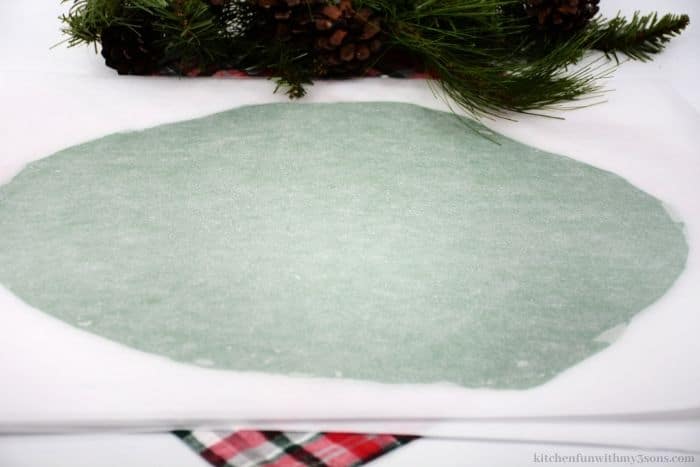
- Top layer. Take off the top piece of parchment paper from the dough and sprinkle with water lightly. Place one sheet of dough on top of the other and carefully press together. Cut all four sides of the dough sheets to make straight edges.
- Bottom layer. Take off the parchment paper layer on top and use the bottom layer of paper to begin rolling the dough into a tight log (if it tears, just pinches the dough back together).
- Add sprinkles to a tray and roll the log of dough to coat in sprinkles. Press the sprinkles gently into the dough. Set the log of dough into the fridge for 15 minutes to chill.
- Bake. Set the oven to 325 degrees and use parchment paper to line cookie sheets. Cut the dough into 1/4-inch slices and arrange onto the prepared sheets. Bake the cookies for 10 to 15 minutes.
- Cool. Remove them from the oven and allow the cookies to cool on the cookie sheet before transferring to a wire rack to cool thoroughly.
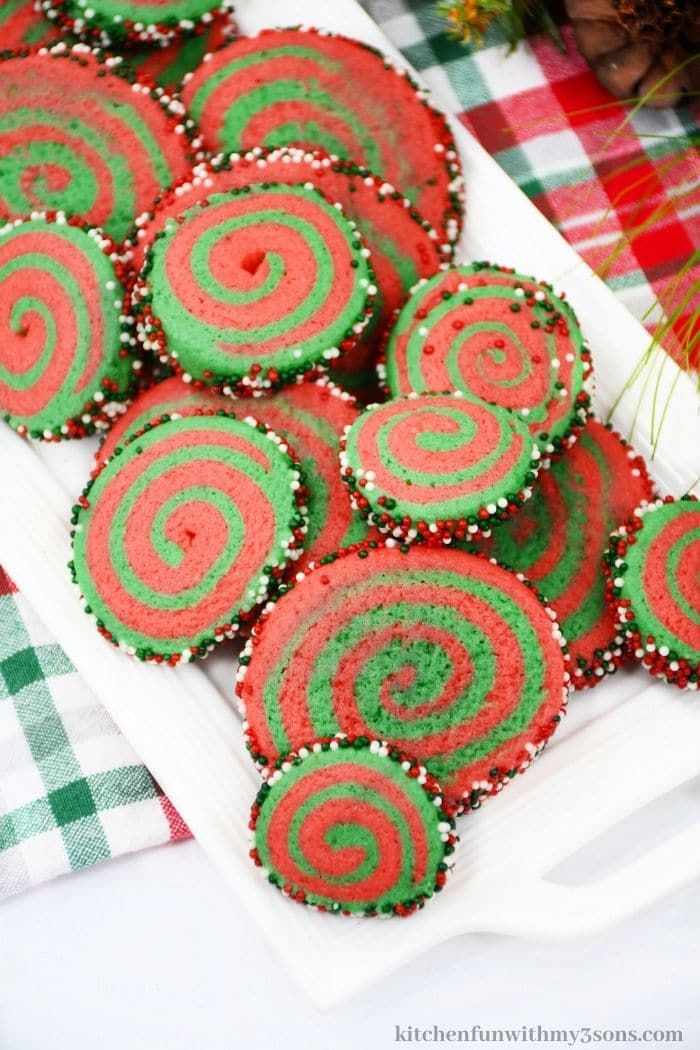
Tips for the Best Christmas Pinwheel Cookies
- Don’t roll too thin. When you’re rolling out the dough don’t go too thin.
- Dust with flour. If the dough is sticky, you can dusty it with a bit of flour. Also dust your hands and the rolling pin.
- Have fun. Feel free to experiment with different colors and sprinkle combinations!
How to Store Pinwheel Cookies
- Counter. Place the cookies in an airtight container. They will keep for up to 4 days.
- Fridge. You can also store them in an airtight container in the fridge for up to 1 week.
- Freezer. Want to freeze your pinwheel cookies? Place them in an airtight, freezer-safe container and freeze them for up to 3 months.
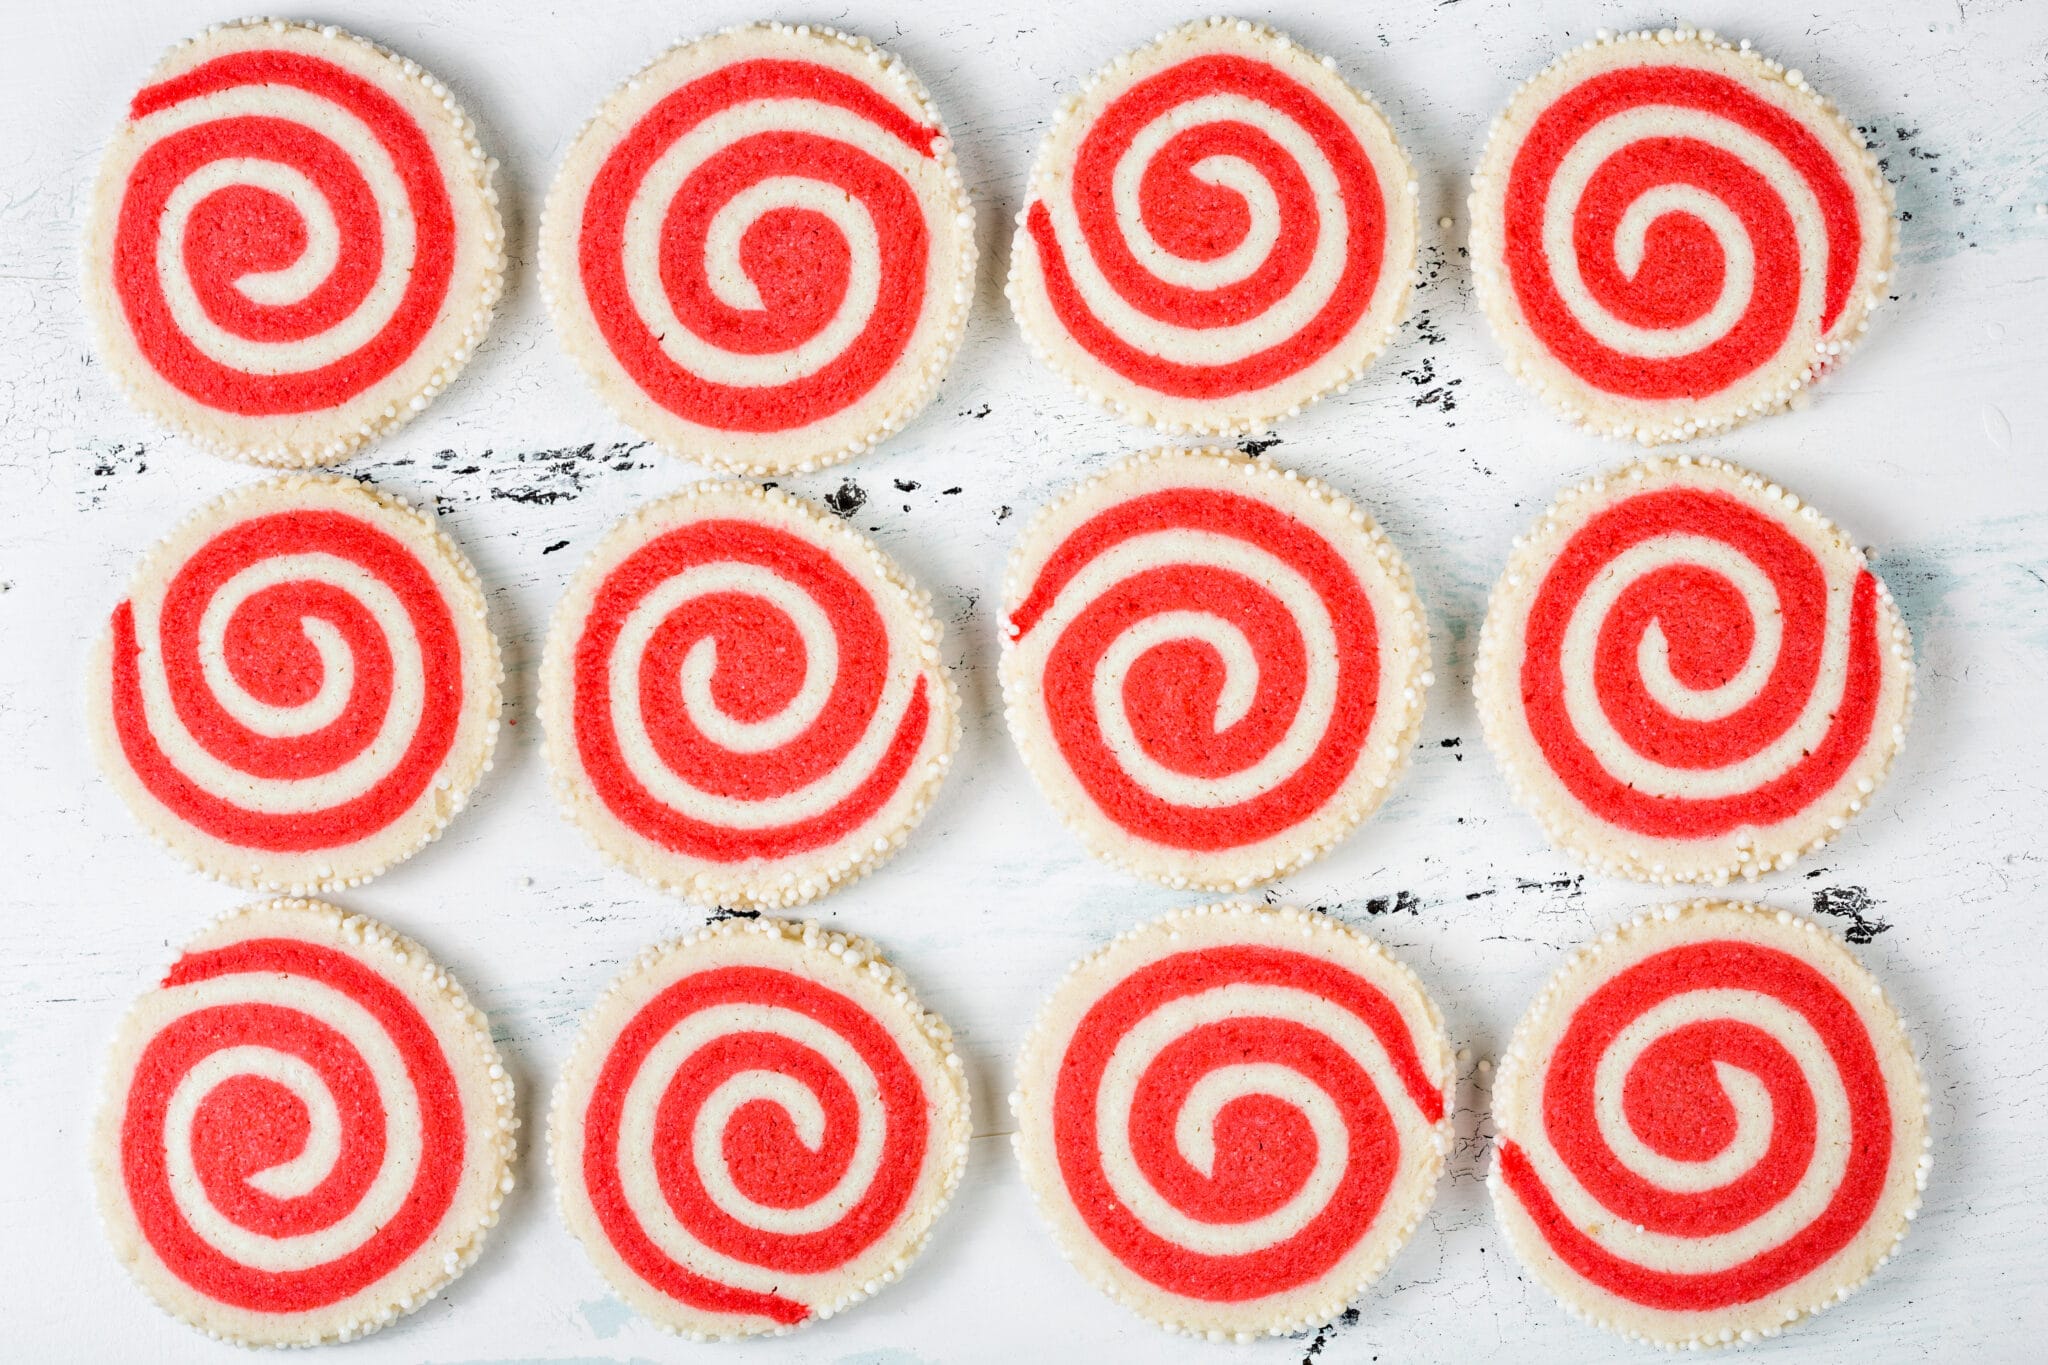
Want to Try Different Colors?
Get creative and use whatever colors you prefer for the dough or sprinkles around the edges of the cookies.
More Christmas Cookies
- 3D Christmas Tree Cookies
- Christmas Hot Cocoa Cookies
- Candy Cane Cookies (Crumble Copycat)
- Linzer Cookies
Christmas Pinwheel Cookies
Ingredients
Cookies:
- 3 C flour
- 1 1/2 tsp baking powder
- 1/2 tsp Kosher salt
- 1 C white sugar
- 2 sticks unsalted butter
- 2 large eggs
- 1 tsp pure vanilla extract
- Red and green food coloring
Garnish:
- Holiday sprinkles
Instructions
Cookies:
- Add butter and sugar to a large bowl.
- With an electric mixer cream the two together for five minutes.
- Add the eggs and vanilla extract to the bowl. Beat to combine.
- In a second bowl, whisk the dry ingredients together.
- Add the butter mixture in with the dry ingredients. Mix well.
- Divide the cookie dough in half.
- Put one-half of the dough in a separate bowl.
- Add several drops of red food coloring to one bowl.
- Use your hands to blend the color throughout the dough.
- Add several drops of green food coloring to the second bowl.
- With your hands work to blend the green food coloring throughout this bowl of cookie dough.
- Cut four sheets of parchment paper about 13 in x 11 in.
- Lay one side of parchment paper on the counter.
- Put the red colored ball of cookie dough on the center of the parchment paper.
- Cover with another piece of parchment paper.
- Use a rolling pin to roll the dough out to 11 in x 9 in about 1⁄4 inches thick.
- Transfer the parchment paper-covered cookie dough onto a cookie sheet.
- Repeat this process for the green cookie dough.
- Transfer each cookie sheet of cookie dough to the refrigerator for at least 10 minutes.
- Remove the top layer of parchment paper from the cookie dough.
- Lightly sprinkle each top layer with water.
- Place one layer on top of the other layer.
- Gently press the two layers together.
- Cut the layers into straight edges on all four sides.
- Remove the top sheet of parchment paper.
- With the bottom layer of parchment paper begin to roll it up.
- Use the parchment paper to pull the dough tight.
- If the dough tears just squeeze the dough together.
- Pour the sprinkles onto a platter.
- Roll the cookie log onto the sprinkles.
- Use your hands to press the sprinkles into the log.
- Move the log into the refrigerator, leaving it to chill there for at least 15 minutes.
- Preheat oven to 325 degrees.
- Line cookie sheets with parchment paper.
- Slice the log into 1⁄4 inch slices.
- Place the slices on the parchment paper-lined cookie sheets.
- Bake at 325 degrees for 10-15 minutes.
- Allow cooling slightly on the cookie sheets.
- Transfer the cookies to a cooling rack to cool completely.




Leave a Review!
We LOVE hearing from you! Submit your question or comment here.
Your email address will not be published.
2 comments on “Christmas Pinwheel Cookies”
Love these cookies! They came out exactly as pictured, except more oval than round. Made them with my 11 year old daughter and we had a blast. The steps are very clear and easy to do. They do not take 10 mins to prep and bake though – definitely took us at least an hour to make these without baking time but with the 25 mins of cooling in the fridge time. We got hung up trying to get the red and green coloring mixed in properly and in rolling out the dough. Could be our inexperience though! They were still soft and delightful to eat – stood up to 11 year old mixing and rolling (i.e. overworking the dough). They are not too sweet and the kosher salt gives them a salty/sweet flavor. If you don’t enjoy that then recommend using regular salt instead. I would make these again because they were so much fun to make and are so festive on a cookie platter.
Thank you Marian!