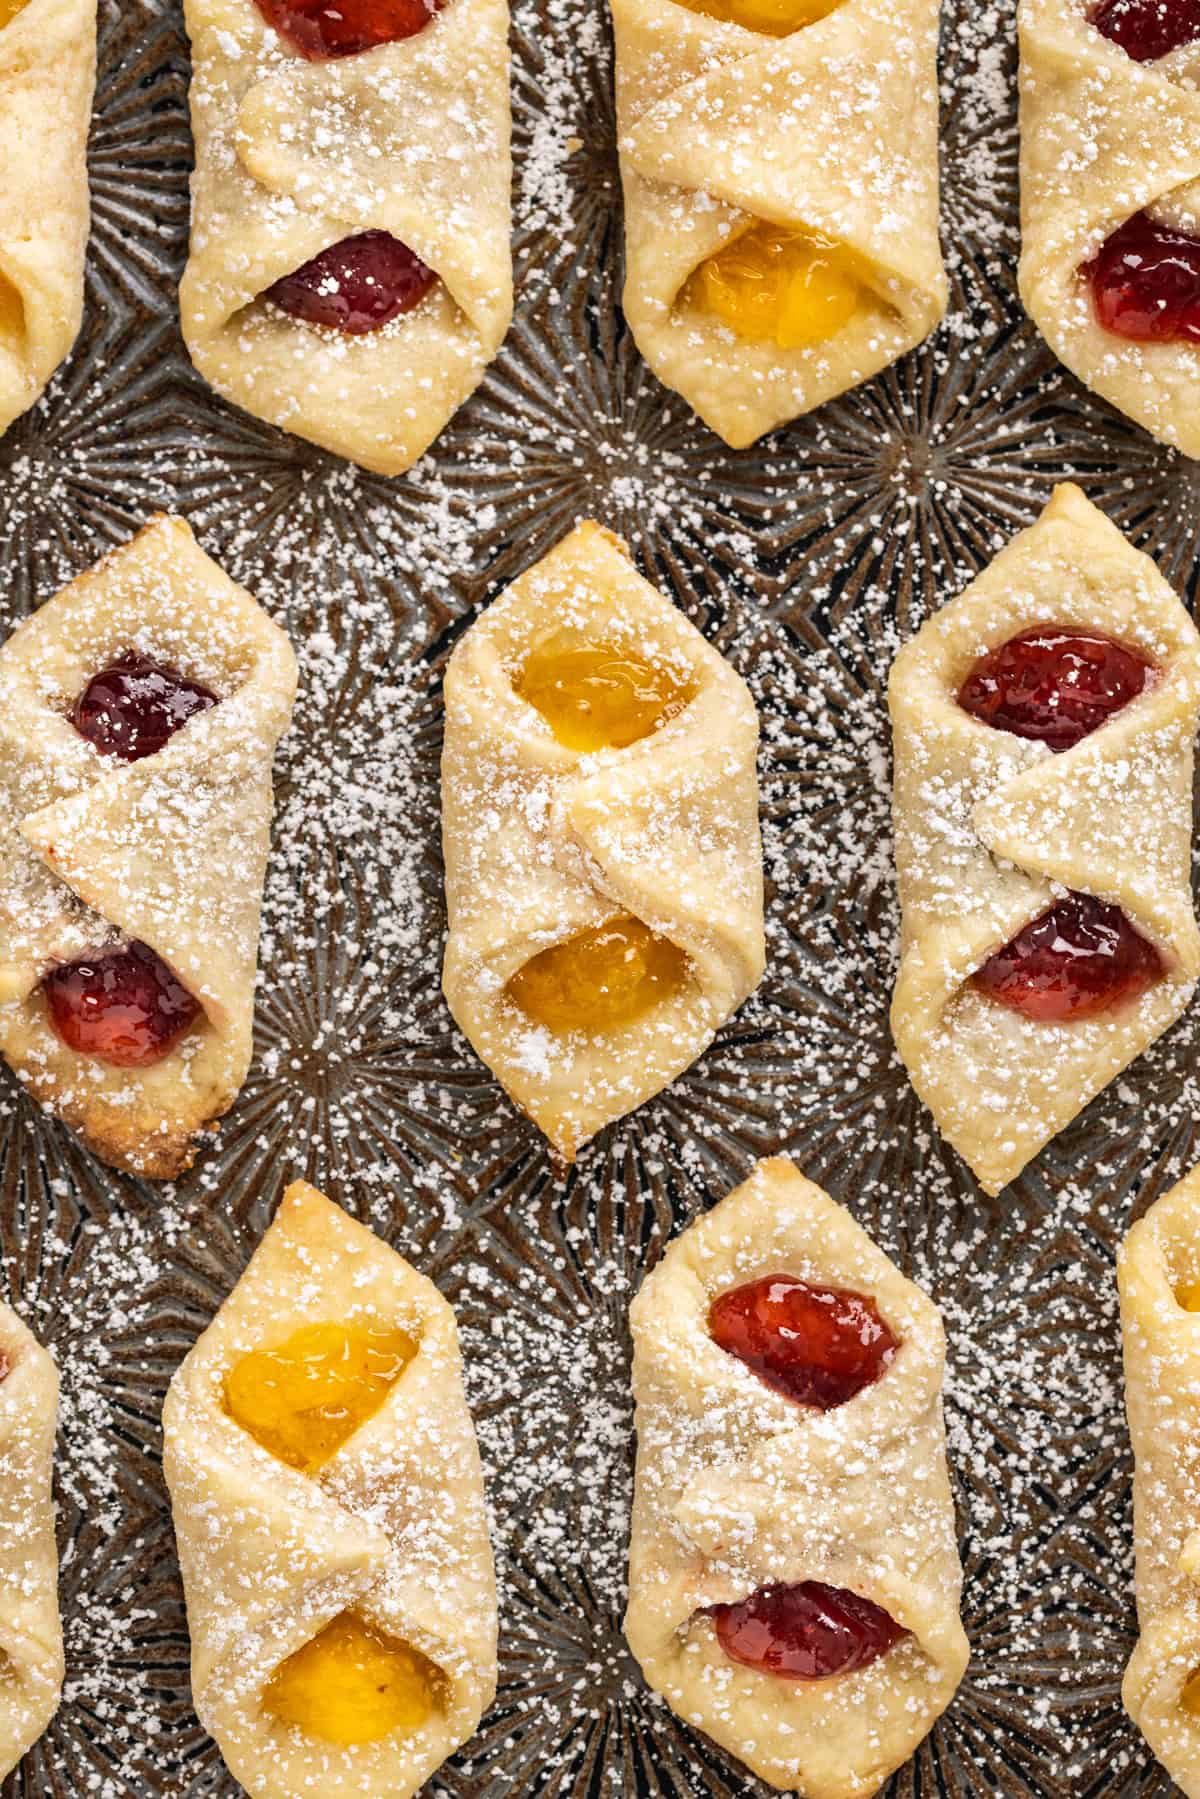
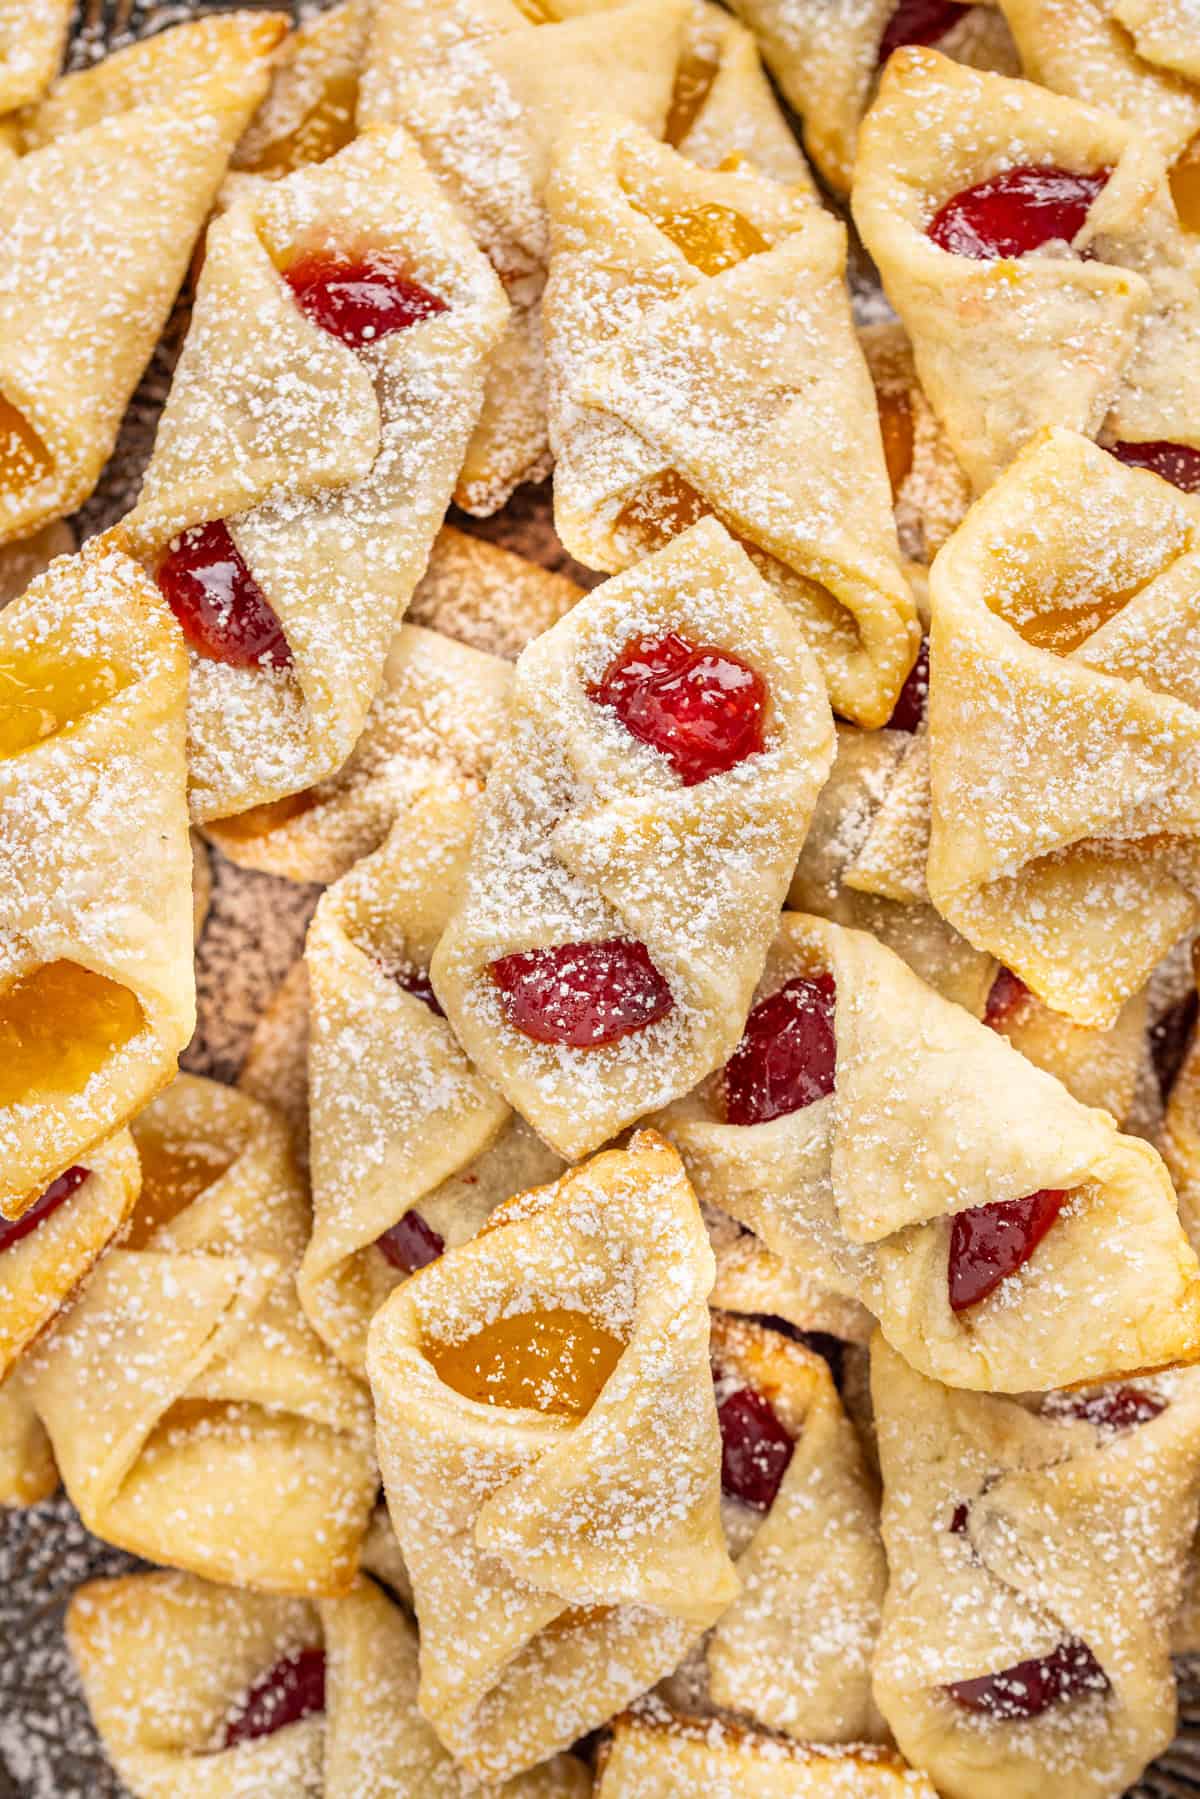
Kolaczki Cookies, aka Polish filled cookies, are made with a simple cream cheese dough and jam filling. They’re simple yet beautiful and make a wonderful addition to any holiday cookie tray.

I first made Polish Kolaczki cookies a few years ago. They’re similar to jam cookies but with a sour cream dough that’s wrapped around the filling, instead of jam in a thumbprint indent. The dough is very simple to make with just a few ingredients and they can be filled with any jam. I now make these every year and they’re always a hit around the holidays!
Why These Kolaczki Cookies Belong On Every Cookie Tray
- Made with pantry staples. One reason I love these Polish cookies is that I can whip them up at almost any time. They’re made with simple ingredients like butter, cream cheese, and flour that I almost always have on hand. The ingredients list is short too!
- Easy to customize. Kolaczki cookies can be made in endless flavors. Any flavor of extract can be used, whether vanilla, almond, cherry, or another favorite, and any flavor of jam works too.
- Fancy presentation. These cookies look so fancy and add a pop of color to cookie trays. And yet they’re so easy to make. I always get so many compliments!
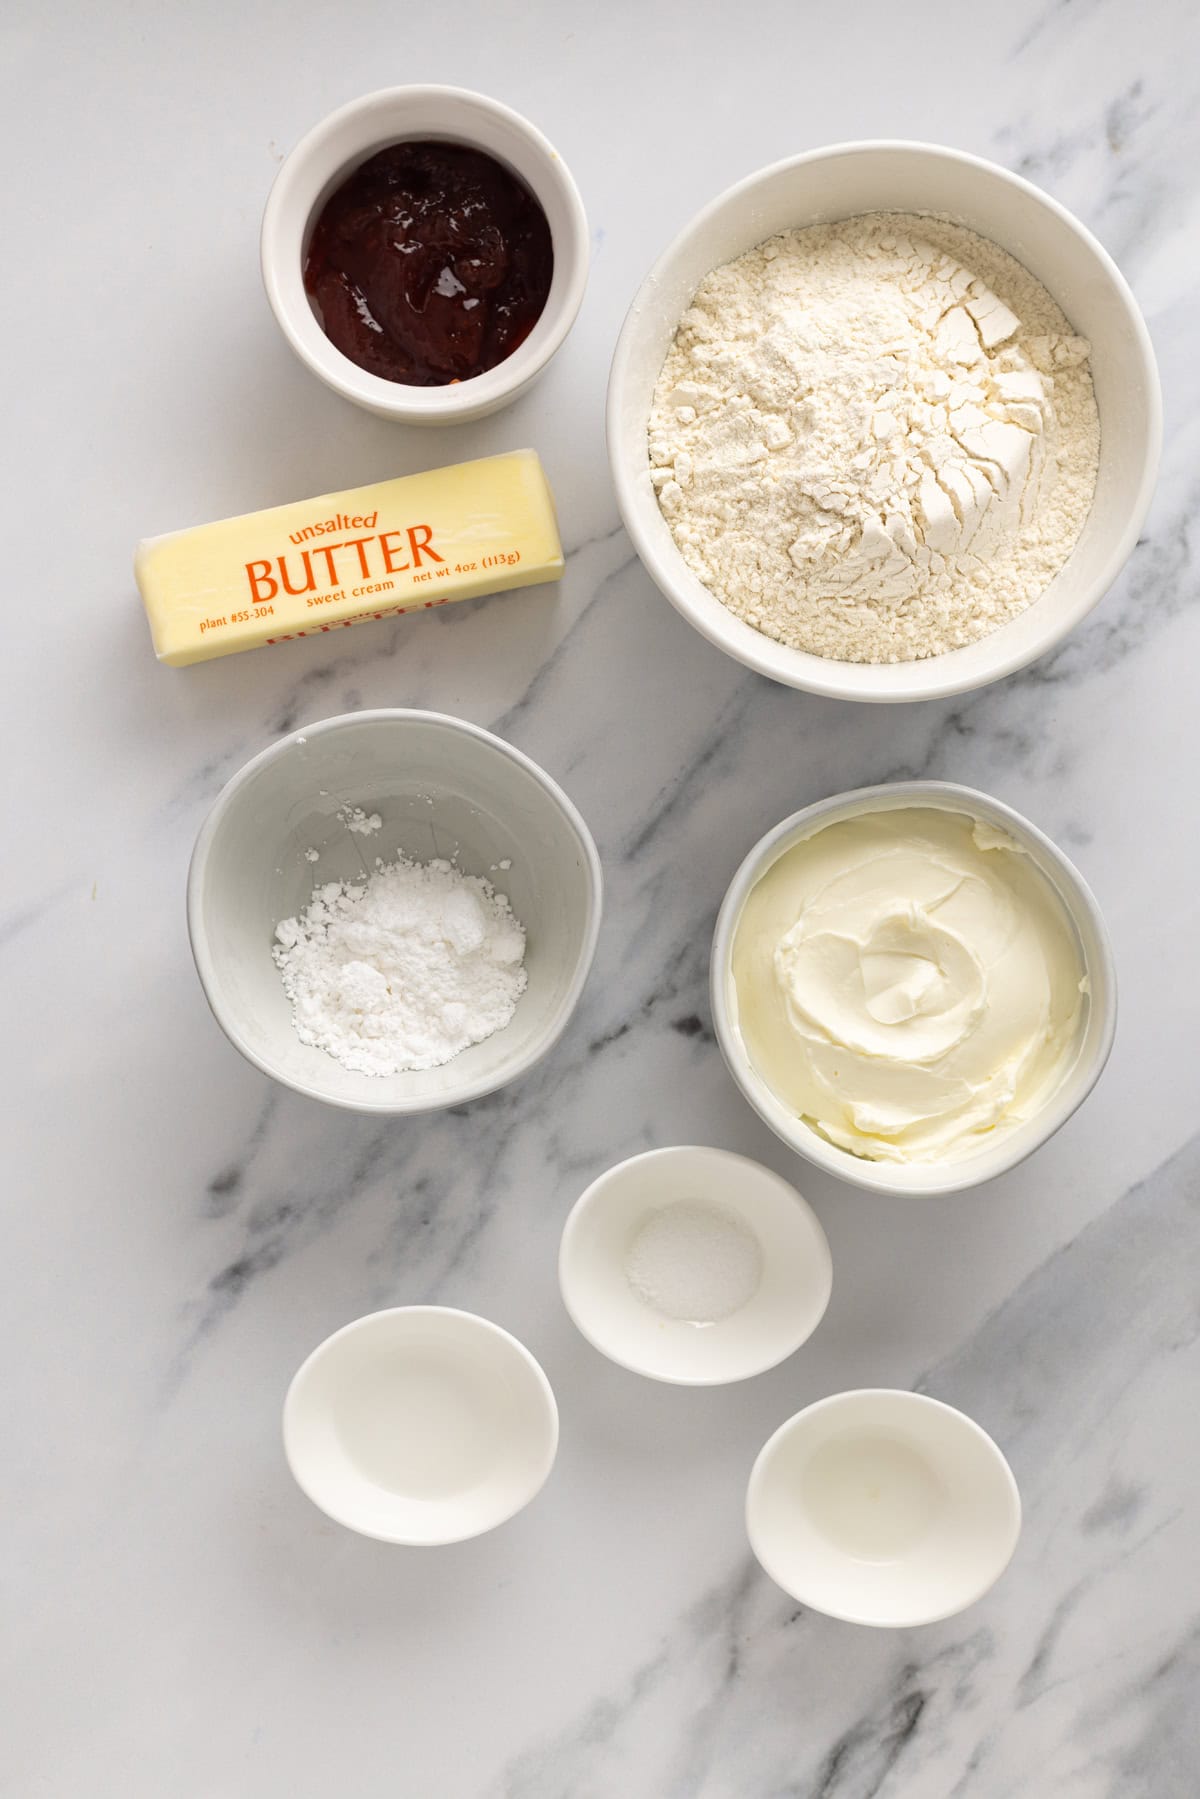
Recipe Ingredients
These Polish Christmas cookies are made with just a handful of very common ingredients. Scroll down to the recipe card below for the exact measurements.
- Unsalted butter – Since salt is added separately and the flavor of these cookies is light, it’s important to use unsalted butter.
- Cream cheese – Full-fat cream cheese is a must to achieve the perfect dough texture. Low-fat cream cheese is too soft.
- Flavored extract – I usually use vanilla or almond extract. Feel free to experiment with different flavors!
- Salt – Enhances the overall flavor of the cookies.
- All-purpose flour – Spoon the flour into a measuring cup then level it off with a knife for accurate measuring.
- Jam – Any flavor of jam works but it’s important to use one on the thicker side. Solo Pastry filling also works.
- Powdered sugar – To sprinkle on the cookies as a final touch.
How To Make Kolaczki Cookies
Here’s an overview of how to make these Polish cookies. The printable instructions can be found in the recipe card below.
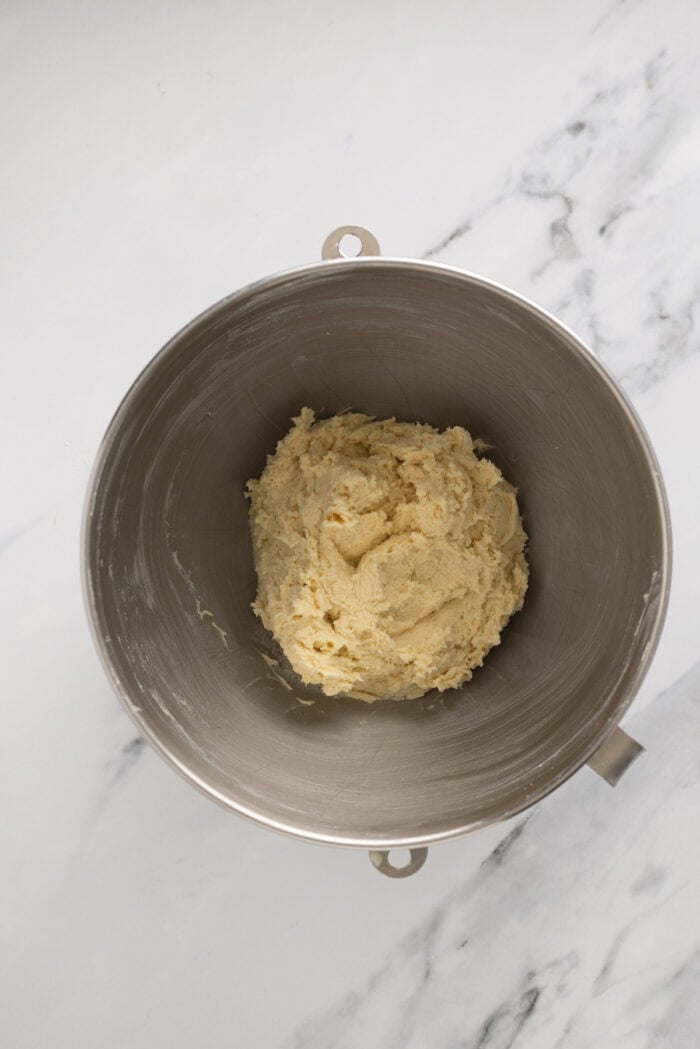
- Cream the butter. Cream the butter and cream cheese on medium speed until creamy and smooth. Add the flavored extract.
- Add the dry ingredients. Mix in the salt and flour, one cup at a time, until just combined. Do not overmix.
- Chill. Shape the dough into an 8×8 square. Wrap in plastic wrap. Chill for at least an hour.
- Prep. Preheat the oven to 350F. Line the baking sheets with parchment paper.
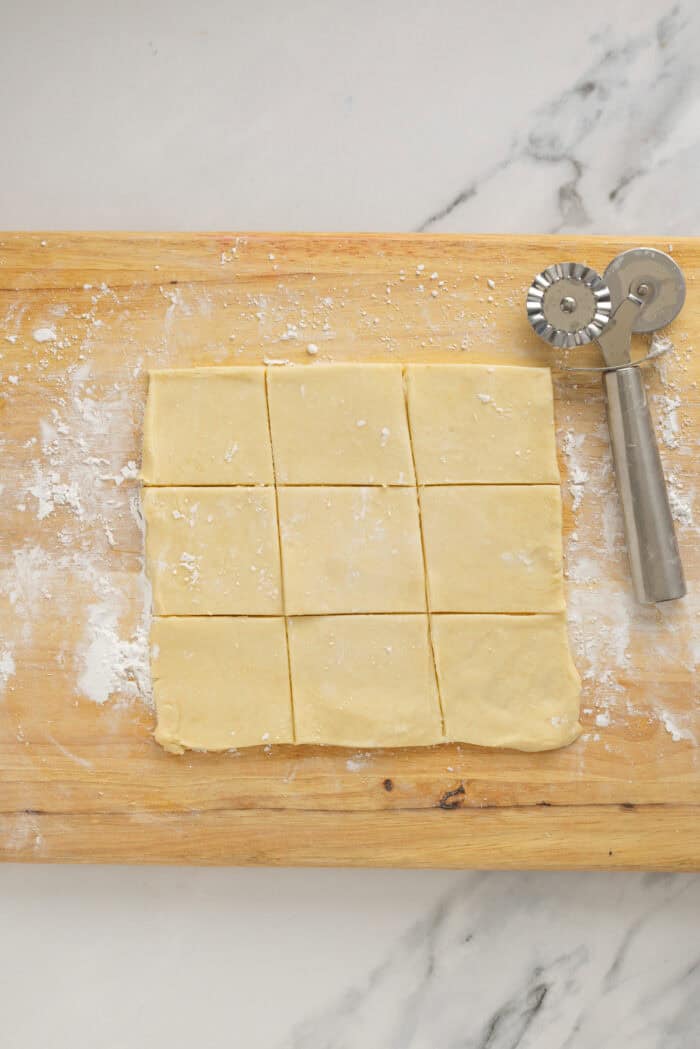
- Roll & cut the dough. Dust the counter with powdered sugar. Divide the kolaczki dough in half, placing half on the powdered sugar and the other half in the fridge. Roll the dough to 1/8” to ¼” thickness, trimming the edges to make an even square. Cut the square into 2 ½” squares. Place them on the baking sheet.
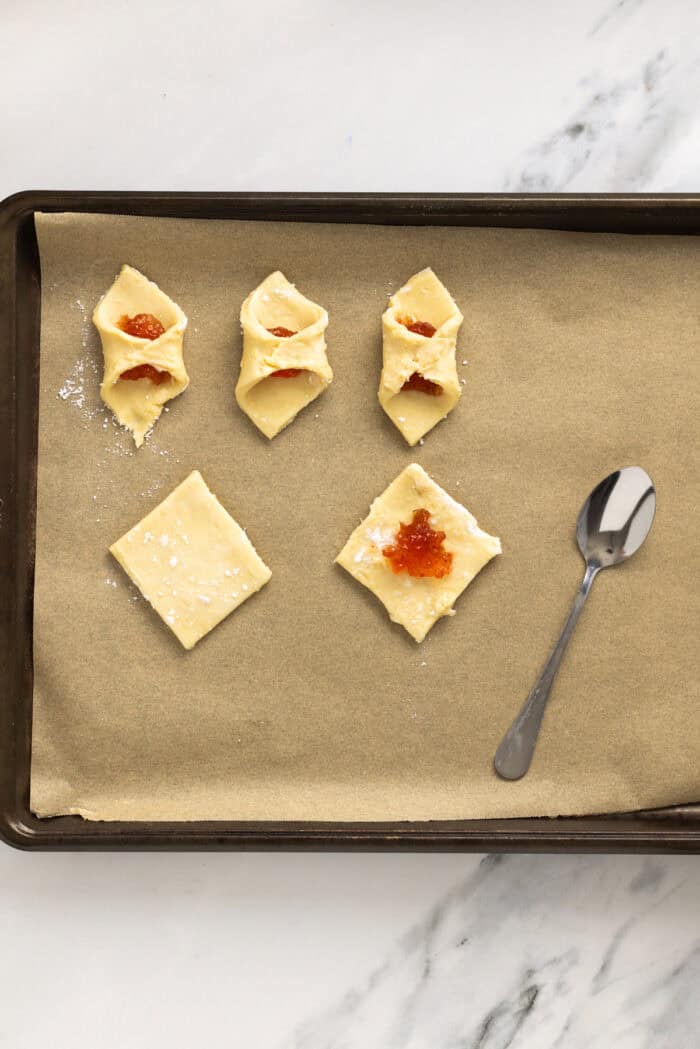
- Assemble. Add ½ teaspoon of jam to the center of each square. Grab opposite corners, dabbing the underside of one with water and placing the opposite corner over it. They should overlap by 1” or so.
- Bake. Bake for 12-14 minutes, until the edges are beginning to turn golden. Cool on the pan.
- Enjoy. Dust with powdered sugar before serving.
Troubleshooting Common Issues
These cookies can be challenging! Here are the most common issues.
1. The cookies come apart at the seams as the cookies bloom and open.
- Tips: Make sure to use a bit of water to help seal the edges.
- Also, I found it most helpful to not just pinch the edges right at where the corners meet, but overlapping by ½ inch or so, then pinching.
- To help press the edges together, I used the flat handle of a spoon under corners to press again. It didn’t interfere with the filling and helped make a more secure seal.
- Don’t overfill! The more you add to the cookie, the less space you have to wrap and seal.
2. The filling spread too much and outside of the cookie.
- Tips: You need to make sure you use a very thick jam. Nothing runny and not jelly.
- I also tried these using Solo brand cake and pastry filling. I was able to use a little more of this versus the jam as it was much more solid.
3. Dough is too sticky.
- This happens when the dough is too warm or it hasn’t been given enough time to properly chill.
- When working with the dough, work quickly and keep the dough you’re not working with in the refrigerator. You may need to make these in shifts allowing the dough to re-chill between sets.
- It could also be caused by not having enough flour. Make sure to properly measure by spooning and leveling the flour.
4. The dough is dry and crumbly.
- This can happen if you didn’t measure your flour and you accidentally added too much. In this case, add a Tablespoon of milk to the dough until it comes together.
Proper Storage
- Room temperature. Kolaczki cookies can be stored in an airtight container at room temperature. The jam softens the cookie so they’re best enjoyed within 1-2 days, though they’ll stay good for a few more days.
- Freezer. These cookies can also be frozen, before dusting with powdered sugar. Flash freeze on a baking sheet then transfer to a freezer-safe container. Freeze for 2-3 months. Thaw on the counter then dust with powdered sugar before serving.

Kolaczki Cookies
Ingredients
- 1 cup unsalted butter (2 sticks) softened to room temperature
- 8 ounces cream cheese full-fat and softened, to room temperature
- 1 teaspoon vanilla extract or almond extract
- ½ teaspoon salt
- 2 ¼ cups all-purpose flour spooned and leveled
- 3 Tablespoons strawberry jam and/or raspberry, apricot, etc…) Solo Pastry filling can also be used.
- water (to help seal the edges of the pastry dough together).
- powdered sugar and extra flour (for rolling out the dough and sprinkling on cookies at the finish).
Instructions
- Add two sticks of softened butter and 8 ounces of softened cream cheese to a large mixing bowl. Beat at medium speed until it is creamy and smooth.
- Add in the ½ teaspoon flavored extract and mix to combine.
- Add the ½ teaspoon salt and the 2 ¼ cups of flour, one cup at a time, scraping the sides of the bowl in between until just combined. Do not overmix.
- Add the ball of dough to a large piece of plastic wrap and smash down to a rough square approximately 8 inches x 8 inches x ¼ inch thick.
- Make sure the dough is fully covered and refrigerate for at least one hour.
- Once the dough has chilled, preheat the oven to 350 degrees.
- Line two baking sheets with parchment paper and set aside.
- Dust the counter with 1/8 cup of powdered sugar, unwrap the dough and place it on the powdered sugar.
- Divide the dough in half first, then cover the unused half and place it in the refrigerator until you are ready to work with it.
- Use a rolling pin to further smooth out the dough to between 1/8” and ¼” thick. Use a knife, pastry or pizza cutter to trim the edges of all sides to make an even square.
- Cut this square into 2 1/2” x 2 ½ “smaller squares. Place the squares on the prepared baking sheet.
- Add ½ teaspoon of filling to the center of the square.
- Grab opposite corners of the square and dab the underside of one corner with water.
- Fold this half over the filling. Then grab the opposite corner and place it over the other corner overlapping it by 1” or so.
- Repeat this process with the remaining squares.
- Bake for 12-14 minutes or until the edges are beginning to turn golden.
- Remove and cool while on the pan.
- Dust with powdered sugar before serving.




Leave a Review!
We LOVE hearing from you! Submit your question or comment here.
Your email address will not be published.
4 comments on “Kolaczki Cookies”
Excellent cookies!
Thanks L Mazur!
Beautiful! Directions are great and I will try this for Christmas
Thank you Janice!