
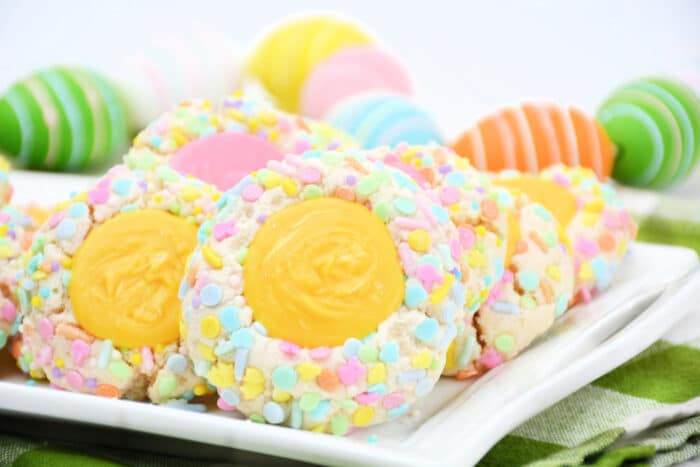
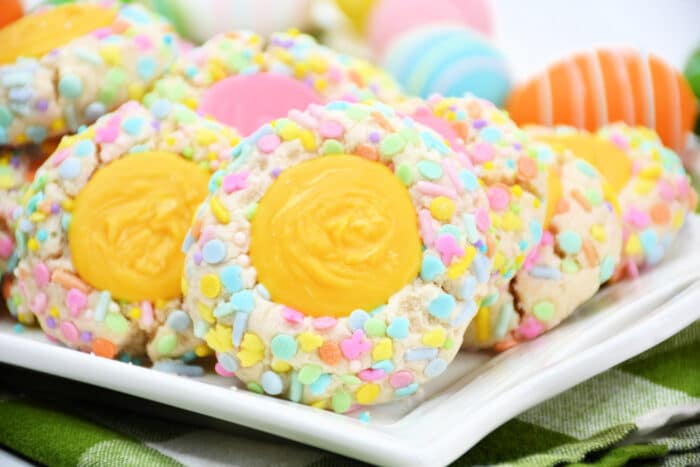
Easter Sprinkle Thumbprint Cookies are soft, delectable, and filled with vibrant sprinkles. Thumbprint cookies are simple and quick to make for the perfect last-minute dessert idea for Easter this year!
Funfetti Easter Thumbprint Cookies
These Confetti Cookies are so good and quick to make. The recipe has a small list of ingredients to make the perfect baked cookies in minutes! You can add this recipe to a buffet of desserts or have it for any occasion where you crave a delicious cookie.
Key Ingredients You’ll Need
All-Purpose Flour: All-purpose flour is best to use. However, if you are using self-rising flour, you would eliminate the baking powder.
Butter: It is best to use unsalted butter for this recipe. Using unsalted butter will give you control of the flavoring in the recipe. This will allow the rawest and most natural flavor to come out in the recipe.
Powdered Sugar: This is the best sugar to use when needing a frosting with a smooth consistency.
Heavy Whipping Cream: This is a great thickening agent and when used at room temperature it creates a creamy consistency.
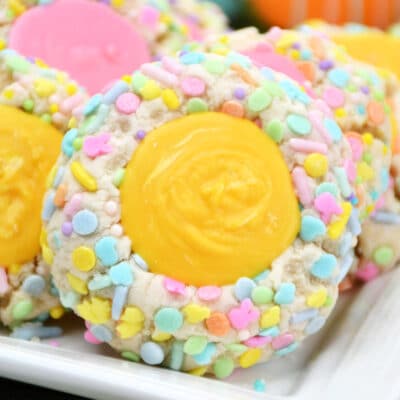
Candy Melts– This is what will go inside of the thumbprint area of the cookie. You can use whatever color you like, but I love the vibrant yellow and pink for this cookie.
How To Make Easter Thumbprint Cookies
Step 1. Set the oven to 350 degrees and use parchment paper or a silicone mat to line two cookies sheets. Add the butter, powdered sugar, vanilla, and heavy whipping cream into a standing mixer and combine.
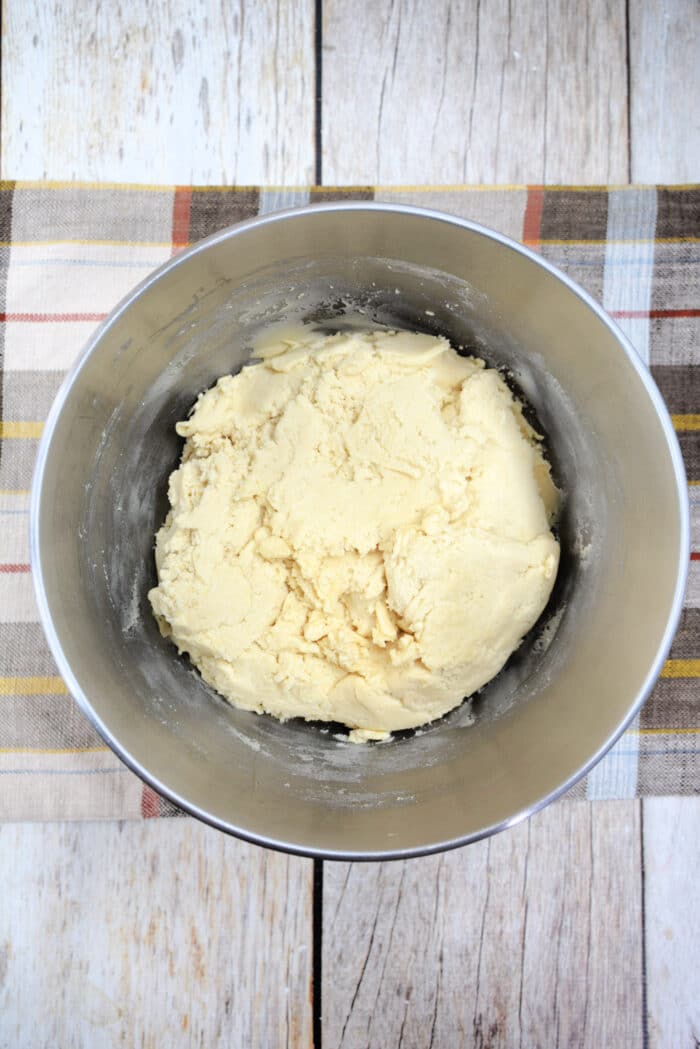
Step 2. Slowly combine the flour and salt into the mixture until combined and it forms a dough.
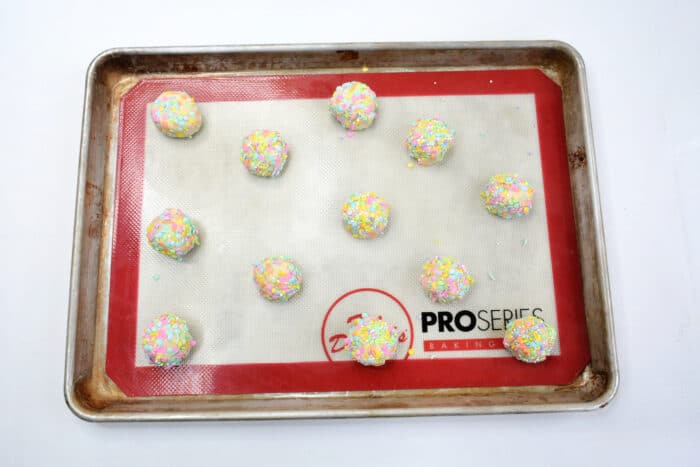
Use a small cookie scoop to form the dough balls and roll them with your hands. Roll and coat the balls in the sprinkles and arrange them onto the prepared sheet. Use your thumb or a spoon to make an indent in the center.
Step 3. Set the cookies into the oven for 7-10 minutes or until light brown. Let the cookies cool while your prepare the candy melts.
Filling
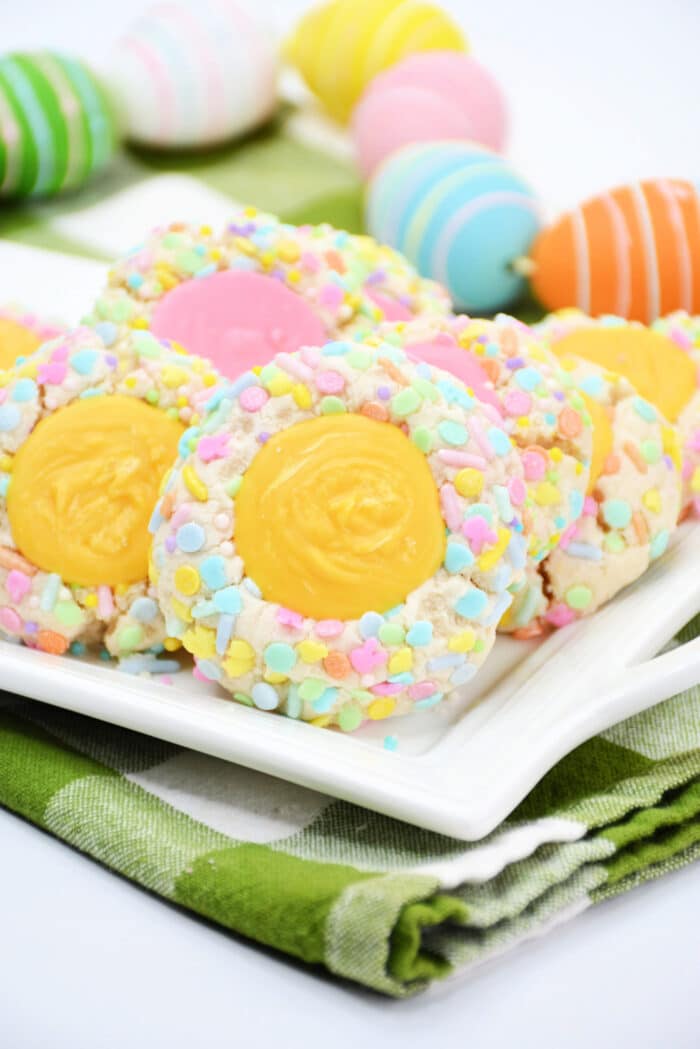
Step 1. Place about 1 C of the candy melts into their own piping bags and set in the microwave to melt for 45 seconds. Cut the end off the piping bag and fill the indent in the middle of the cookie. Let it harden until firm and enjoy!

Can I Put Other Filling In These Thumbprint Cookies?
Yes, you can add another filling like chocolate or frosting into the middle of these cookies. You can melt milk chocolate or white chocolate to add to the center. You can also use pre-made or homemade frosting.
How To Store Sprinkle Thumbprint Cookies?
Place the cookies into an airtight container. These cookies can be stored in the fridge, freezer, or left at room temperature. The cookies will last about 1-2 weeks at room temperature and longer if stored in the fridge or freezer.
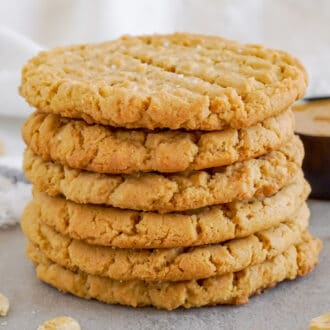
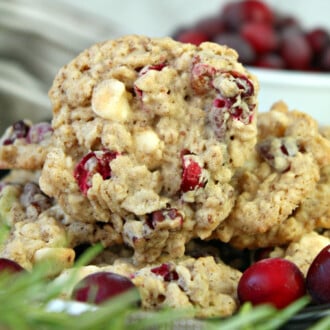
More Thumbprint Cookies
Easter Thumbprint Cookies
Ingredients
- 1 1/4 Cup flour
- 1/4 tsp kosher salt
- 1/2 Cup butter unsalted
- 1/2 Cup powdered sugar
- 1 tsp pure vanilla extract
- 2 tbsp heavy whipping cream
- 2 Cup Easter sprinkles
- candy melts Yellow and pink
Instructions
- Preheat oven to 350 degrees and line two cookie sheets with parchment paper or a silicone baking mat.
- Using a standing mixer, beat the butter, powdered sugar, vanilla, and heavy whipping cream until combined.
- Gradually beat in the flour and salt until a dough forms.
- Using a small cookie scoop, scoop out some dough and roll it into a ball.
- Roll the cookie dough into the easter sprinkles and place it onto the cookie sheet.
- Make an indent into the cookie dough ball using your thumb or the back of a spoon.
- Bake in the oven for 7-10 minutes or until lightly golden on the bottom.
- Allow cooling while you melt the candy melts.
- Pour at least 1 c of the candy melts into their own piping bags and place into the microwave for 45 seconds until melted.
- Cut the tip off the piping bag and fill the cavity of the cookie with the melted candy melts.
- Allow hardening before enjoying!
Last Step:
Please leave a rating and comment letting us know how you liked this recipe! This helps our business to thrive and continue providing free, high-quality recipes for you.Equipment
- 2 disposable piping bags
Nutrition


Leave a Review!
We LOVE hearing from you! Submit your question or comment here.
Your email address will not be published.