
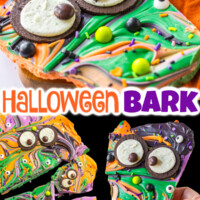
Get spooked with our Halloween Bark – a delightful mix of chocolatey goodness and eerie toppings. Perfect for your Halloween party!

Halloween Chocolate Bark
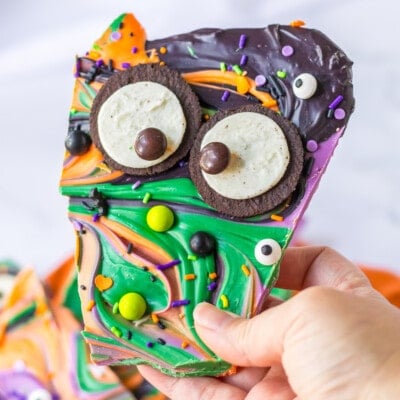
Halloween Bark is a yummy, fun Halloween treat. It’s made with colorful chocolate and has spooky decorations like cookie eyes and Halloween sprinkles. Kids can help make it, and it’s as fun to create as it is to eat. Enjoy the deliciousness of Halloween Candy Bark at your spooky Halloween party.
What You’ll Need
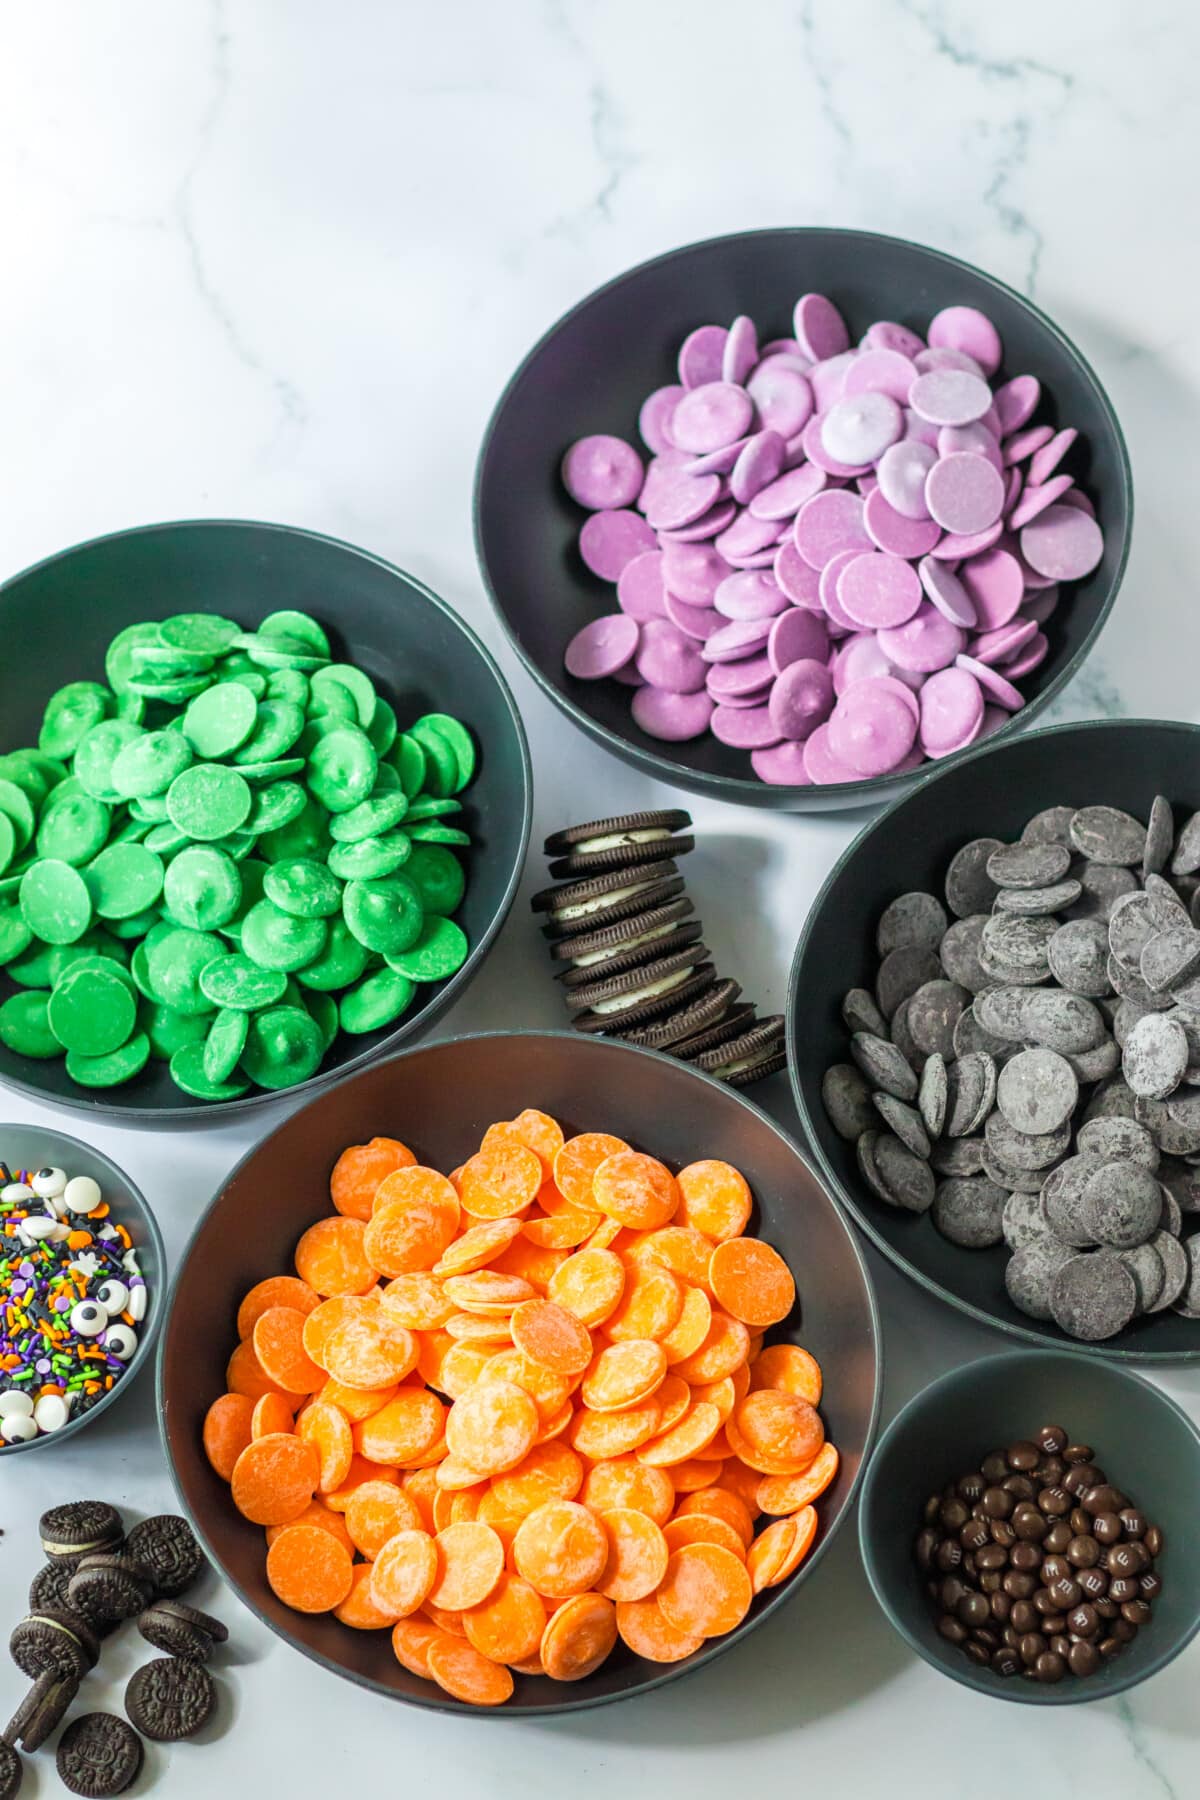
- Melting chocolate– You will want to use green, orange, green, and black melting chocolate.
- Large Eyes– The large eyes will be made using Chocolate Sandwich Cookies, like Oreos, Mini Chocolate Sandwich Cookies, Mini M&Ms, and Regular M&M or Reese’s Pieces.
- Halloween sprinkles
How to Make Halloween Bark Recipe
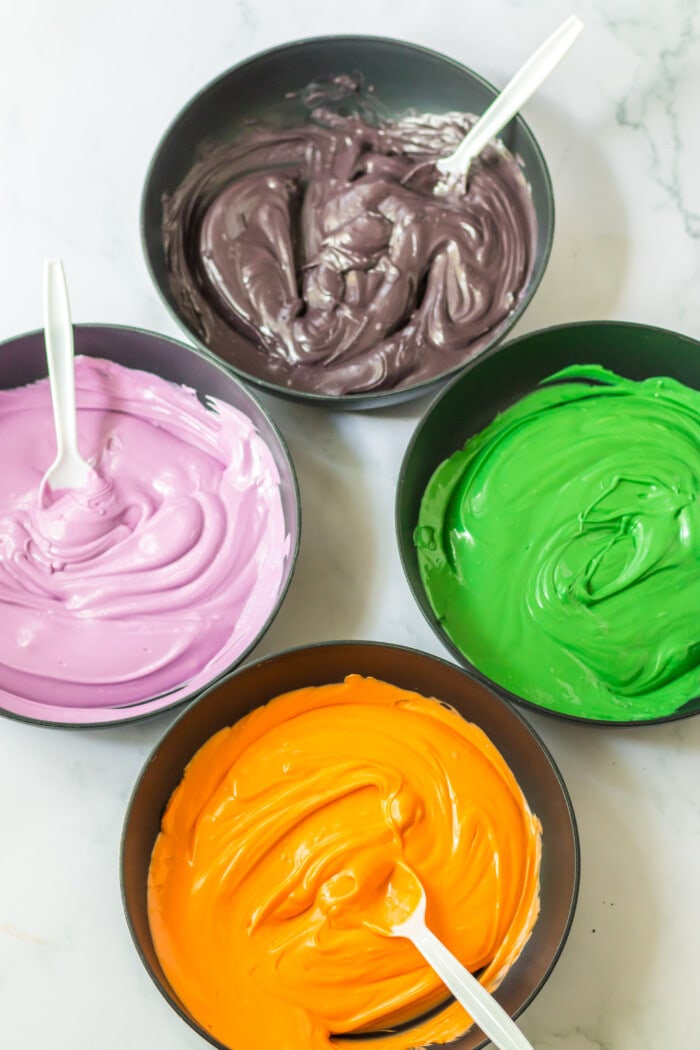
Melt the Chocolate: Using 4 different bowls, melt each color in the microwave for 30 seconds until melted and smooth.
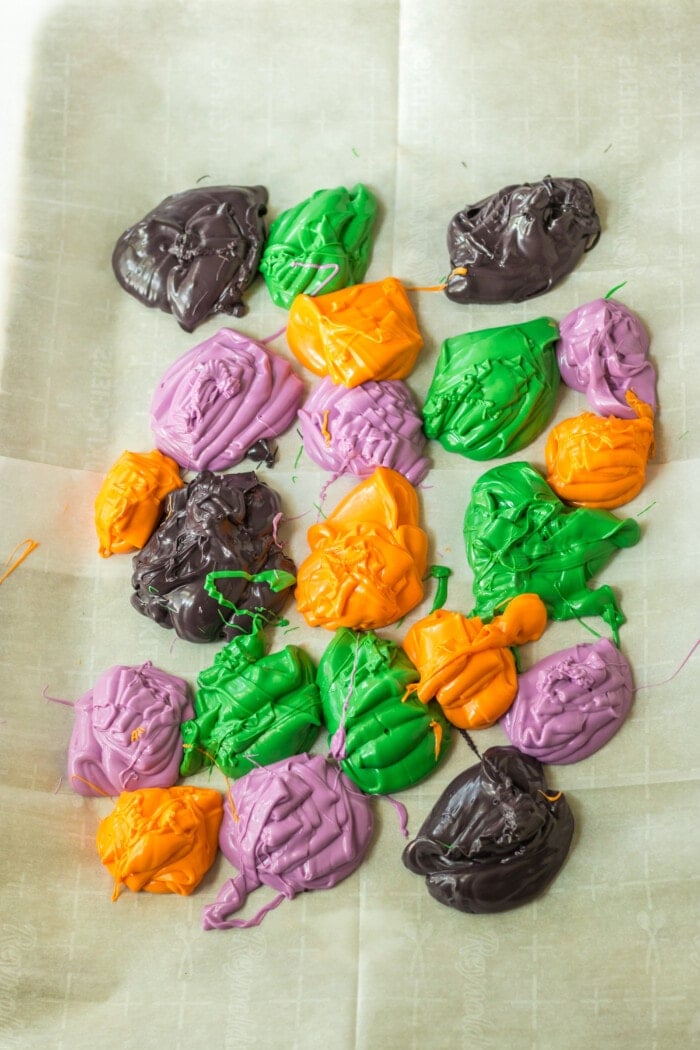
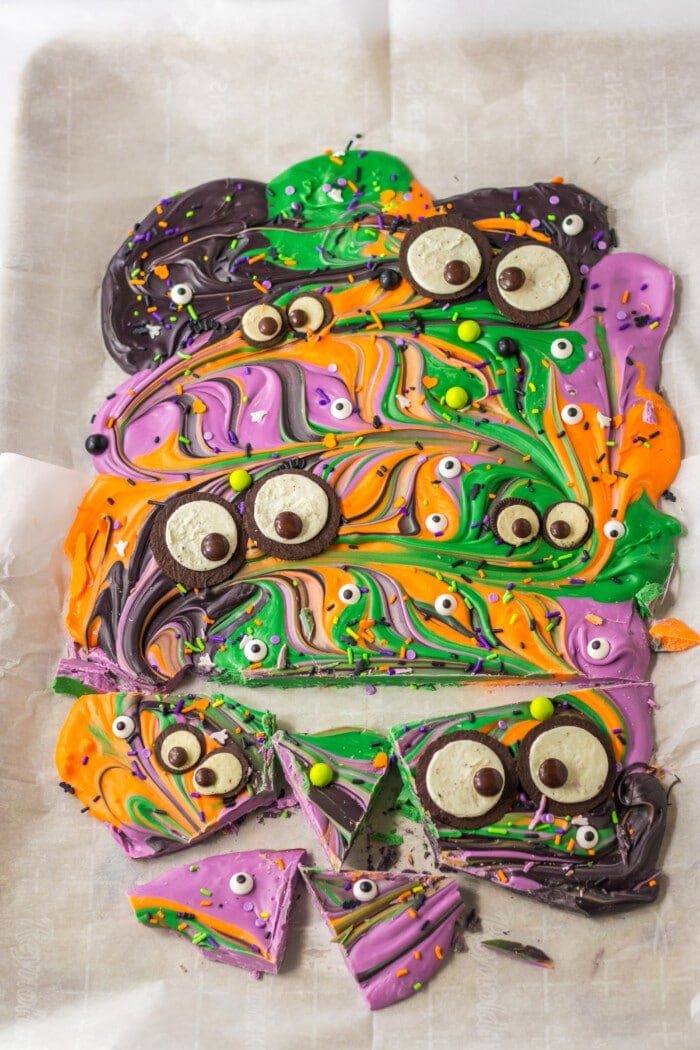
Make the Bark: Line a baking sheet with parchment paper, and place dollops of the melted colors all over the sheet pan. Then swirl them together with a spatula. Separate the sandwich cookies and place 2 cream sides up to create the eyes. Then place the smaller ones on top. Then add M&Ms to make pupils. Make as many sets of eyes as you like. Then sprinkle the entire bark with the sprinkles. Let the bark sit on the counter to harden, or place in the fridge to harden quicker.

Break into pieces and serve.

Tips and Tricks for Halloween Bark Candy
- Storing: Store these in an airtight container at room temperature for up to a week.
- Buying Candy Melts: You can usually find the melting candy in Walmart or a craft store. They have dark chocolate ships as well.
- Melt Chocolate Gently: Melt the chocolate slowly using a microwave or a double boiler to avoid burning it.
- Prepare Toppings: Have your Halloween-themed toppings like cookie eyes, colorful sprinkles, and candy ready before the chocolate sets.
- Chill Quickly: Place the bark in the refrigerator to set quickly, but don’t leave it too long to prevent it from becoming too hard.
- Break it Up: Once set, break the bark into irregular pieces for a rustic, spooky look.
- Get Creative: Don’t be afraid to experiment with various toppings like crushed cookies, pretzels, nuts, candy corn, chocolate chips, white chocolate chips, or dried fruit for extra flavor and texture. You can also use just candy eyeballs if you like.
- Package Creatively: If you’re gifting Halloween Bark, put it in decorative bags or boxes to make it look even more festive.

More Easy Halloween Dessert Recipes

Halloween Bark
Ingredients
- 12 ounce purple melting chocolate
- 12 ounces green melting chocolate
- 12 ounces orange melting chocolate
- 12 ounces black melting chocolate
- Chocolate sandwich cookies
- Mini chocolate sandwich cookies
- Mini m&ms
- Regular m&ms
- Halloween sprinkles
Instructions
- In 4 microwave safe bowl place the 4 different colors of chocolate microwave in 30 second intervals until melted and smooth.
- On a tray or baking sheet lined with parchment paper place dollops of the colors all over the lined sheet pan and swirl them together.
- Separate the sandwich cookies and place 2 cream side up next to each other to create eyes.
- Do the same with the smaller cookies and add M&Ms to make the pupils.
- Add as many sets of eyes as you like.
- Sprinkle the Halloween sprinkles over the bark.
- Let the bark set either on the counter or if you want it to set quickly in the fridge for about 20 minutes.
- Break into pieces and serve!
Last Step:
Please leave a rating and comment letting us know how you liked this recipe! This helps our business to thrive and continue providing free, high-quality recipes for you.Nutrition


Leave a Review!
We LOVE hearing from you! Submit your question or comment here.
Your email address will not be published.