

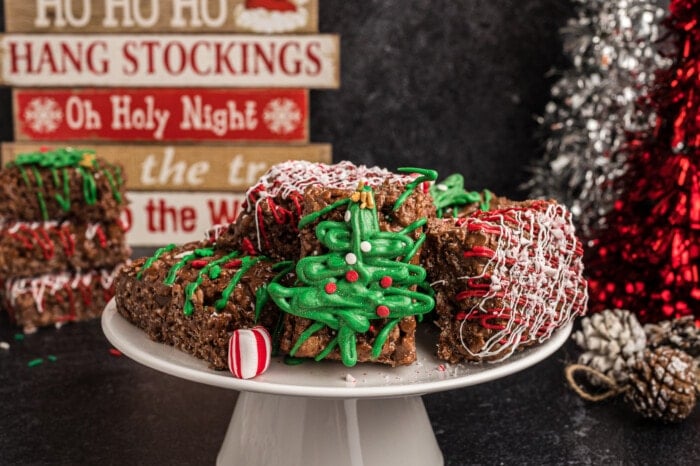
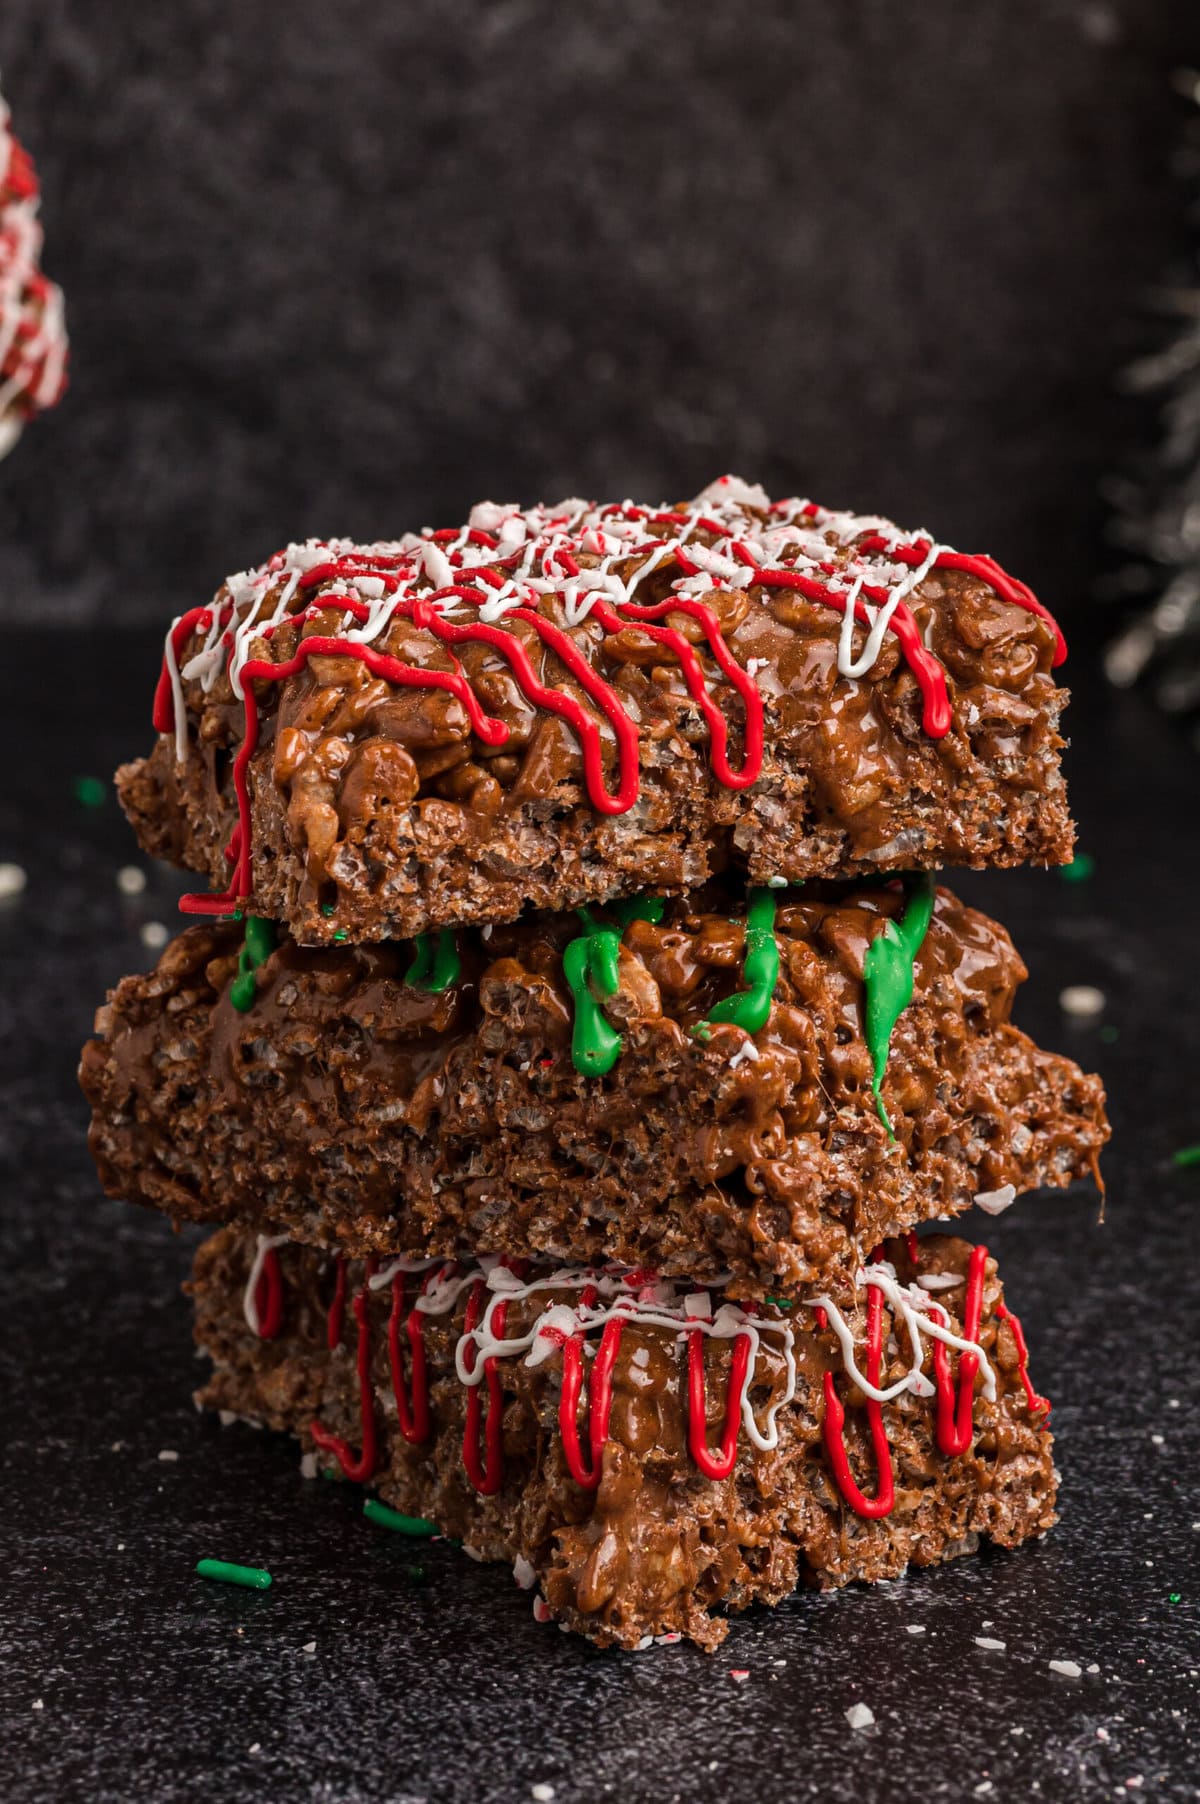
These Chocolate Peppermint Rice Krispie Treats are festive and crunchy with gooey and melted marshmallows with colorful melted chocolate and sprinkles on top.
Christmas Rice Krispie Treats
These cubed sweet treats are irresistible and you won’t be able to get enough of them. They are so good and simple to make with instructions that are easy to follow. Pack these bad boys in your children’s lunch boxes for school or enjoy them as a treat at home or at work when you get hungry for something tasty!
Key Ingredients You’ll Need
Marshmallows: You will need this combined with salted butter to get the rice cereal to stick together.
Chocolate: You will need baking chocolate or 1/2 cup of chocolate chips to get an even more chocolatey flavor. You will also use espresso powder for a strong and rich flavor.
Rice Krispies: I prefer to use cocoa rice Krispies for this recipe, but you can use regular ones if desired.
Peppermint extract: This is your main peppermint flavor and you can add as little or as much as you want into the treats.
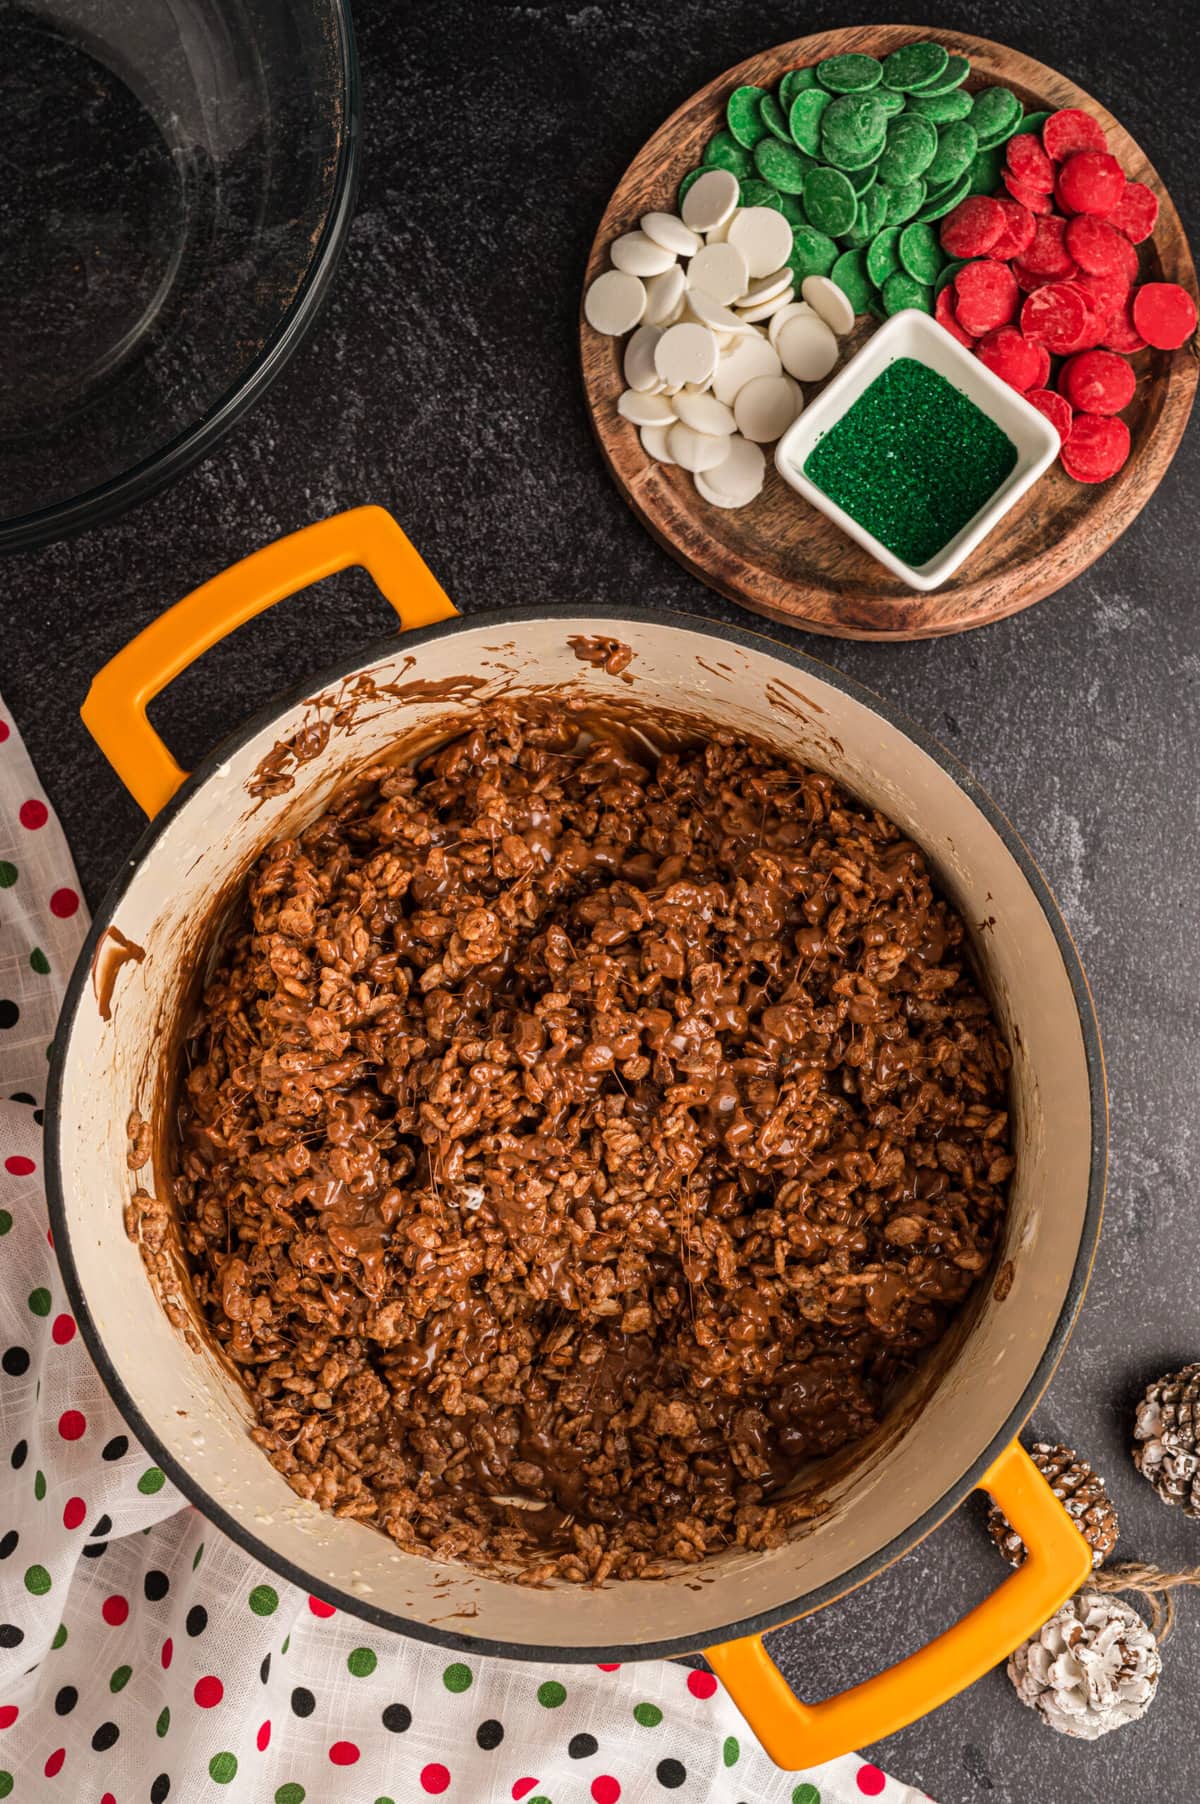
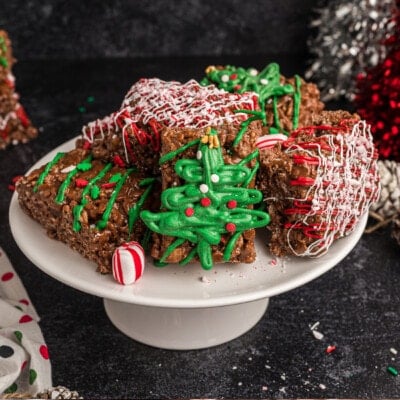
Candy Melts: To make this recipe as festive as possible, I like to use a combination of white, red, and green candy melts along with assorted sprinkles.
How To Make Peppermint Rice Krispie Treats
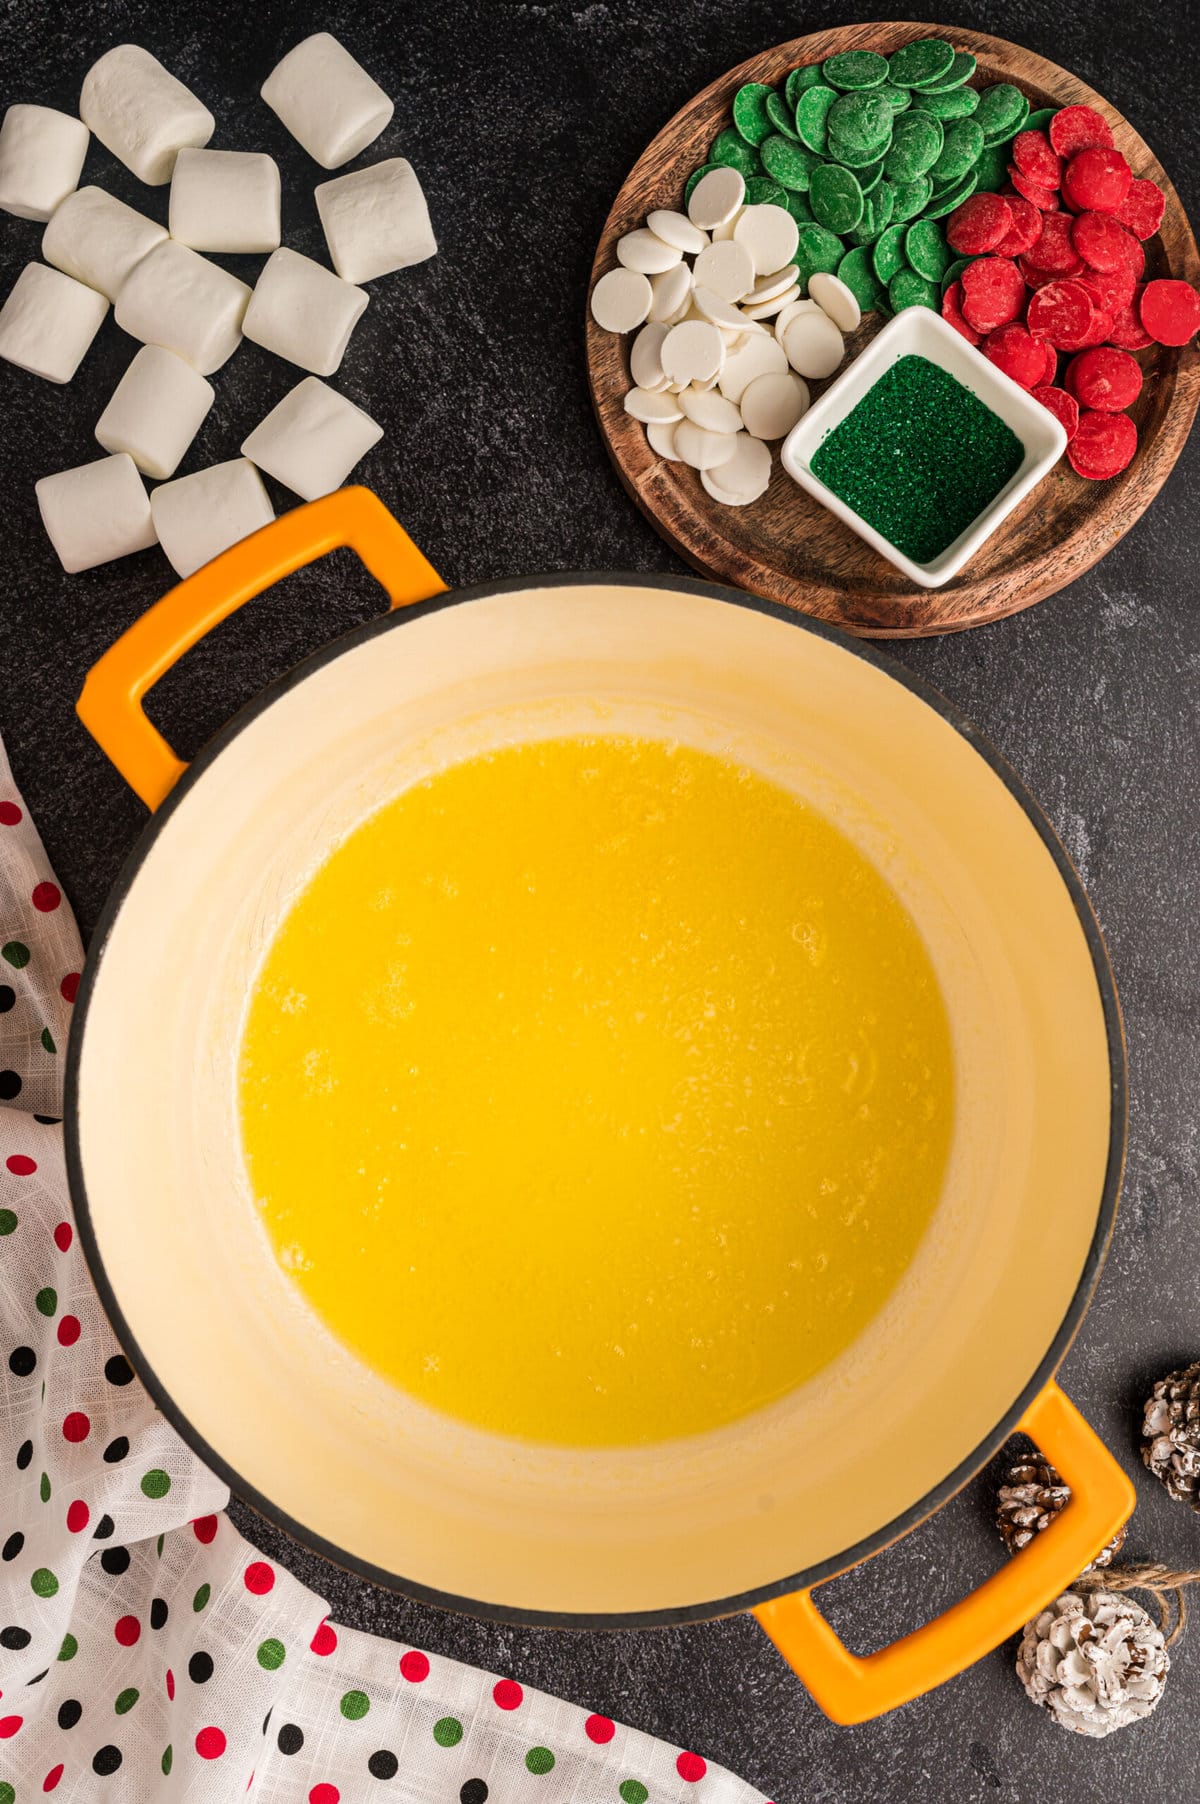
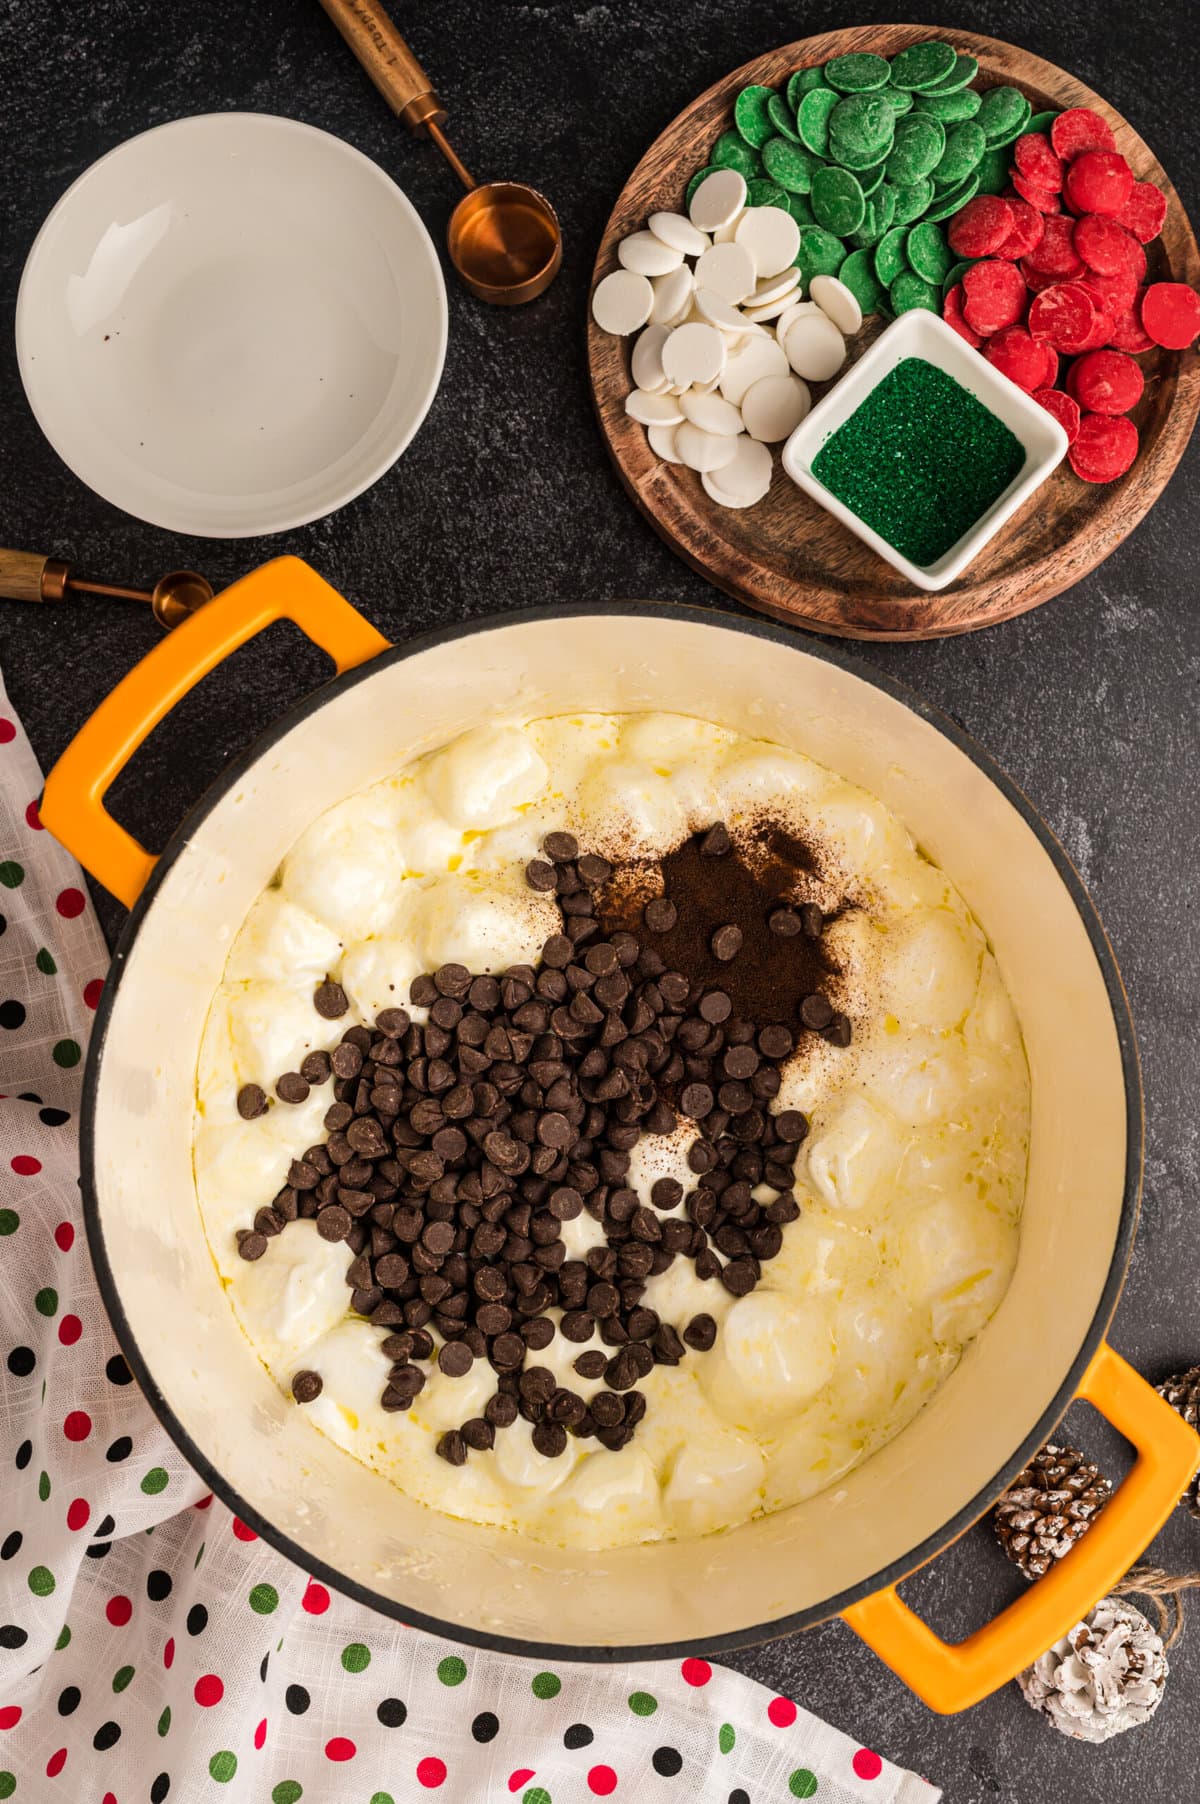
Step 1. Use non-stick spray to grease a 9×13-inch baking dish. Add the salted butter into a large pot or dutch oven to melt on low heat. Put the marshmallows into the butter and once melted, add in the chopped chocolate, peppermint extract, and espresso powder. Cook on low and mix to combine until melted and fully incorporated.

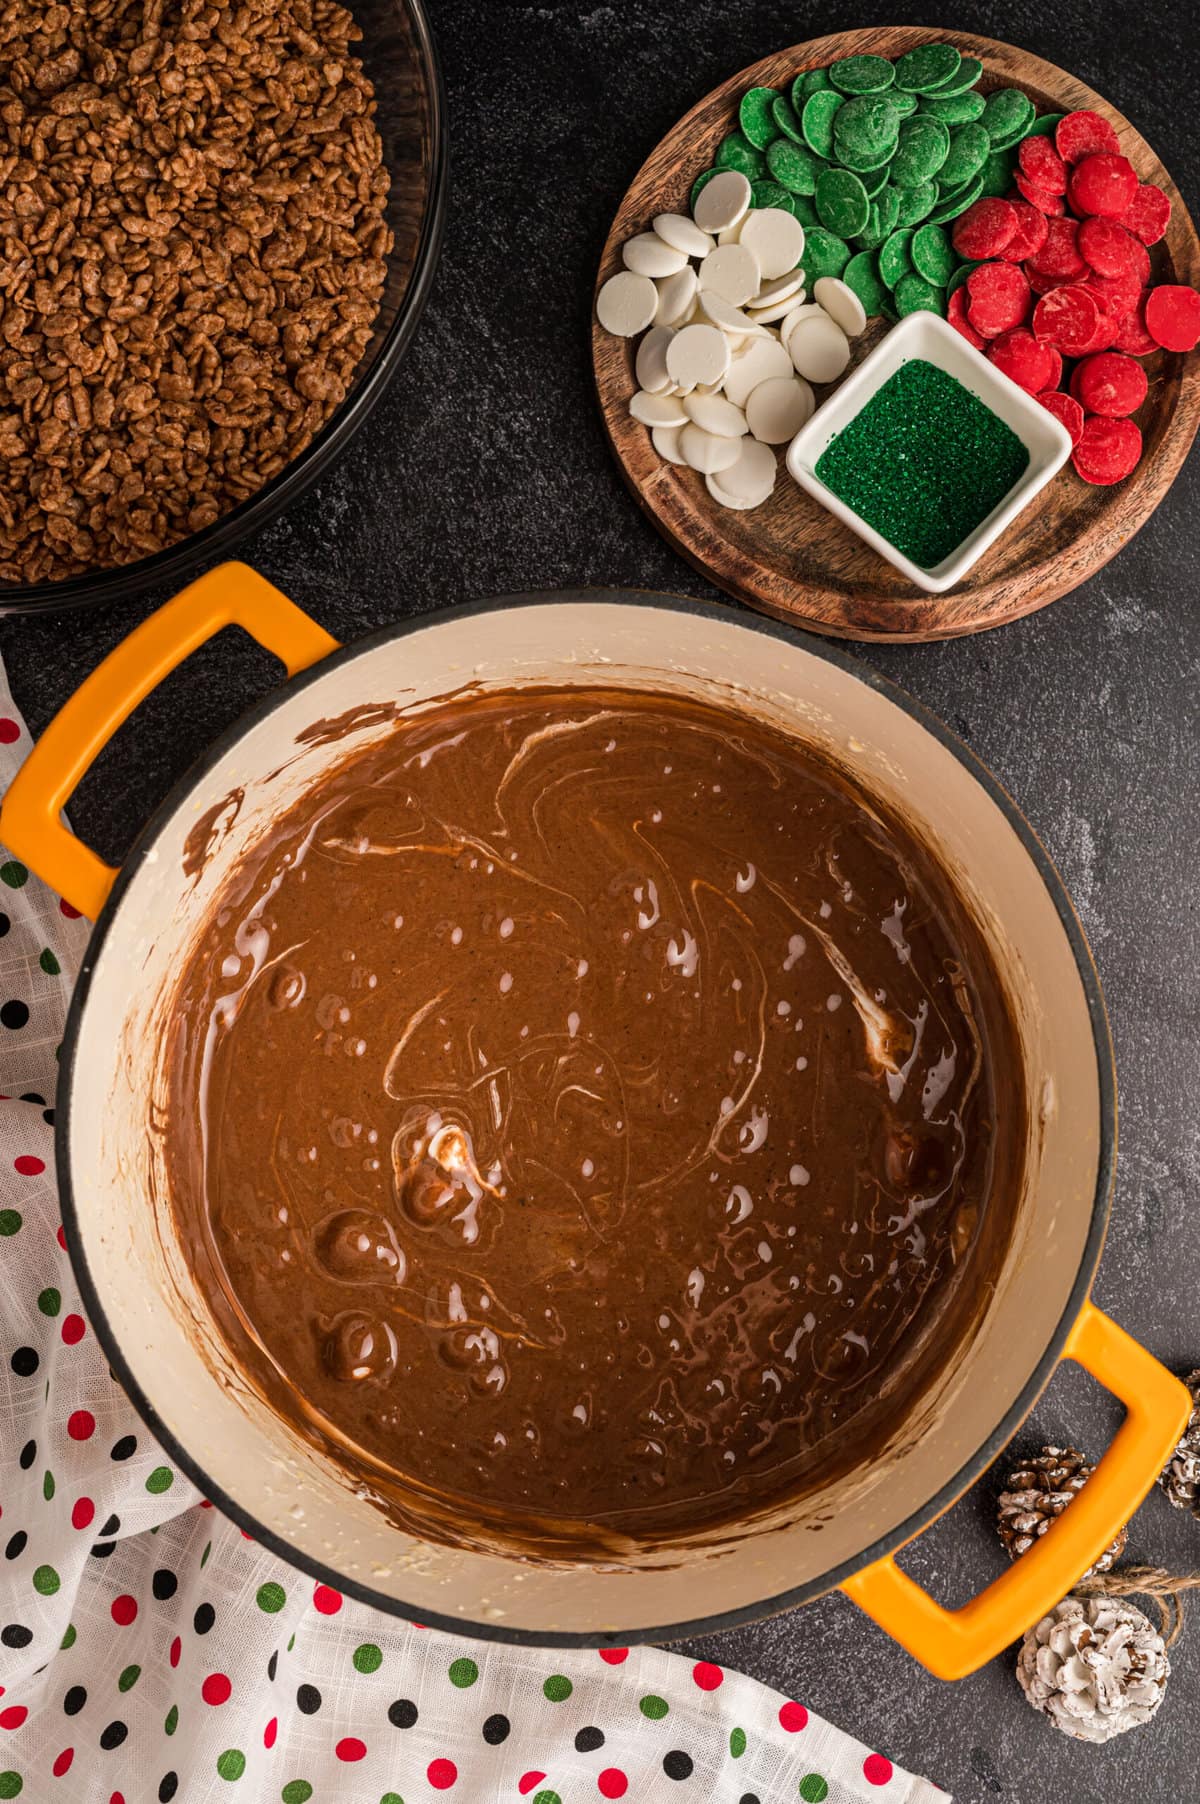
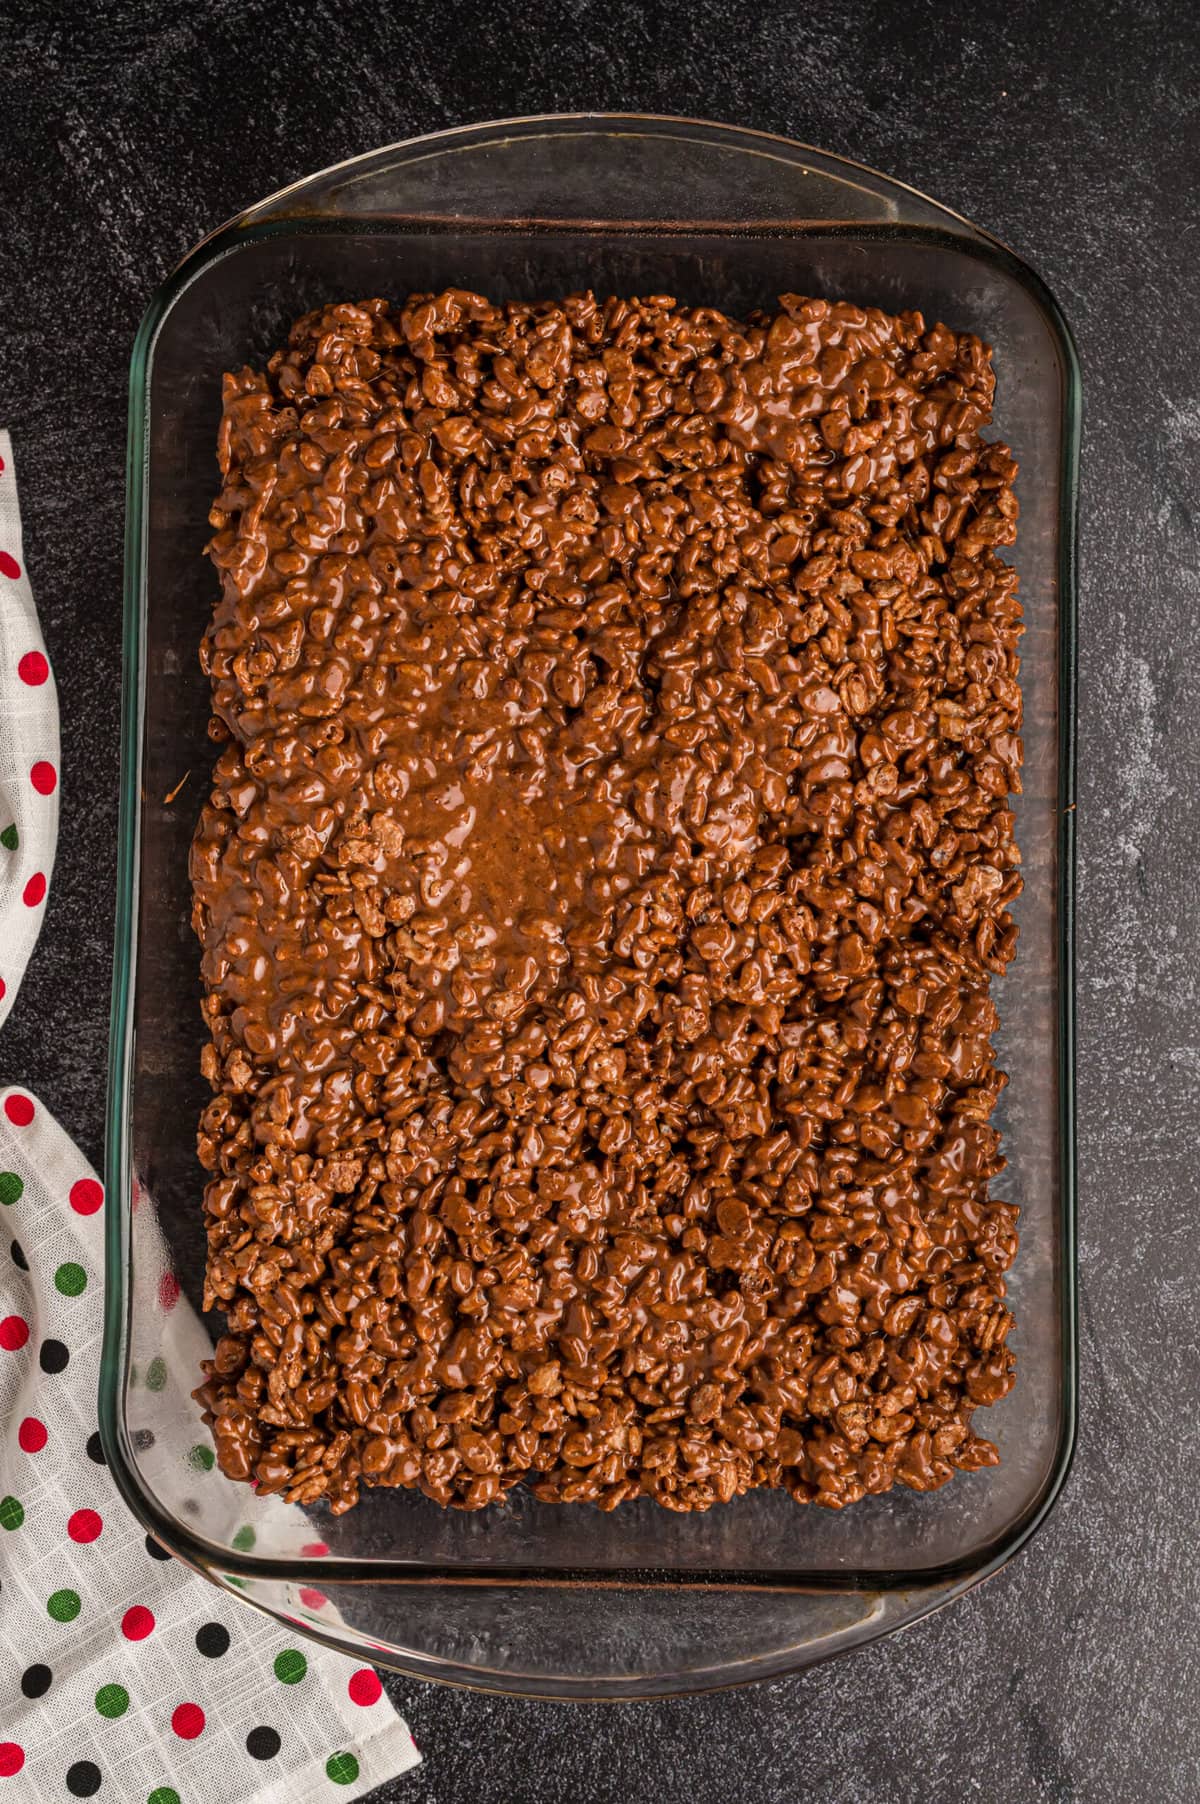
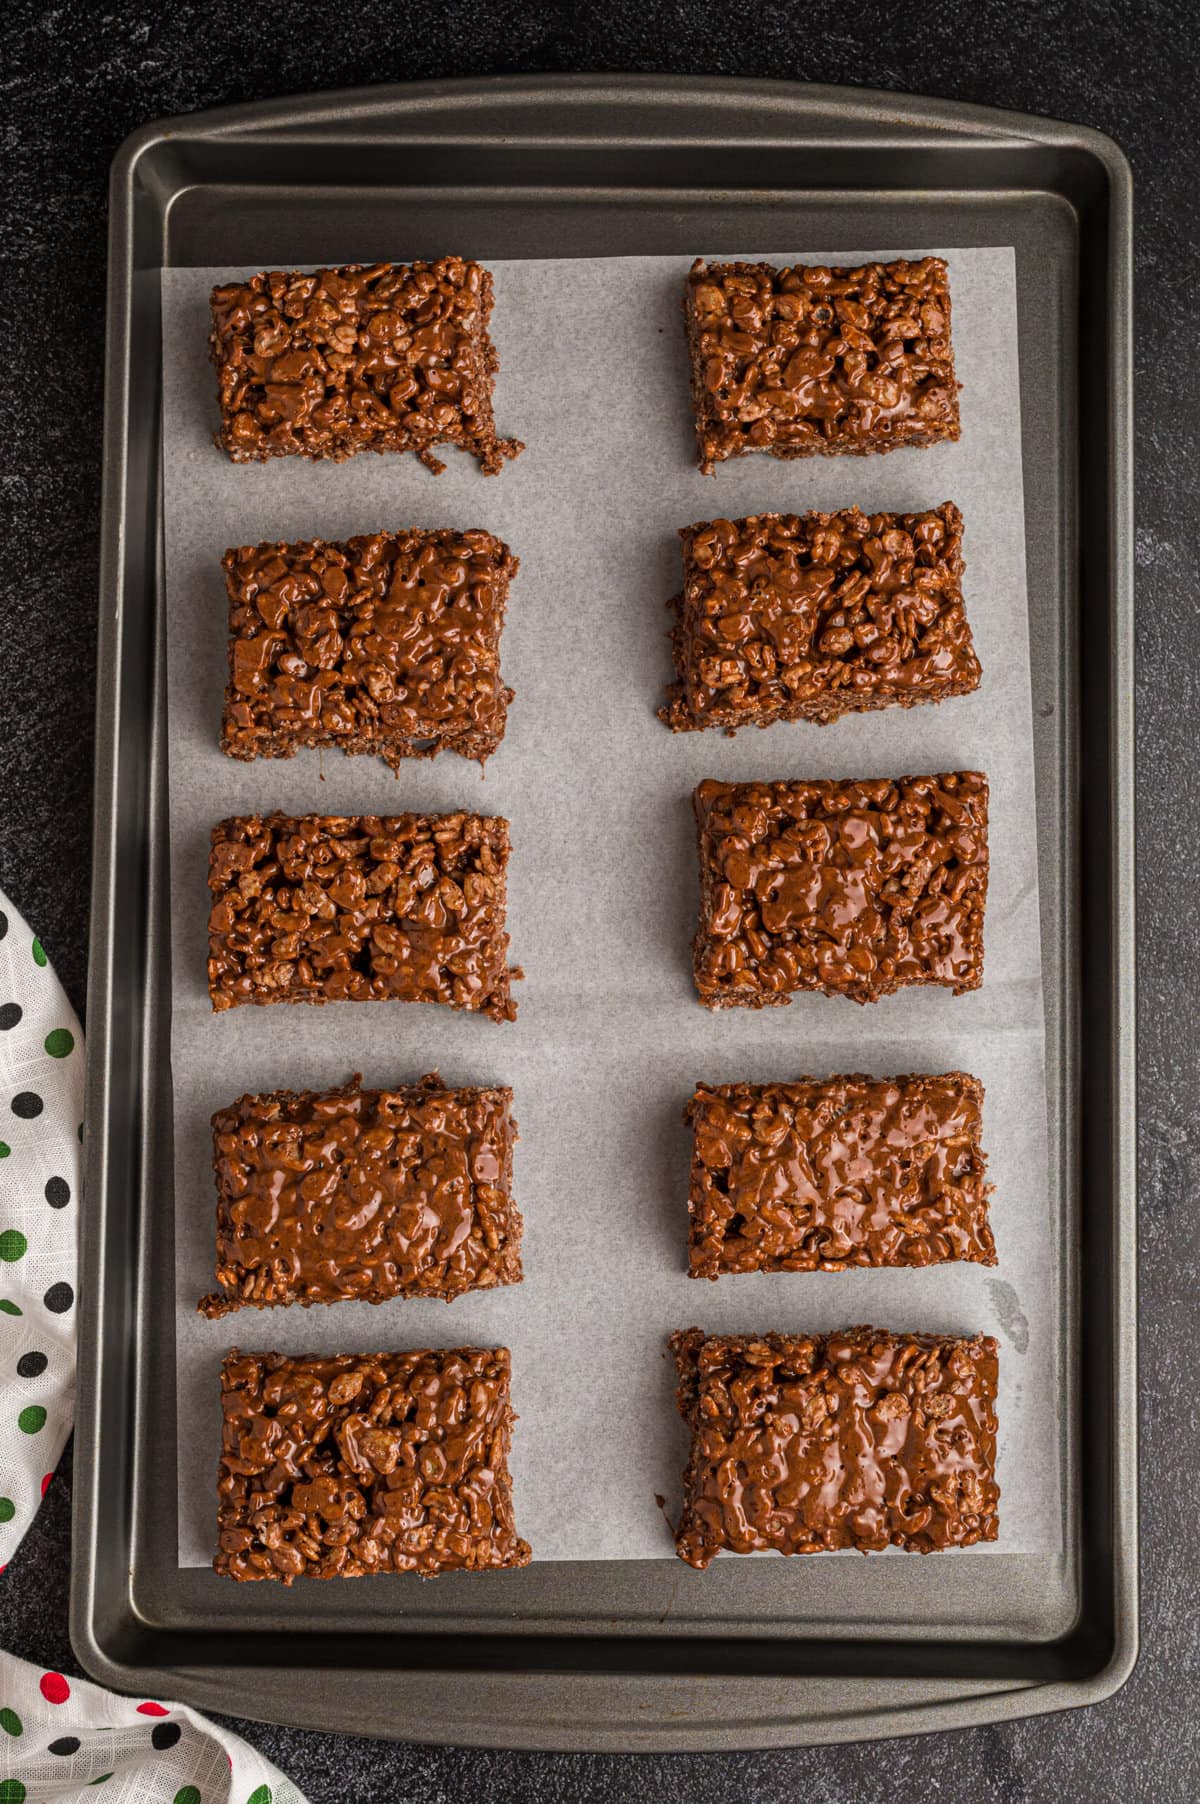
Step 2. Take off the heat and put in the rice Krispies and fold them together with a spatula. Pour the cereal mixture into the prepared baking pan and spread evenly using a spatula that’s been greased with non-stick cooking spray. Allow the mixture to set for 20 minutes before cutting into 12 squares and enjoying.
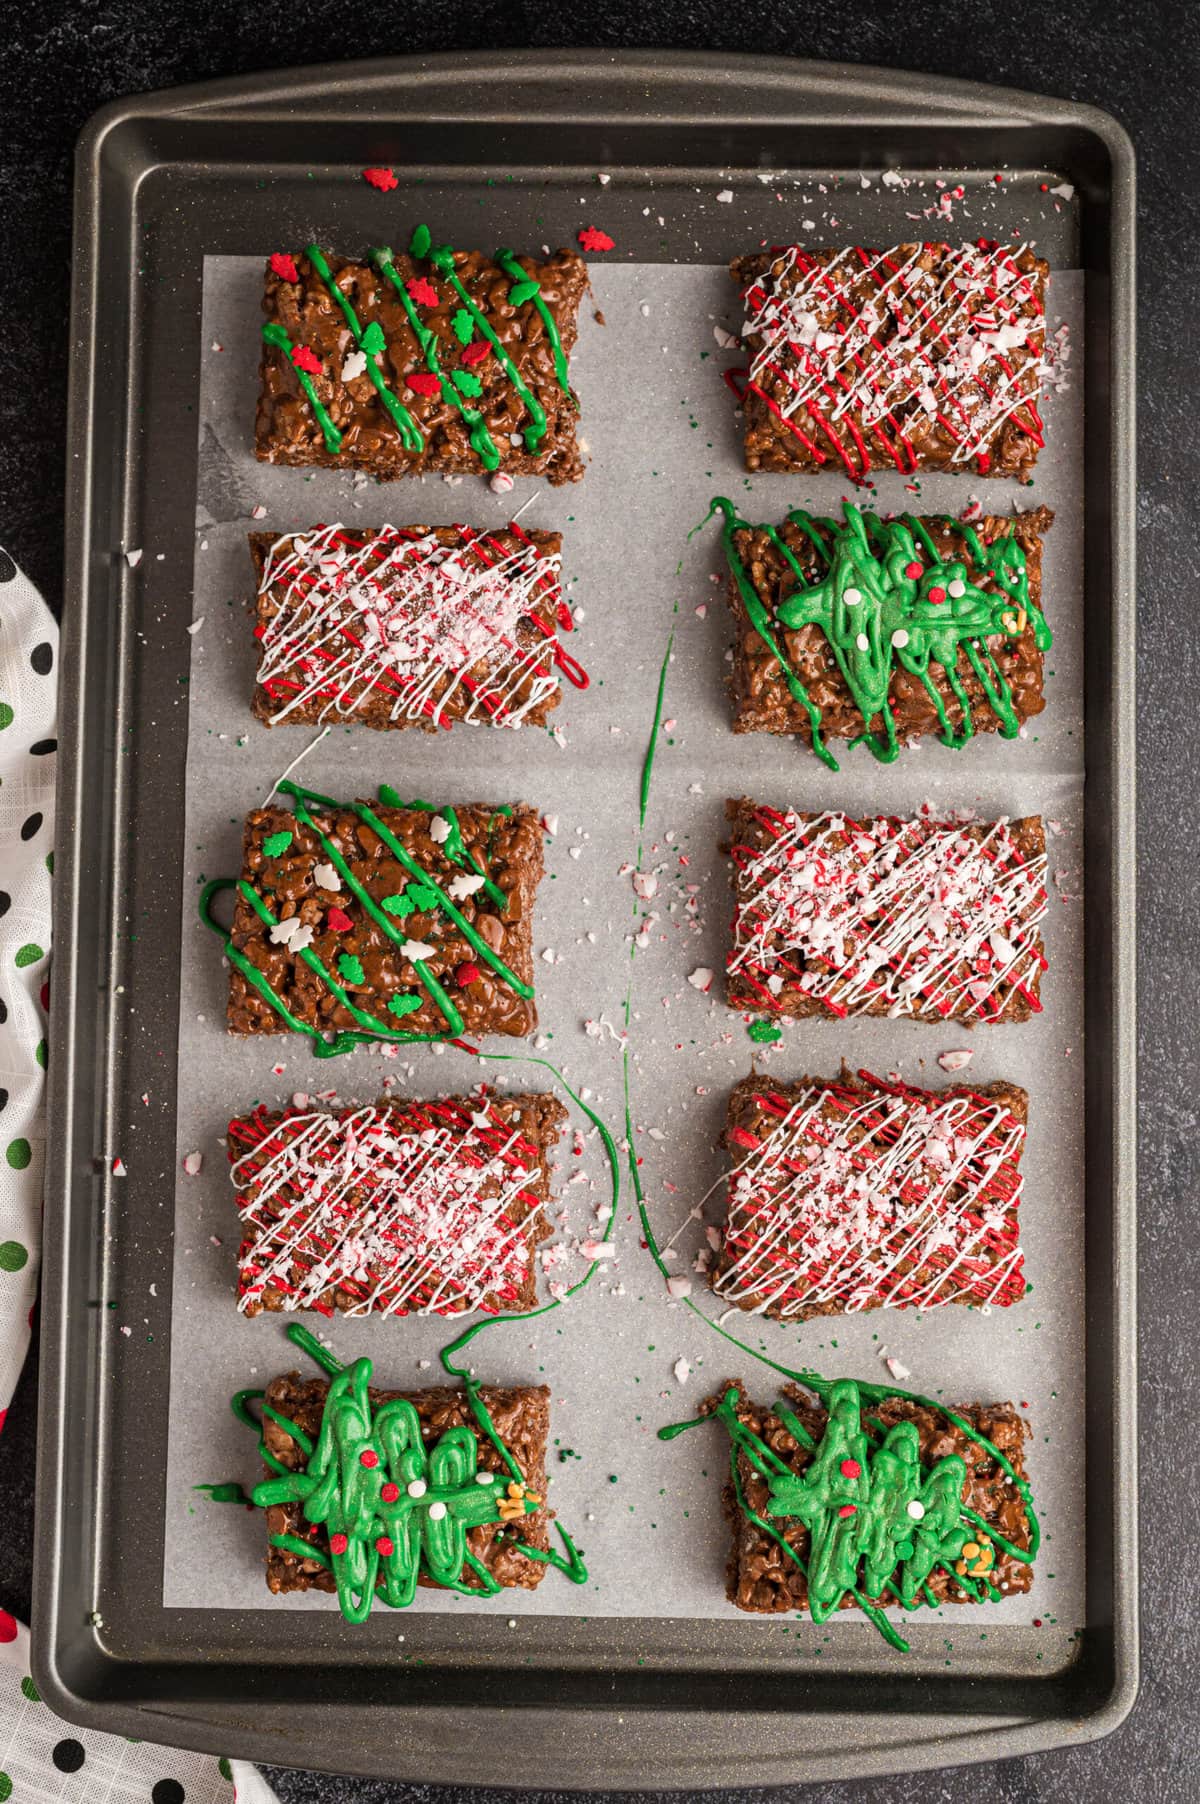
Step 3 (Optional). Add the white candy melts into a heat-safe bowl and melt in 30-second increments until smooth for about 1 1/2 minutes. Make sure to mix between each interval. Put the candy melt into a piping bag or ziplock bag with the corner snipped off. Drizzle on top of the treated with the desired amount and repeat with the two other colors. Top with sprinkles while the drizzle is still wet on top. To make a Christmas tree, use the green melts to drizzle back and forth to form a tree shape, and use the sprinkles to make ornaments on the tree before the drizzle firms up.
Variations Of Peppermint Rice Krispie Treats:
Do you want to try other ways to have tasty treats? These are a few great ways to add to or switch up the recipe to your liking.
- Chocolate: Instead of using just using regular milk chocolate, you can use white or dark chocolate to add more dimension and color to the finished product by drizzling it on top.
- M&M’s: Use mint-flavored candies in the mix to add more flavor and texture! You can also try Andes Mints as well.
Why Are My Rice Krispie Treats Hard?
Sometimes when we come down to the final bit of the recipe, you may find that the treats are far too hard. Unfortunately, this can be from melting the butter and marshmallows at too high of a temperature. I know the idea of sinking your teeth into these is more than tempting, but it’s very important to use low heat or it will become too hard and too dry.
Tips & Tricks
To add more depth of flavor, I recommend using salted butter for this recipe.
Place the treats in an airtight container for the best storage method for up to 2 days at room temperature or 6 weeks in the freezer,

More Rice Krispie Recipes:
- 4th of July Rice Krispie Treats
- Peanut Butter Balls with Rice Krispies
- Oreo Rice Krispie Treats
- Caramel Apple Rice Krispie Treats

Chocolate Peppermint Rice Krispie Treats
Ingredients
For the rice Krispie treats:
- ½ cup butter salted
- 1 15 oz bag marshmallows
- 4 oz baking chocolate chopped or ½ cup chocolate chips
- 8 cups Cocoa Rice Krispies
- ½ tsp peppermint extract
- 1 Tbsp espresso powder
For the decoration: (optional)
- 1 oz white candy melts
- 1 oz red candy melts
- 1 oz green candy melts
- Sprinkles Assorted
Instructions
- Prepare a 9×13 baking dish with non-stick spray. Set aside.
- In a large pot or dutch oven, melt salted butter over low heat.
- Add the marshmallows, Once the marshmallows are melted, add the chopped chocolate, peppermint extract, and espresso powder. Heat on low and stir until the chocolate has melted and everything is incorporated.
- Remove from the heat and add the cocoa rice Krispies, folding together into a sticky mixture.
- Transfer the mixture to the prepared baking dish using a rubber spatula sprayed with non-stick cooking spray and flatten the top.
- Let sit for 20 minutes until the Krispie treats have set.
- Cut into 12 even pieces, Enjoy!
For decorating: (optional)
- In a microwave-safe bowl, add the white candies melt, and microwave for 30-second intervals, stirring between each interval. About 1 ½ minute.
- Add the melted candy melt to a piping bag or a zip-top bag and cut a small piece off of the tip or the corner.
- Drizzle each Krispie treat as desired, and repeat with the other candy melt colors.
- Add the sprinkles when the candy melts are still wet on the Krispie treats.
- To make the candy melt tree, use the green candy melt and drizzle back and forth into a tree-like shape, use sprinkles for the decorations and a star on top before it hardens.
Last Step:
Please leave a rating and comment letting us know how you liked this recipe! This helps our business to thrive and continue providing free, high-quality recipes for you.Nutrition


Leave a Review!
We LOVE hearing from you! Submit your question or comment here.
Your email address will not be published.