
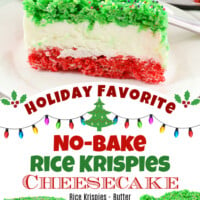
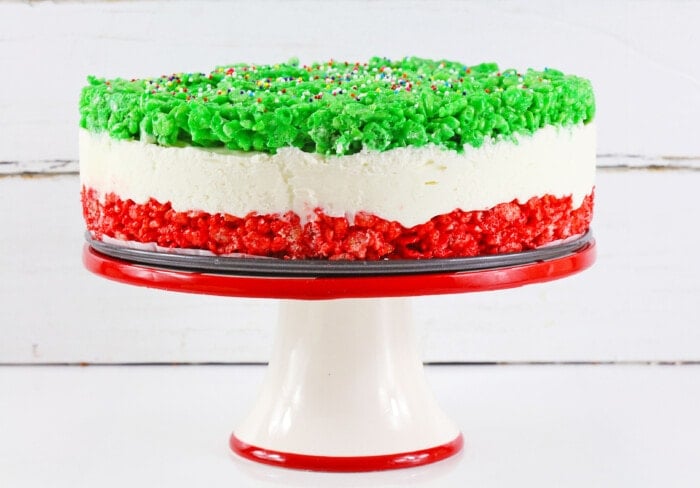
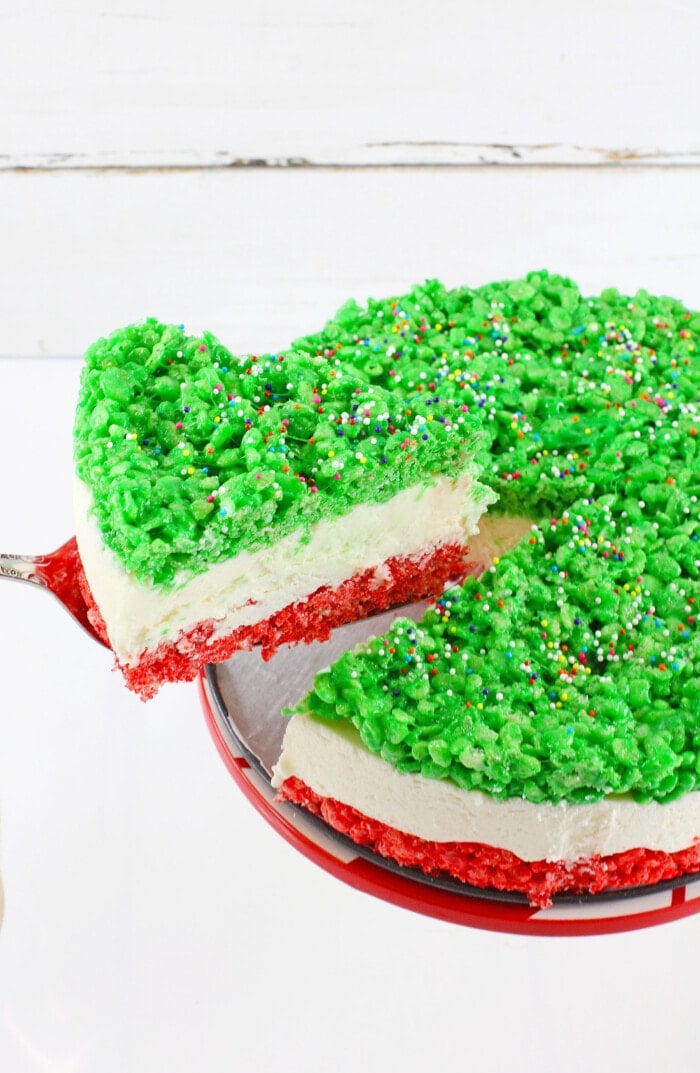
The holidays just got a little brighter with this delicious and festive Christmas Rice Krispie Cheesecake. It has a gooey marshmallow rice Krispie crust with smooth and creamy vanilla cream cheese filling. The best part – it’s No Bake!
Rice Krispie Holiday Cheesecake
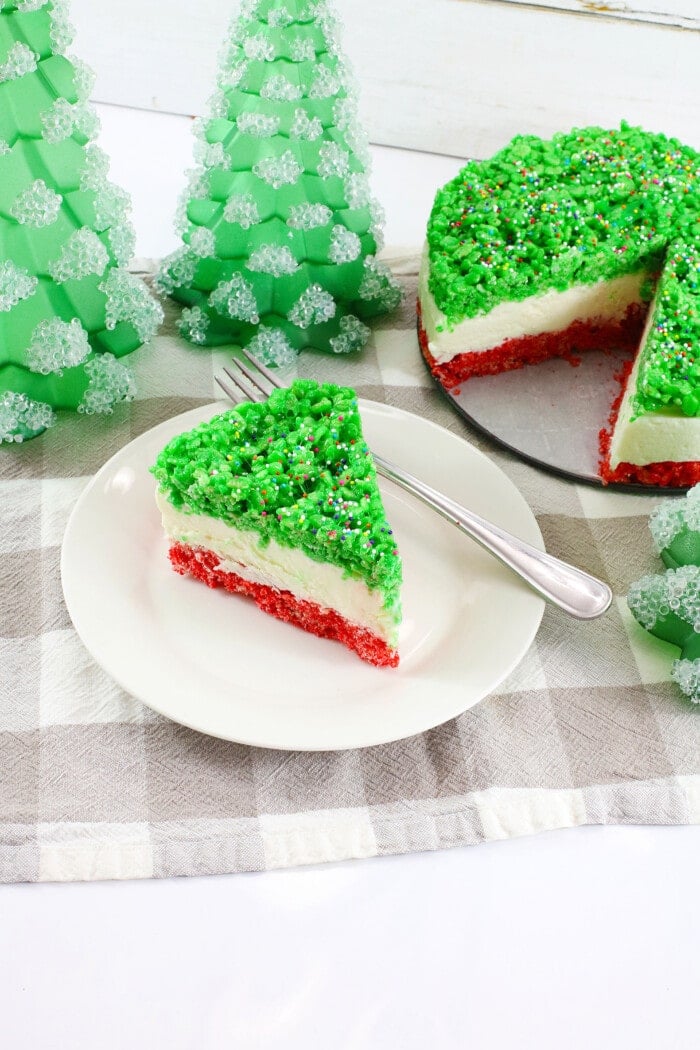
This is an amazing dessert for kids and adults for any kind of holiday event. It is also a super fun recipe to make with your kids as well. They will love making and pressing the crust into the pan and mixing the ingredients. It is a simple no-bake recipe that is absolutely gorgeous when it’s done.
Key Ingredients You’ll Need
Rice Krispies Cereal: You will combine the cereal with marshmallows and butter to make the crust for the cheesecake.
Food Coloring Gel: I like to use Christmas colors like red and green food coloring gel.
Cream Cheese: You will combine this with heavy whipping cream, sugar, and vanilla to make the creamy and smooth filling.
Nonpareils: These can be holiday-themed or assorted colors to add on top for more color.
How To Make Christmas Rice Krispie Cheesecake
Red Crust Layer
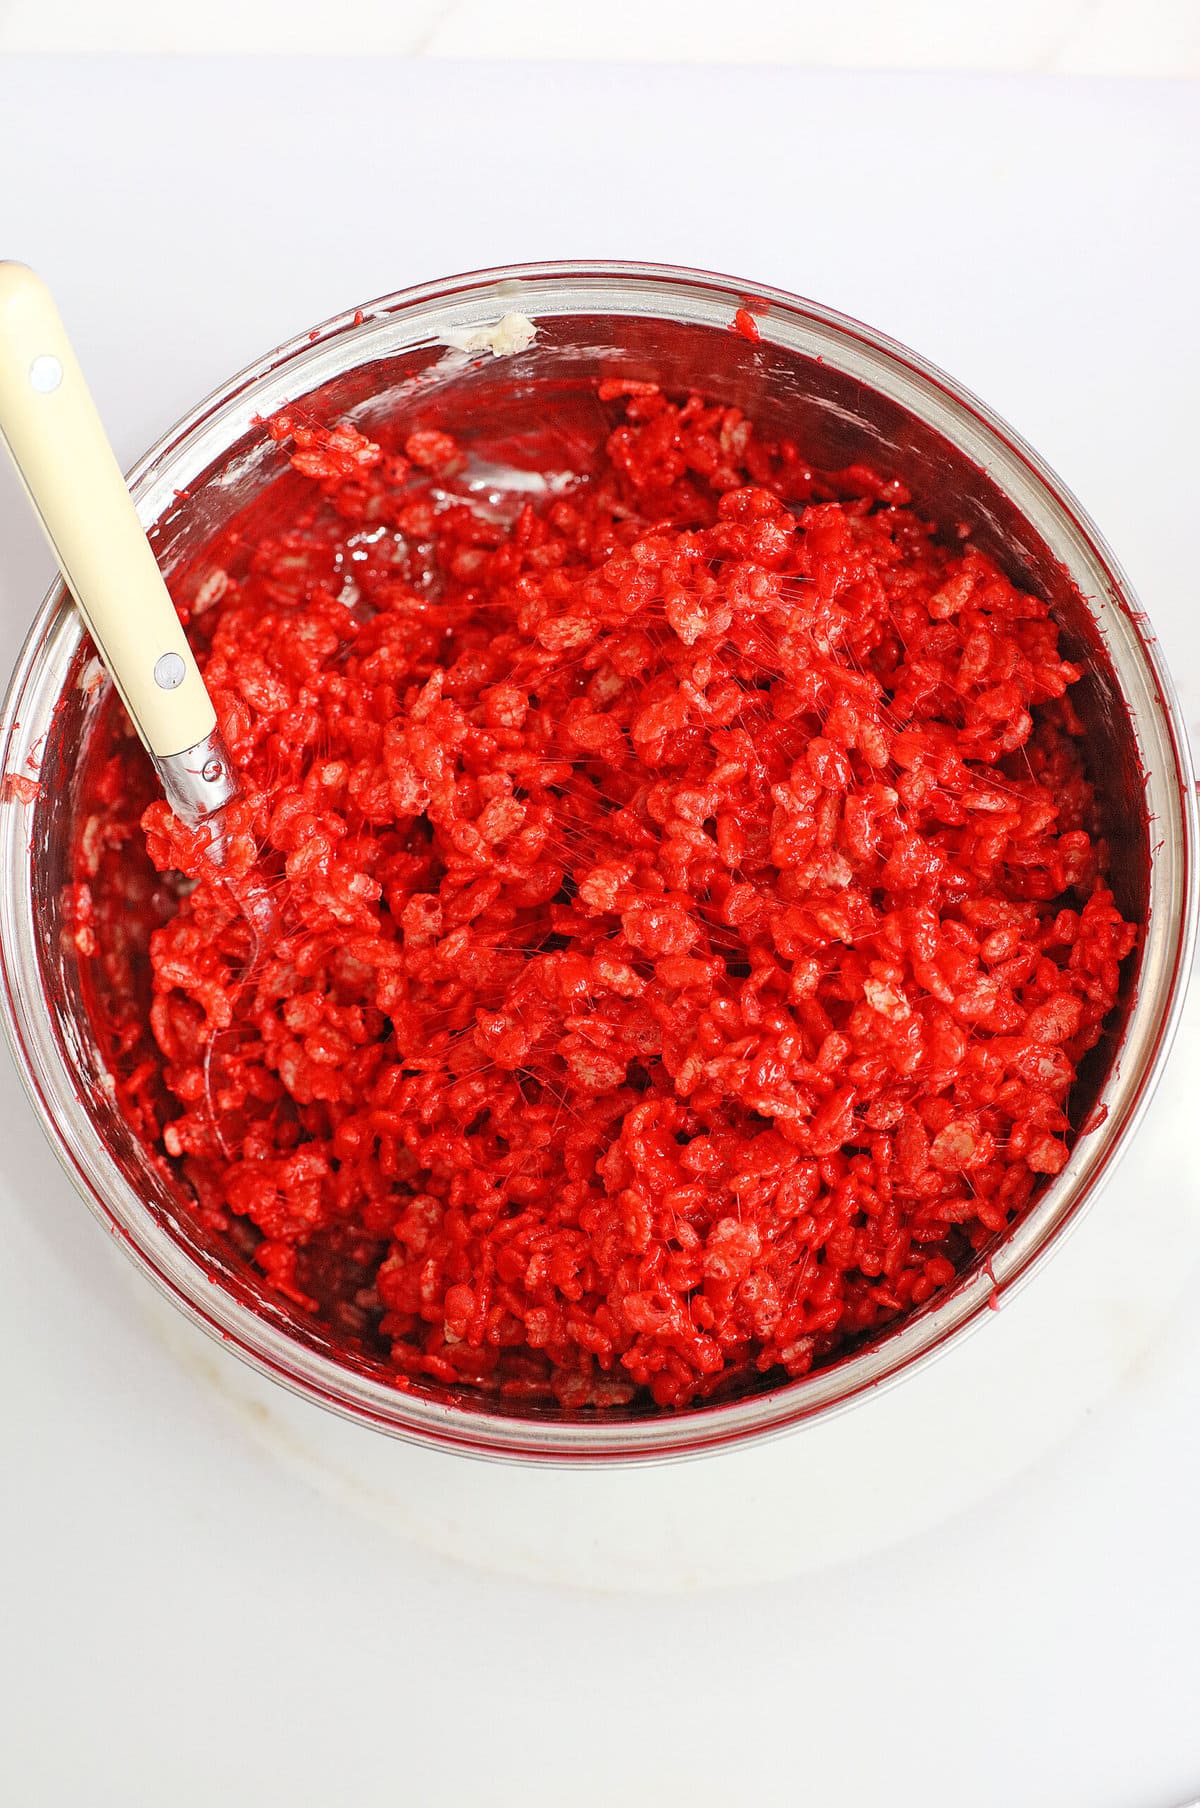
Step 1. Place a cut piece of parchment paper on the base of a spring-form pan to line it. Add half or 1 1/2 Tbsp of butter into a heavy-bottomed saucepan and cook over medium-high heat until melted. Once melted, add 21 marshmallows to the pan and mix. Cook on low until the marshmallows are melted. Once completely melted, put in a few drops of red food coloring and mix and add more coloring until you have a bright red color. Add 3 cups of the cereal into the pan and mix to coat until fully incorporated. Press the mixture into the base of the pan in an even layer and up the sides using a large spatula. Set into the freezer.

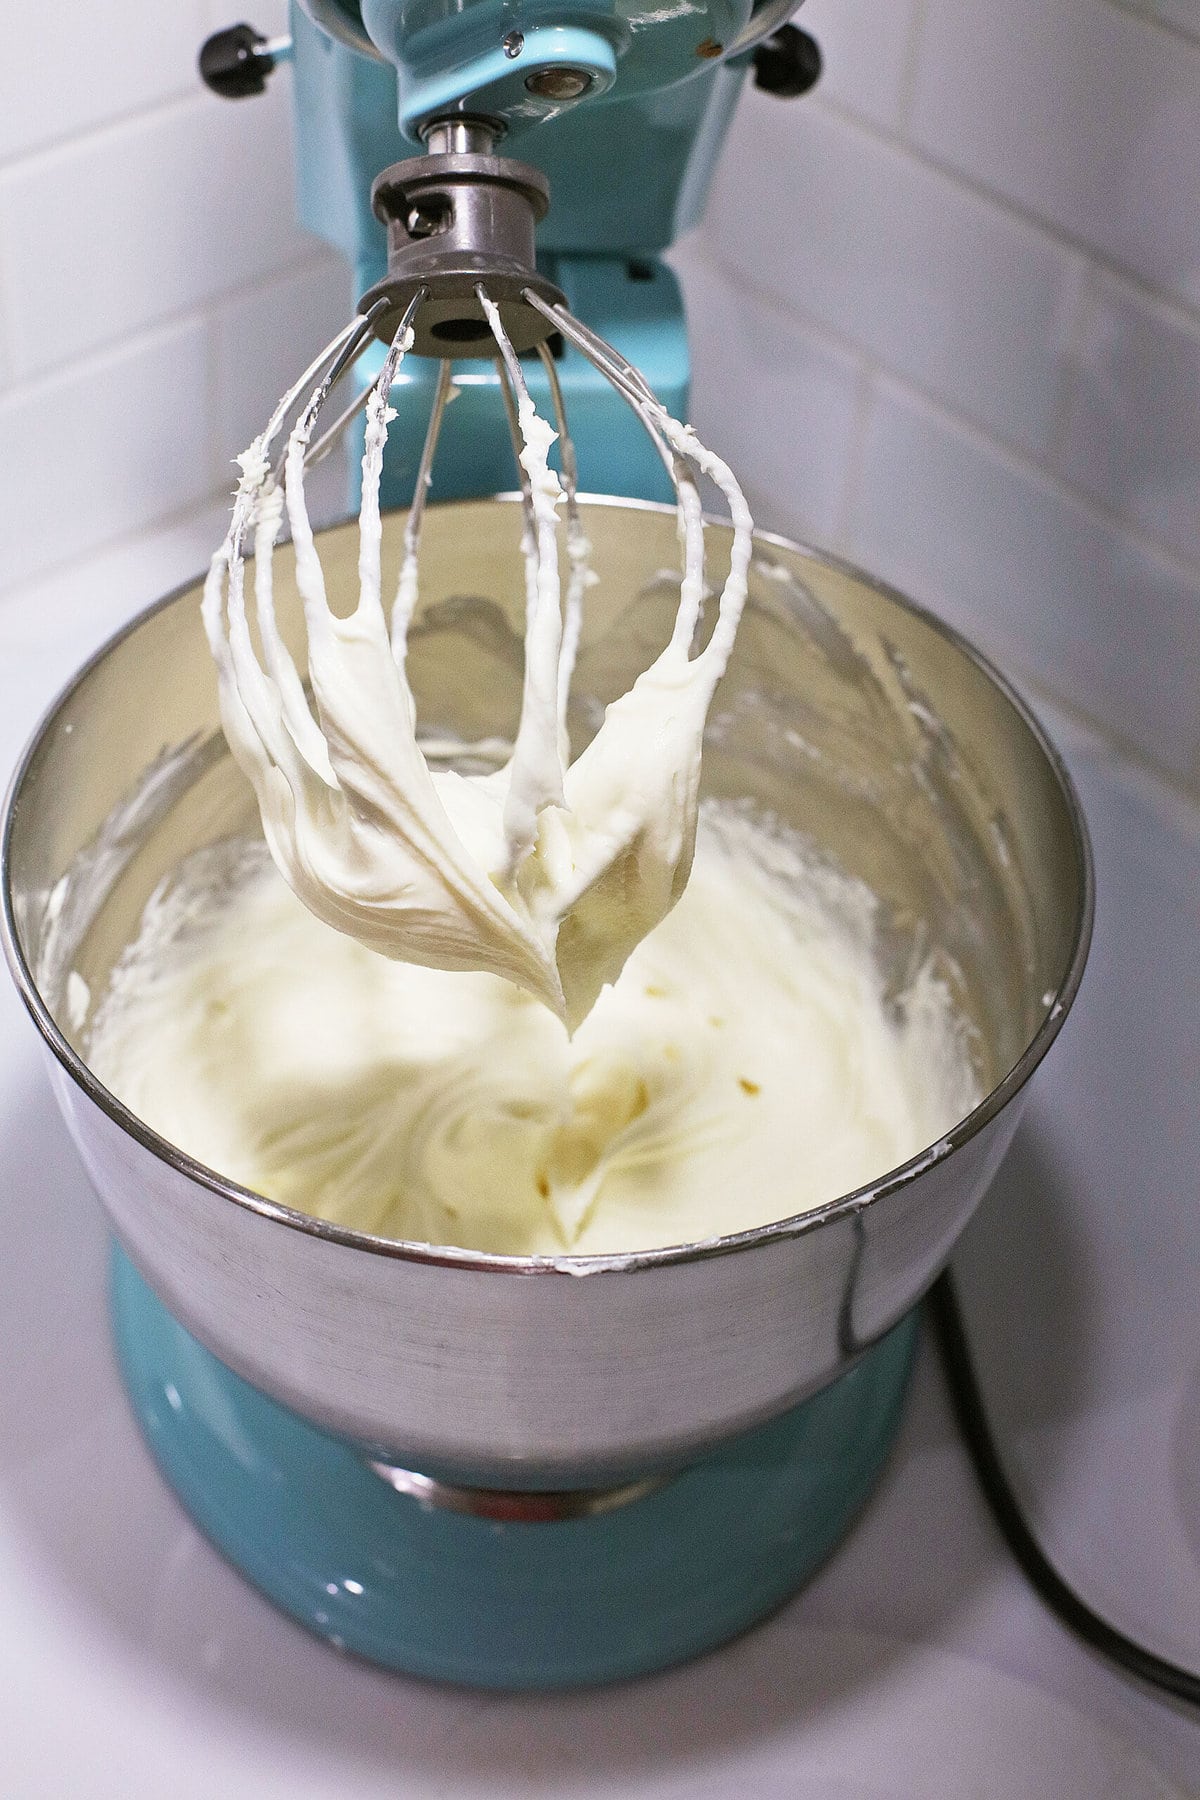
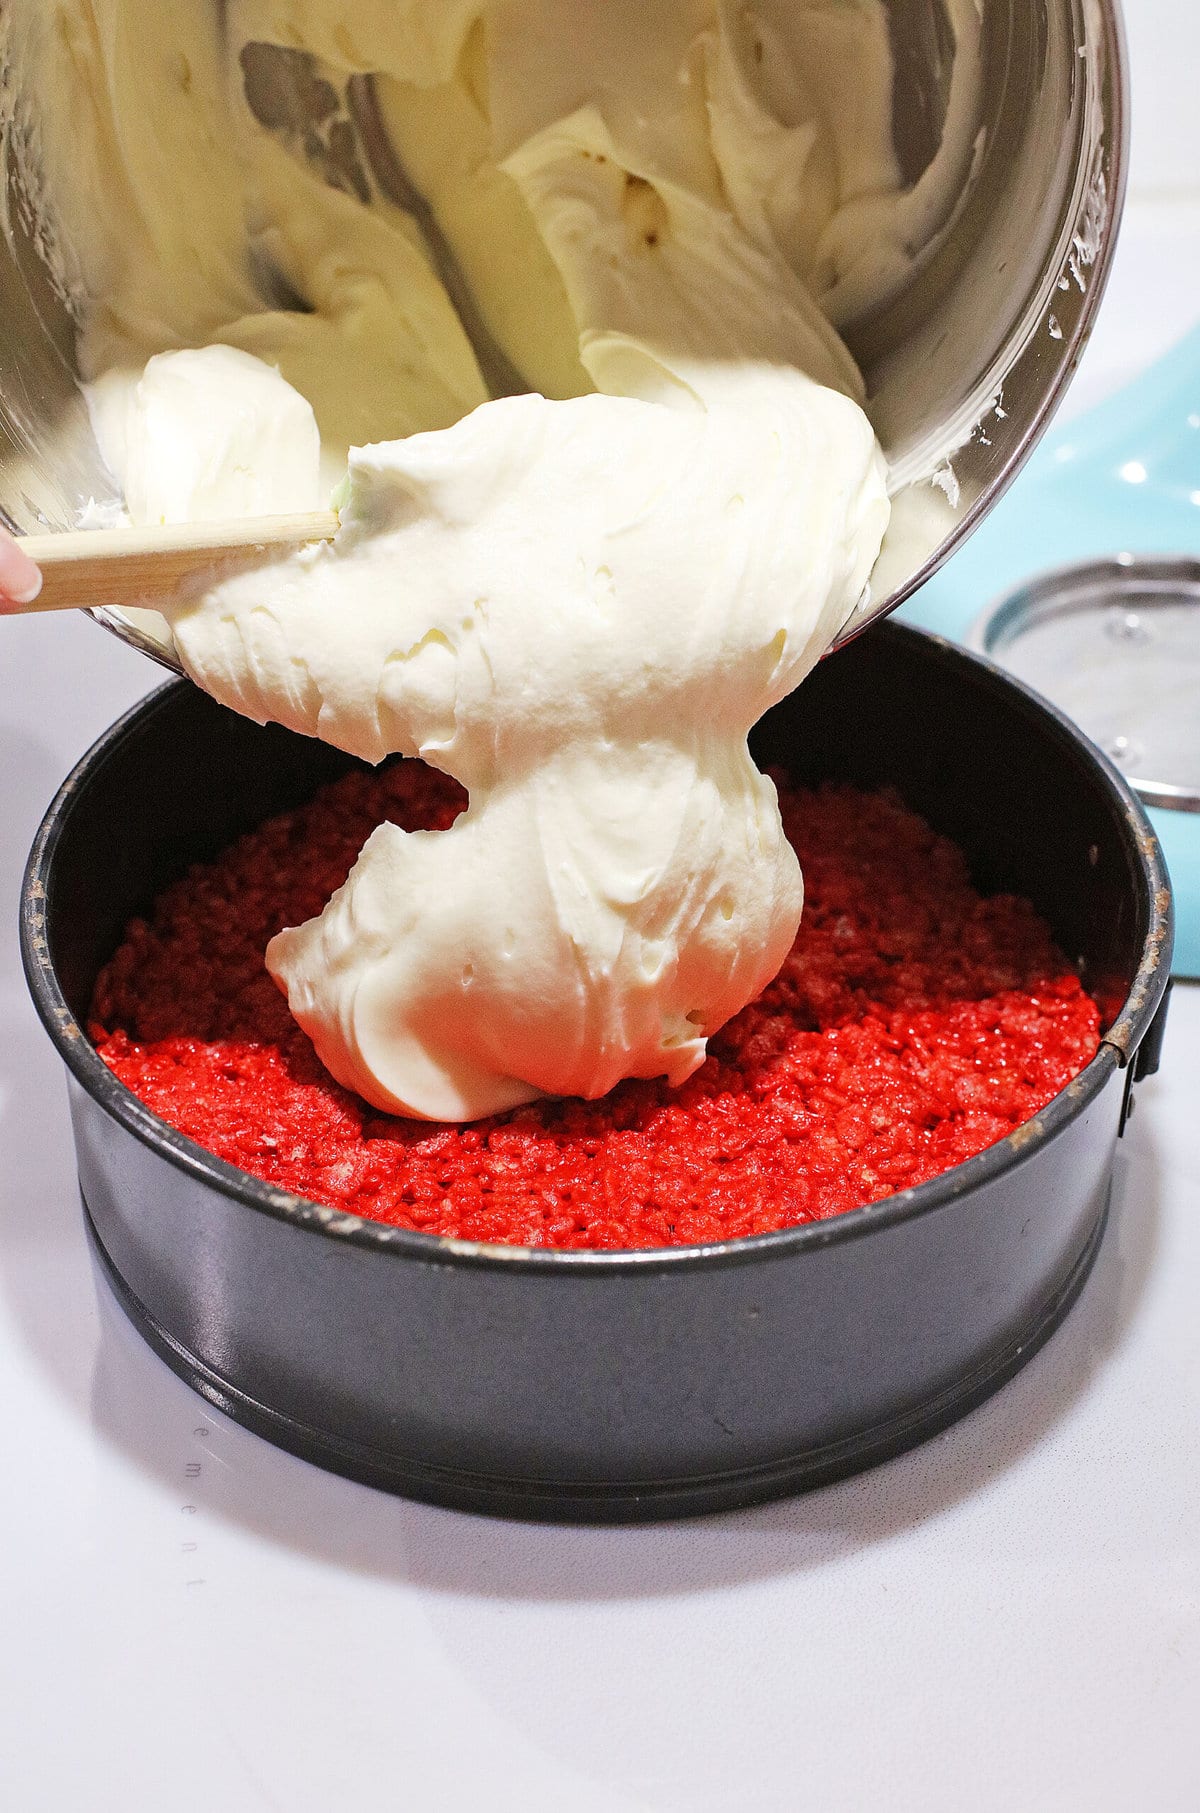
Step 2. Add the whipped cream into a mixing bowl of a standing mixer and beat until stiff peaks form. Turn it off before putting in the sugar, vanilla, and softened cream cheese. Combine until thick, smooth, and creamy. Take the red crust out of the freezer and pour the cheesecake mixture on top. Put the pan back in the freezer for another 4 hours until firm to the touch. Once it’s set, make the top crust.
Green Crust Layer
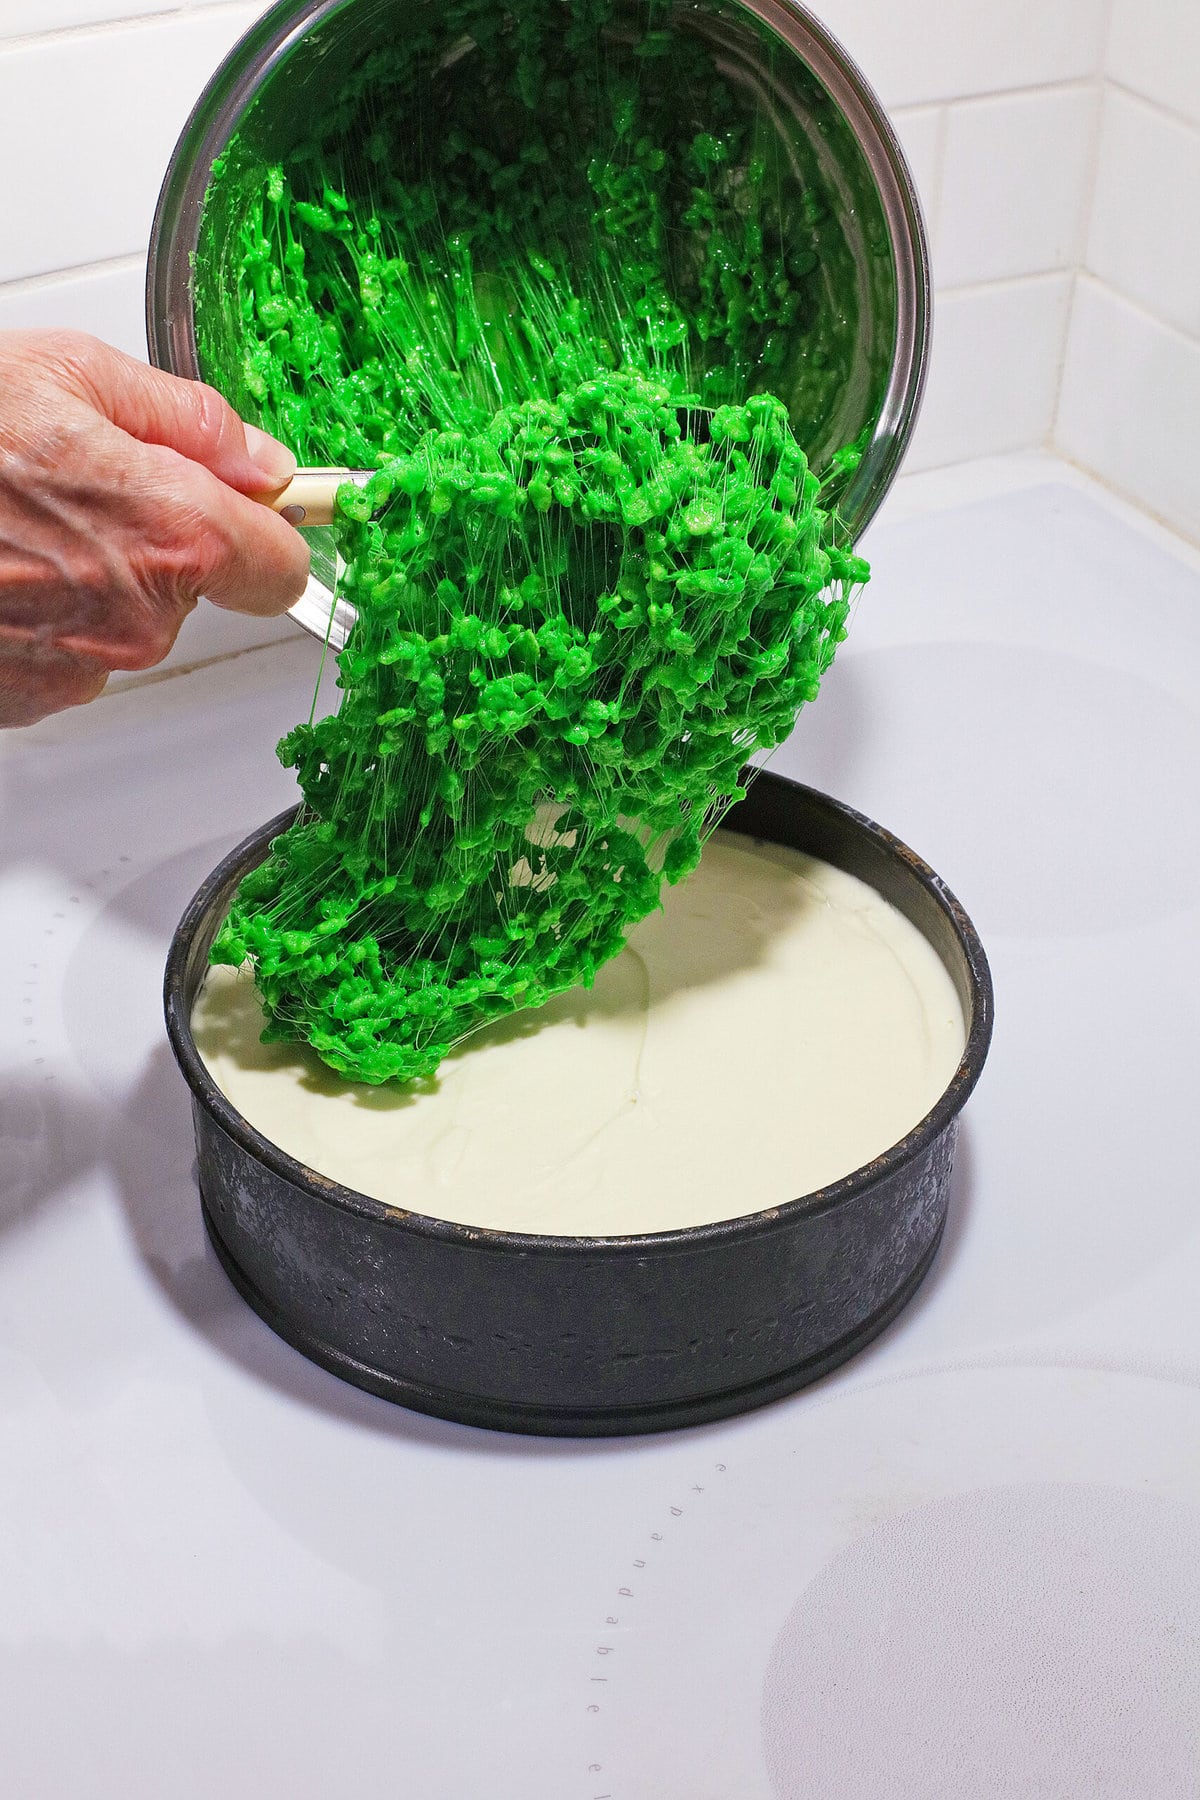
Step 3. Add half or 1 1/2 Tbsp of butter into a heavy-bottomed saucepan and cook over medium-high heat until melted. Once melted, add 22 marshmallows to the pan and mix. Cook on low until the marshmallows are melted. Once completely melted, put in a few drops of green food coloring and mix and add more coloring until you have a bright green color. Add 3 cups of the cereal into the pan and mix to coat until fully incorporated. Put the green mixture on top of the cheesecake layer and spread it into an even layer all the way to the edges using a large spatula.
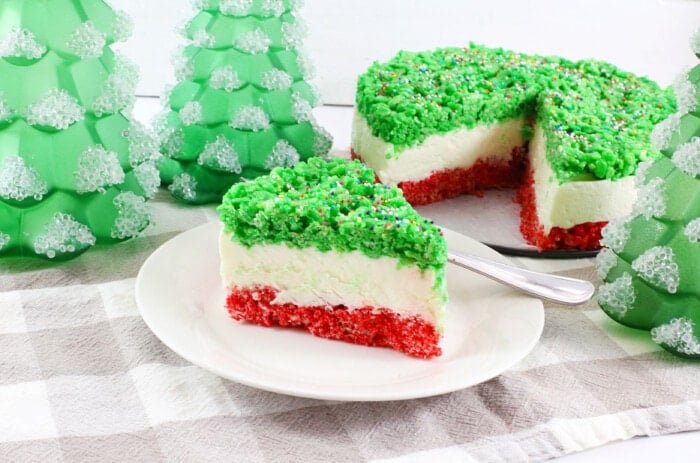
Step 4. Take the cheesecake out of the freezer when you are ready to serve. About 15 minutes before slicing, take it out of the pan. Cut it into 2 to 3-inch pieces using a large sharp knife that has been run under hot water and dried. Serve and enjoy!
Can I Make This Christmas Rice Krispie Cheesecake?
Yes! You can prepare the cheesecake up to 2 days in advance. This is a no-bake recipe, so it’s easy to make ahead and keep stored in the fridge or freezer.
Tips & Tricks
- Feel free to make this with plain, chocolate, or fruity rice Krispies.
- You can serve this on a stand or plate and decorate it to your liking.
- Store the leftovers in an airtight container for the best storage method. You can keep this stored in the fridge for up to a week or in the freezer for up to 3 months.
More Cheesecake Recipes:
- No Bake Peppermint Cheesecake
- Banana Bread Cheesecake
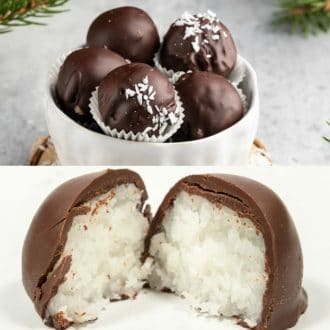
- S’mores Cheesecake Recipe
- No Bake Chocolate Cheesecake
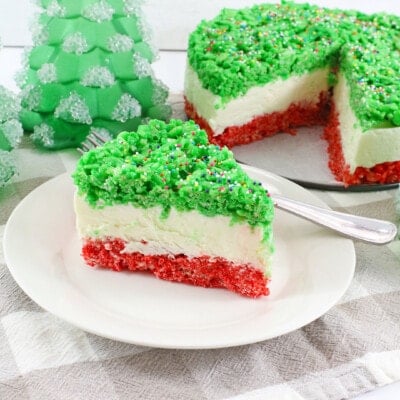
Christmas Rice Krispie Cheesecake
Ingredients
KRISPIES CRUST:
- 1 large package Marshmallows
- 1 12-oz. box Rice Krispies Cereal
- 3 Tbsp Butter
- Food Coloring Gel Christmas Red, divided
- Food Coloring Gel Christmas Green
FOR THE CHEESECAKE:
- 1/2 cup Heavy Whipping Cream
- 1 cup Sugar
- 1 tsp Vanilla
- 2 8 oz. packages Cream Cheese softened
- Nonpareils assorted colors or Christmas mix if desired
Instructions
- Cut the Parchment paper to fit the bottom of the Spring-form pan, line the bottom of the pan with the Parchment paper, and set aside.
- In a heavy-bottomed Sauce Pan, add half of the Butter, or 1 1/2 Tablespoons, and with the heat on medium-high, melt the butter in the pan.
- Count out 21 Marshmallows, and when the Butter is melted, add the Marshmallows to the pan, and stir well, to coat the Marshmallows in the melted Butter. Turn the heat to low, and melt the Marshmallows.
- When the Marshmallows are completely melted, add several drops of the Red Food Coloring Gel, and stir well to make sure all the melted Marshmallows are Christmas Red – add more Food Coloring Gel until you have a bright Red Color.
- Measure out 3 cups of The Rice Krispies Cereal, and add to the Pan. Stir well to blend and coat the Cereal in the Red Marshmallow mixture.
- Press the Krispies/Marshmallow mixture into the bottom of the Spring-form pan, using a large Spatula, and make sure the layer is even, and all the way to the edges of the pan. Place the Pan in the Freezer.
- In the mixing bowl of a stand mixer, add the whipped Cream, and whip until stiff peaks form. Turn off the mixer, and add the Sugar, Vanilla, and softened Cream Cheese.
- Mix until all ingredients are completely blended, and the Cheesecake batter is thick, smooth, and creamy. Remove the pan from the Freezer, and pour the Cheesecake on top of the Red layer of Krispies crust.
- Place the pan back in the Freezer for at least 4 hours, or until the Cheesecake is firm to the touch.When the Cheesecake has set and is firm to the touch, make the top crust.
- In a heavy-bottomed Sauce Pan, add half of the Butter, or 1 1/2 Tablespoons, and with the heat on medium-high, melt the butter in the pan.
- Count out 22 Marshmallows, and when the Butter is melted, add the Marshmallows to the pan, and stir well, to coat the Marshmallows in the melted Butter.
- Turn the heat to low, and melt the Marshmallows. When the Marshmallows are completely melted, add several drops of the Green Food Coloring Gel, and stir well to make sure all the melted Marshmallows are Christmas Green – add more Food Coloring Gel until you have a bright Green Color.
- Measure out 3 cups of The Rice Krispies Cereal, and add to the Pan. Stir well to blend and coat the Cereal in the Green Marshmallow mixture.
- Pour or spoon the Krispies/Marshmallow mixture on top of the Cheesecake layer, and spread the Green Krispies out to the edge of the Spring-form pan, using a large Spatula, and make sure the layer is even, and all the way to the edges of the pan. This should fill the pan to the top.
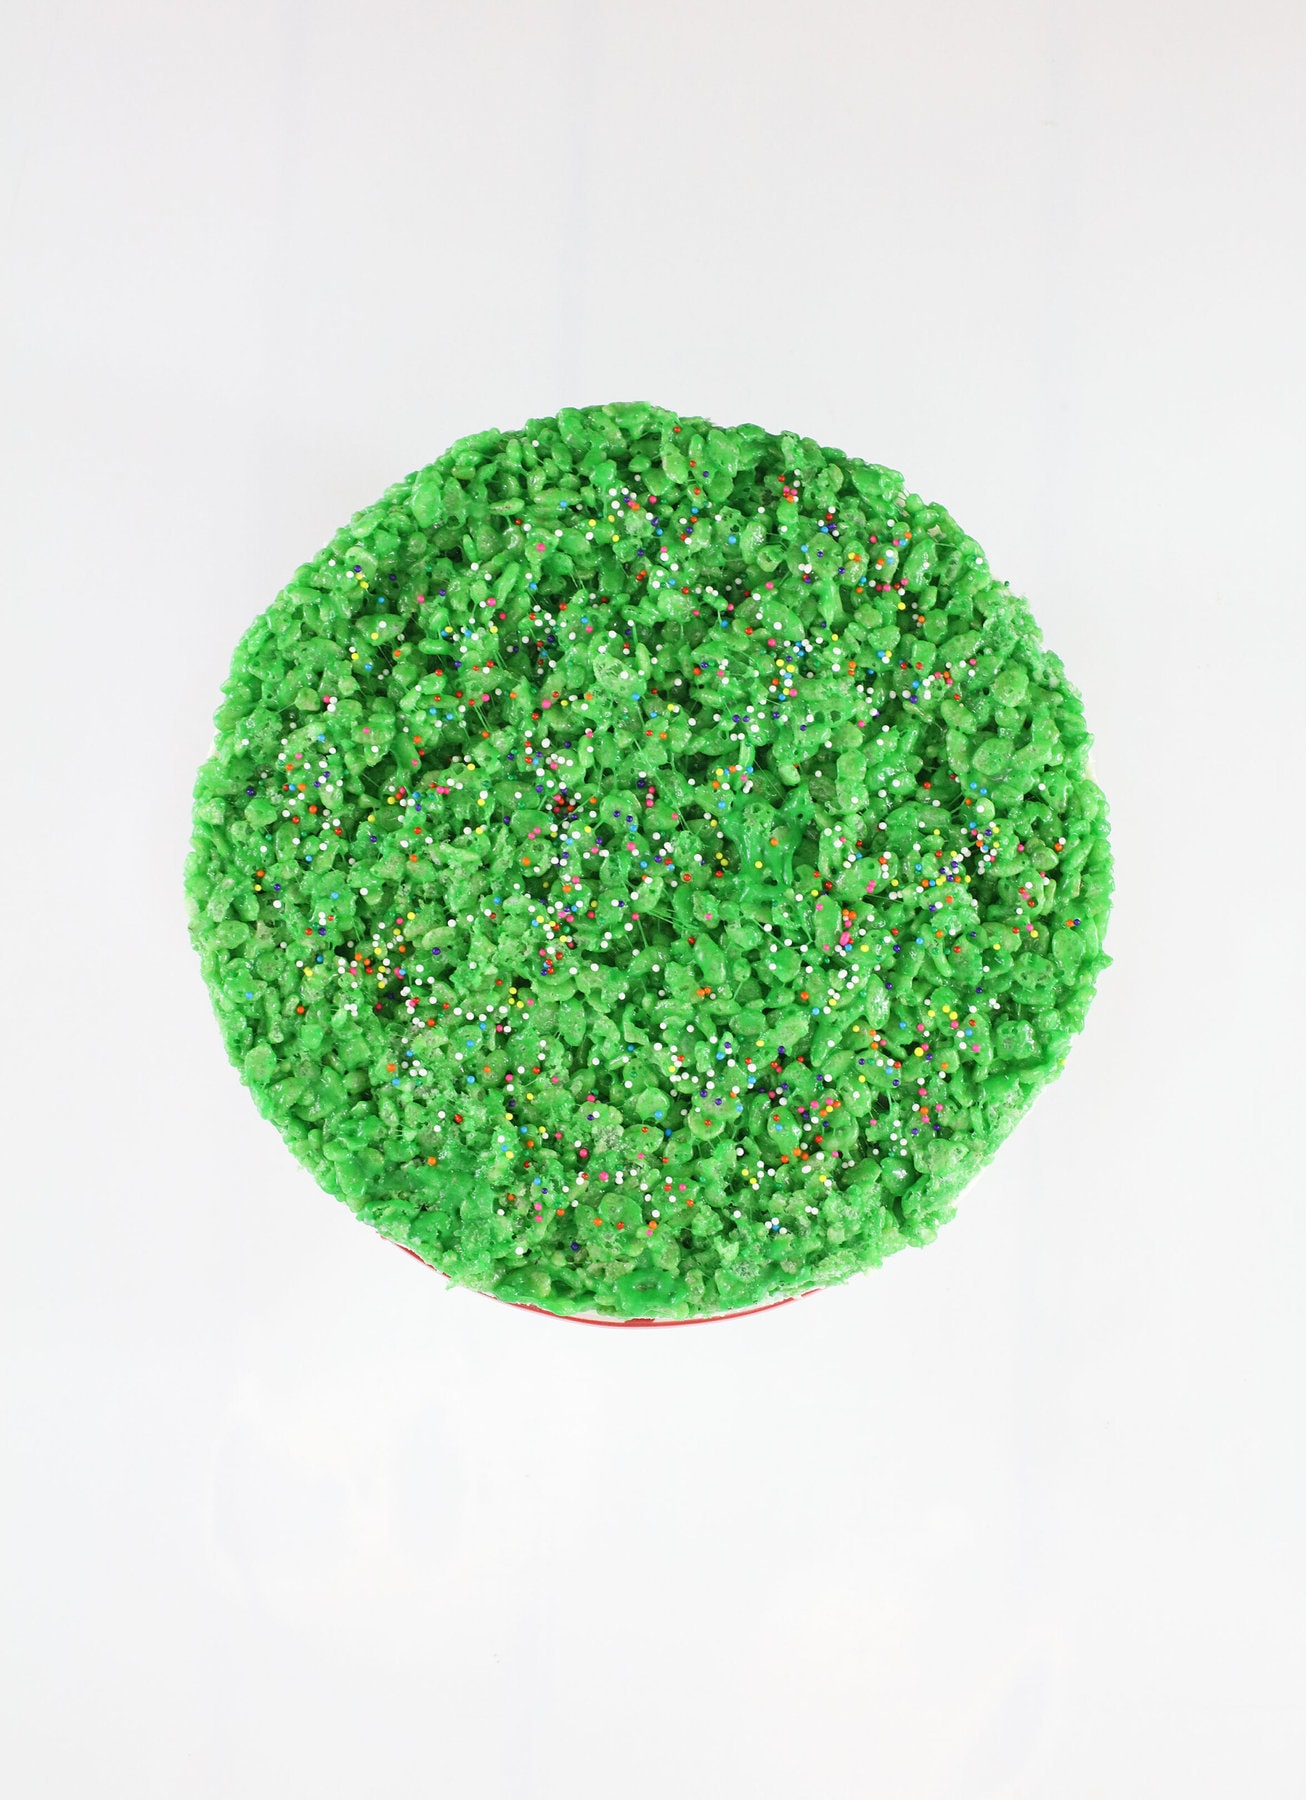
- Sprinkle generously with the Nonpareils. Place the pan back in the freezer, and leave overnight for best results.
- Before serving, remove the cheesecake from the Freezer, about 15 minutes before cutting. Remove the Spring form from the pan, and use a large sharp knife; run the knife under hot water, and dry.
- Cut the Cheesecake into 2 – 3 inch pieces with a warm knife, and place pieces on dessert plates. Serve, and Enjoy!
Last Step:
Please leave a rating and comment letting us know how you liked this recipe! This helps our business to thrive and continue providing free, high-quality recipes for you.Equipment
- 7-inch Spring-form pan
Nutrition


Leave a Review!
We LOVE hearing from you! Submit your question or comment here.
Your email address will not be published.