Your kids are going to have a blast making these Whipped Cream Dyed Eggs for Easter! They turn out so colorful and my boys had so much fun making them.

Whipped Cream Dyed Eggs
We have spotted this idea using shaving cream, but think using whipped cream seems a bit safer to use on something edible.
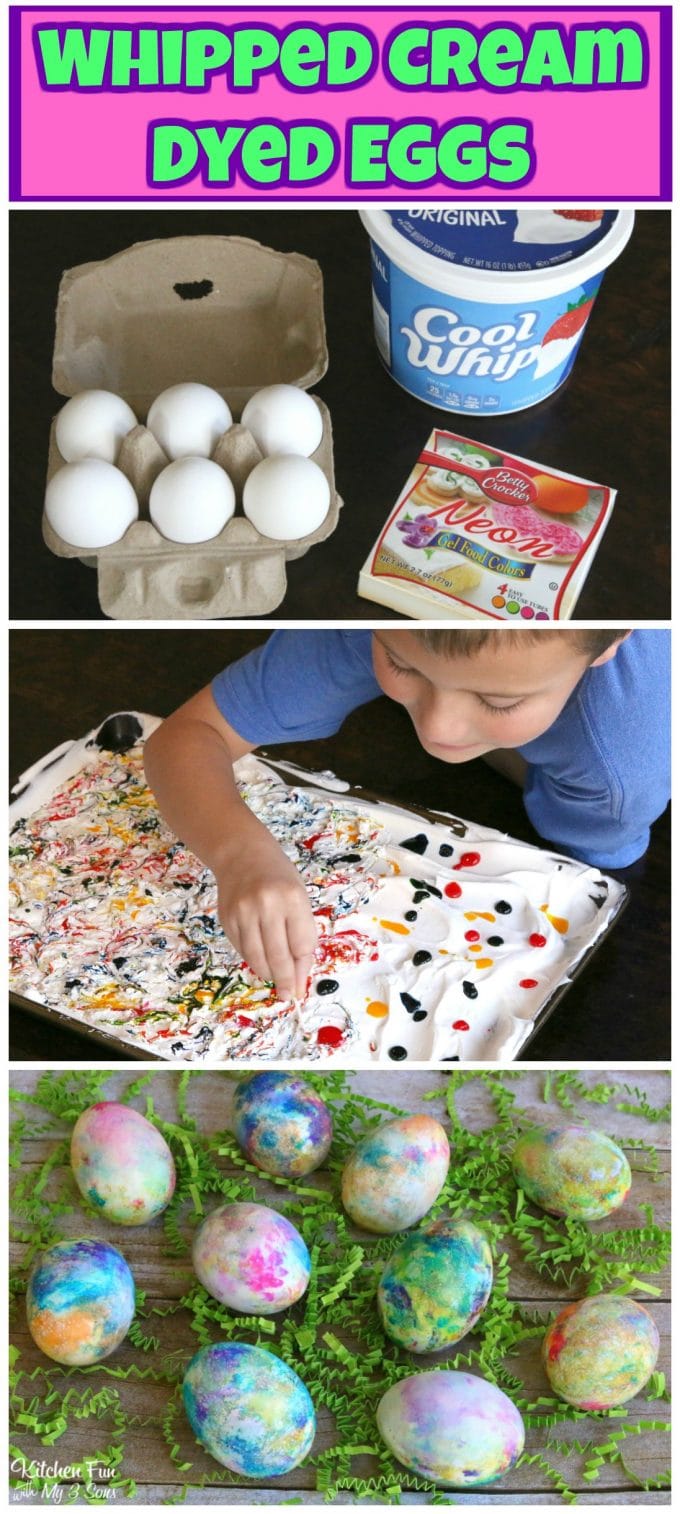
Ingredients You Need
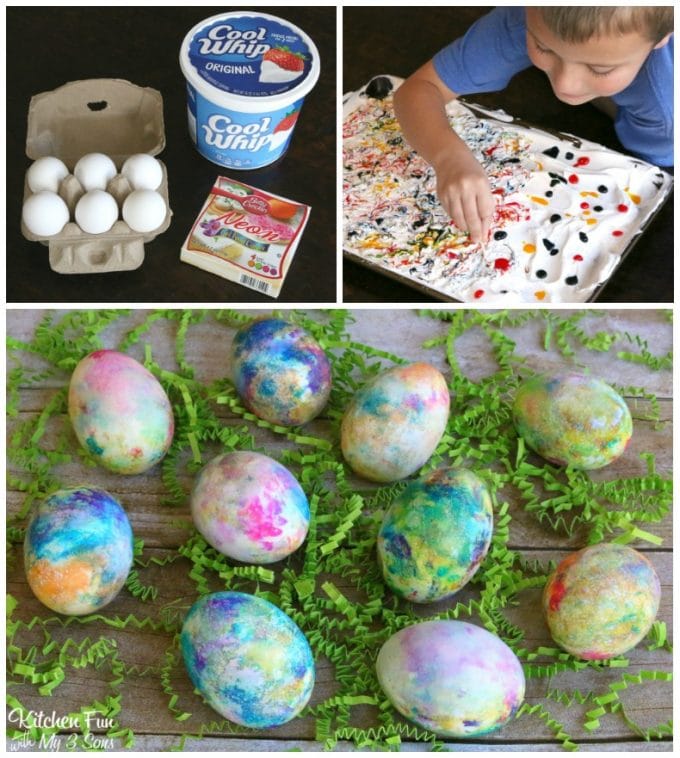
This is super easy and the result is super cool. Here is everything you’ll need for this fun Easter craft.
- Hard Boiled Eggs
- Whipped Cream
- Neon Gel Food Coloring – or any food coloring choices you’d like to try!
- Vinegar
- Toothpicks
- Disposable Gloves – this is important if you don’t want a giant mess on your hands.
How To Make Whipped Cream Dyed Eggs
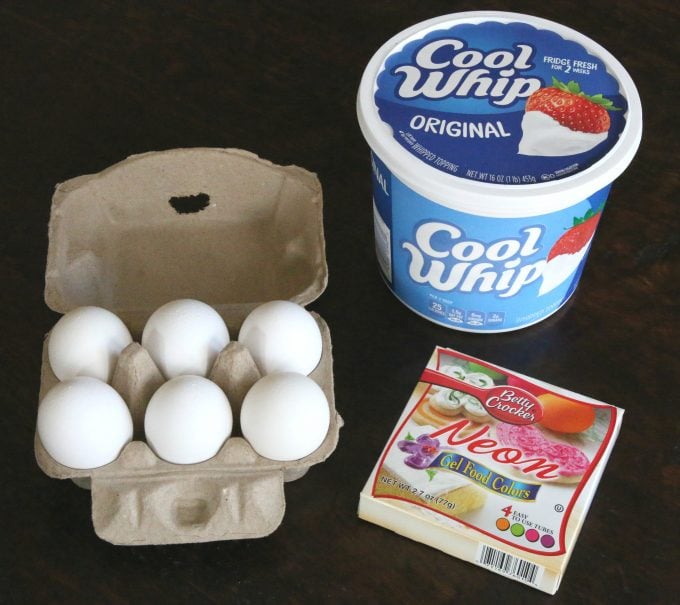
First, prep your hard boiled eggs. Place your eggs in a large pot and fill it with water to cover the eggs. Add a couple of teaspoons of salt to the water. Bring it to a boil. Turn the heat off once it starts to boil and place a lid on top. Let them sit for 5 minutes. Drain and add the eggs to ice cold water to cool. This method is great for easy peeling.
Did you know you can cook hard boiled eggs in the oven?? Here is how to do it.
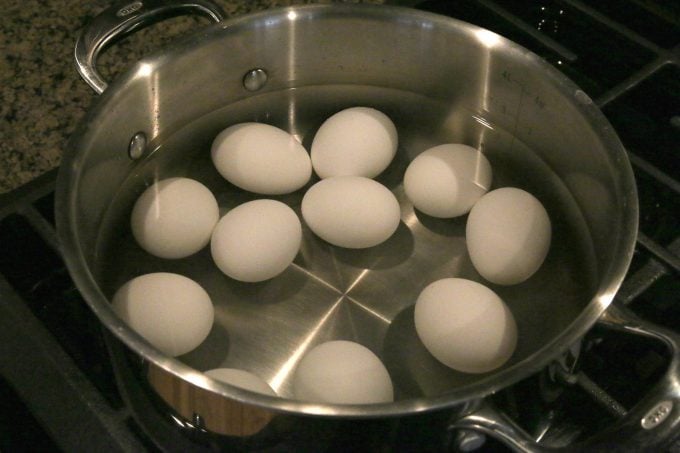
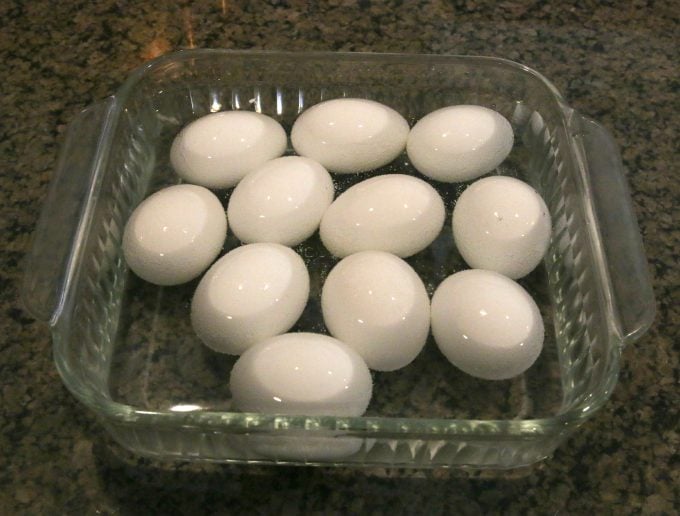
To make it easier to peel later (if you plan to eat them) soak the eggs in vinegar for about 10 minutes.
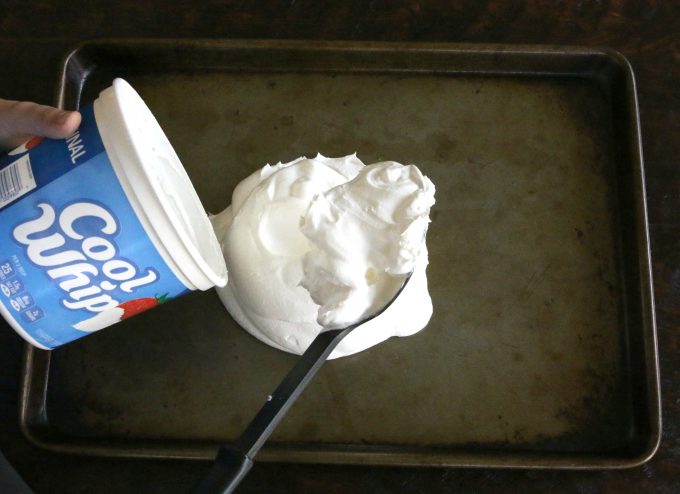
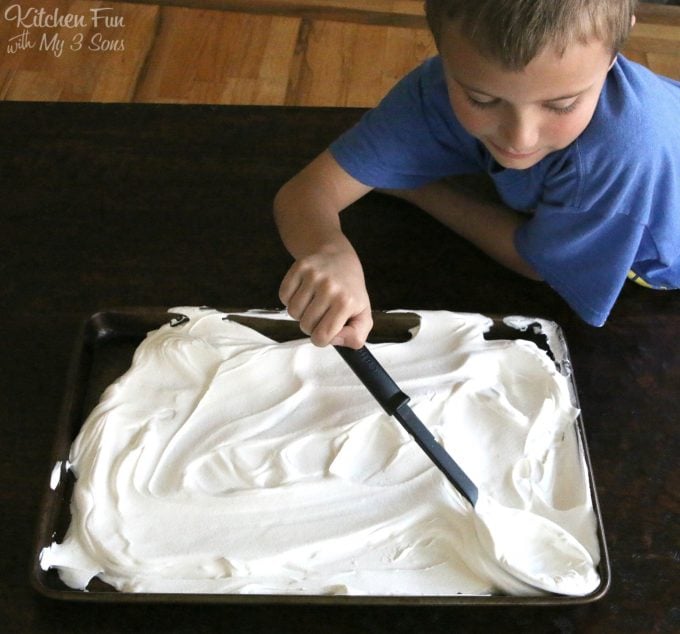
Next, add your whipped cream to a cookie sheet and spread the cream to cover the entire pan.
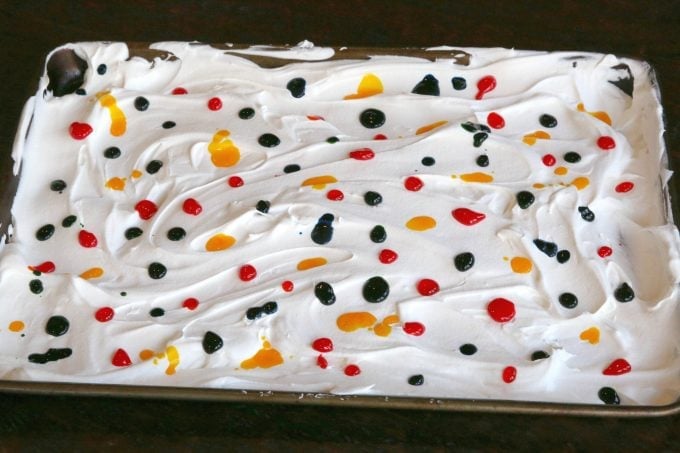
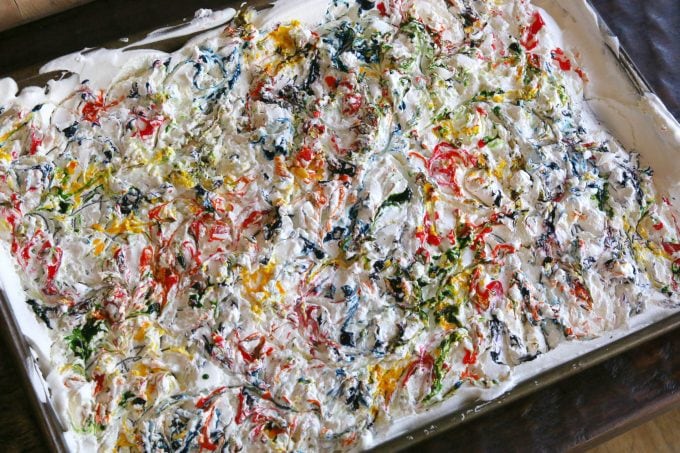
Put drops of food coloring that is mixed with vinegar over the whipped cream and then swirl it around with a toothpick.
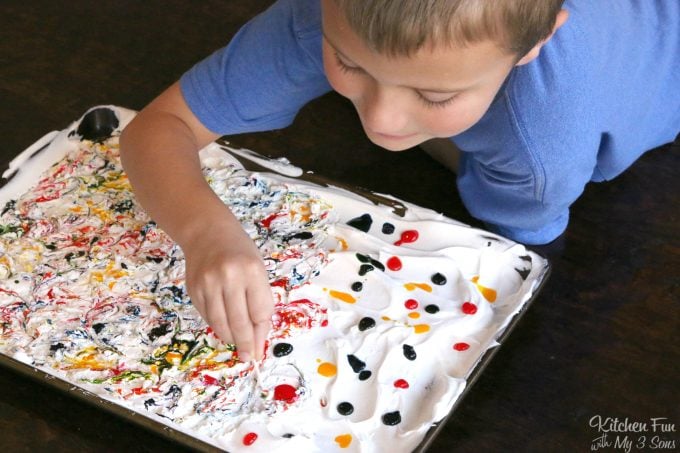
When it’s all swirled together, it will look something like this.
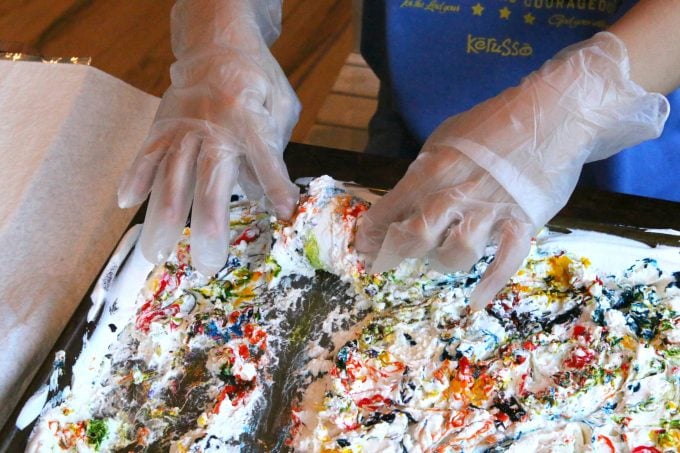
Dry off your eggs the eggs and grab some plastic gloves. Roll the eggs around in the whipped cream until you are happy with the results and the egg is totally covered.
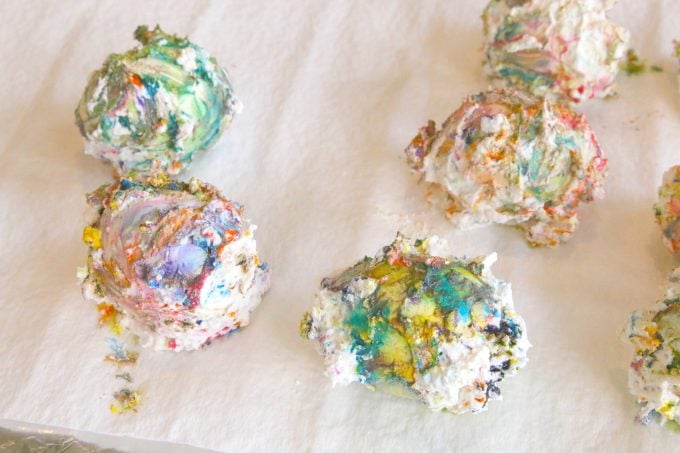
Once you’re done, let the eggs sit for about half an hour, then wash them off with water and dry them off. The whipped cream will come off but the fun color pattern stays!
Check them out… aren’t they so cool!!
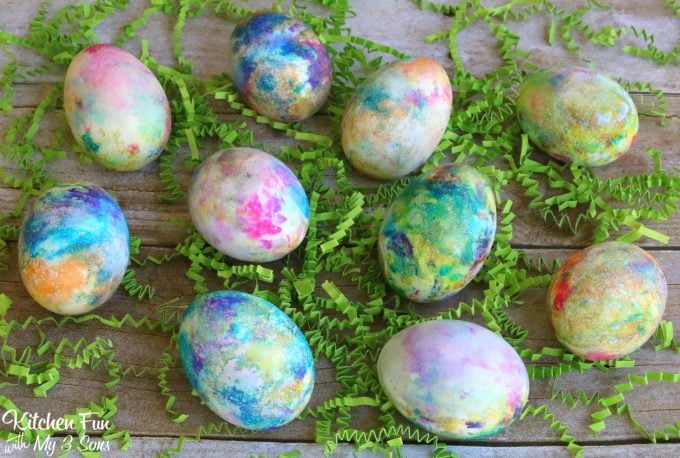
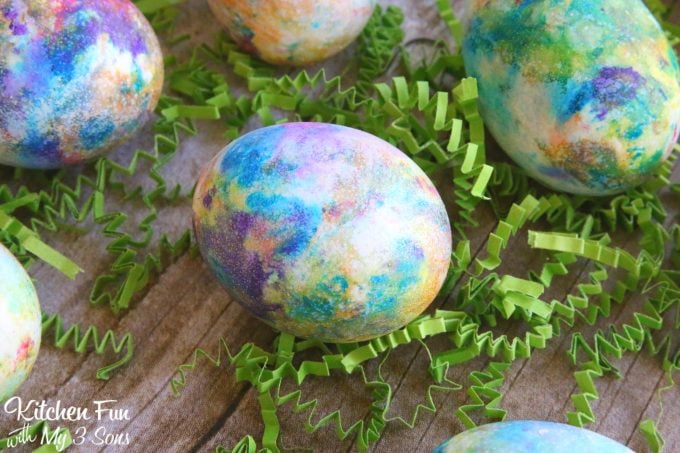
You could always get creative and make stripes, change colors, etc. Try different colors, and patterns. You can’t mess these up, just have some fun with it and let the kids go wild.
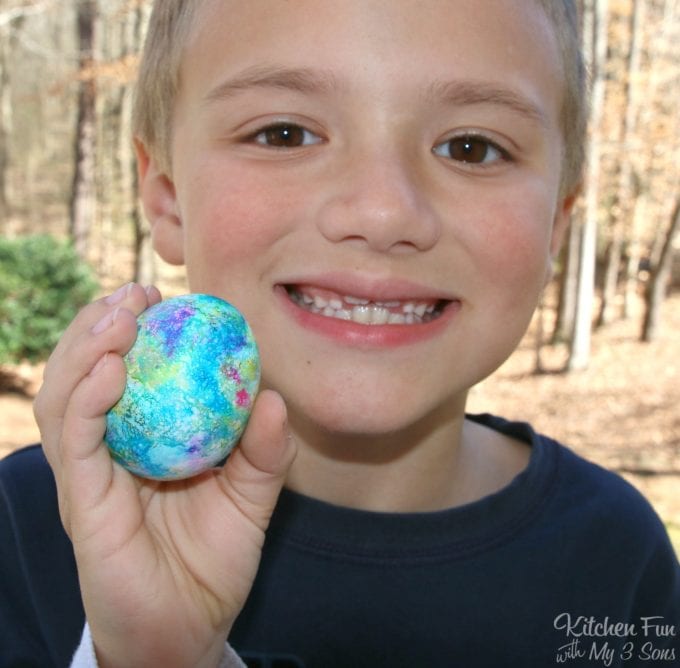
My 6 year old LOVED doing this and we hope you have fun with your kids as well!

Whipped Cream Dyed Easter Eggs
Ingredients
- Hard Boiled Eggs
- 1 container Whipped Cream
- Neon Gel Food Coloring
- Vinegar
- Toothpicks
- Disposable Gloves
Instructions
- Hard boil your eggs and let them sit to cool.
- Soak the eggs in vinegar for about 10 minutes
- Add a thick layer of whipped cream to a cookie sheet, spreading the cream to cover the entire pan.
- In a small bowl, mix 2 Tablespoons of vinegar with each color of the gel food coloring.
- Add dots of the food coloring on the top of the whipped cream, leaving an inch in between each color.
- Use a toothpick to swirl the colors together.
- Dry off the eggs that were soaking in the vinegar, then roll them in the whipped cream.
- Let them sit for 30 minutes, covered in the whipped cream, then wash them off with water.
- Dry with a paper towel.
Categories:





Leave a Review!
We LOVE hearing from you! Submit your question or comment here.
Your email address will not be published.
3 comments on “Whipped Cream Dyed Eggs – for Easter (Video)”
Love this going to try it
I seem so stupid do you put the whole egg or do you crack the eggs and hen roll tem in the whip creme .I’m dying to try this. It’s been a long time since I made them I’m 81 now I have great grandchildren to do this with. Thank you barbaragrizzy1111@gmail.com
Roll the whole egg. There is a video included at the bottom of the post to show everything. Hope you have fun doing this with your grandkids!