
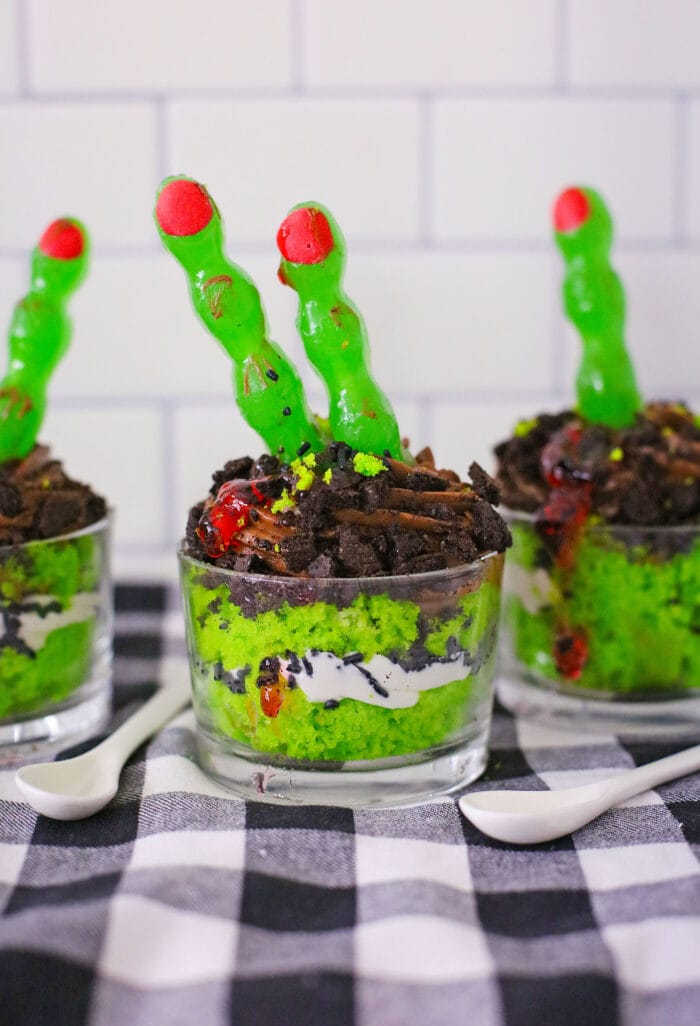
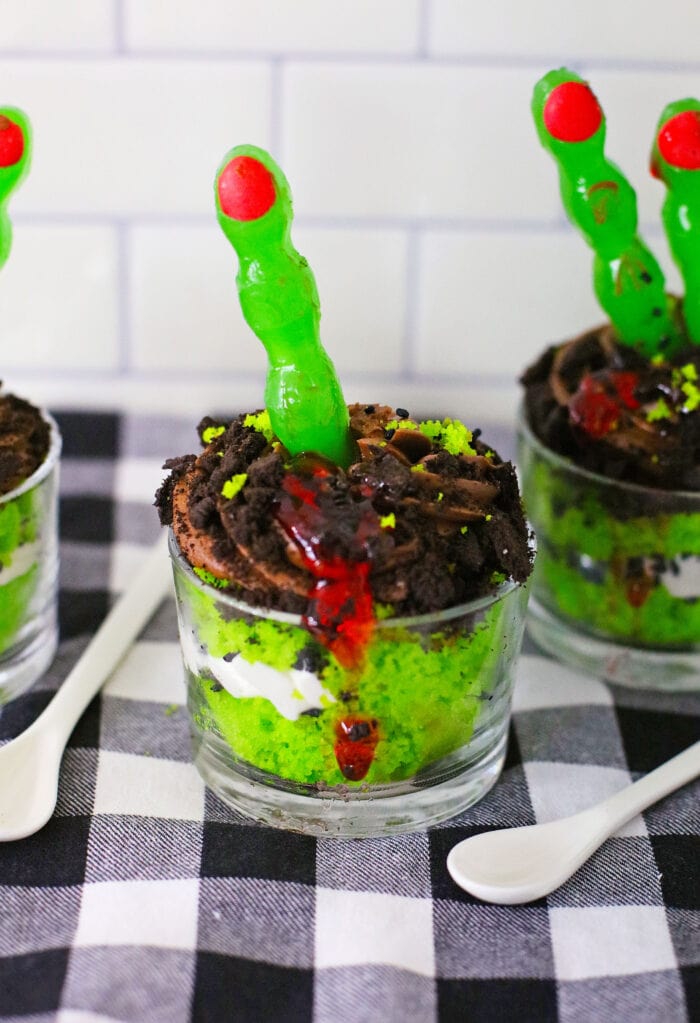
Welcome to Zombie Cake Cups, the brain-eating deliciousness that your sweet tooth has been craving! Bright green cake is mixed with layers of frosting and cookies, presented in a parfait style that is sure to please. The best part? Our Zombie Cake Cups are perfect for sharing… or hoarding all to yourself!
Zombie Cake Cups
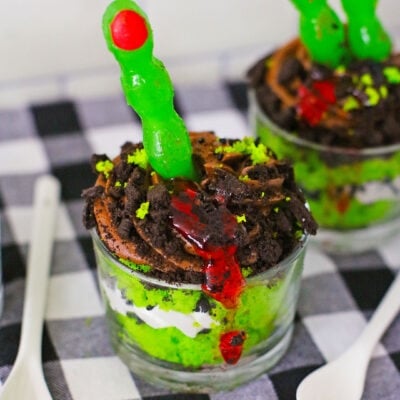
These Zombie Cake Cups are the perfect treat for your next party! Who doesn’t love zombies and cake? These cups have both in spades! They’re bright green, layered with frosting and cookies, and look amazing when served up in a parfait style. Imagine how impressed your guests will be when they see these zombie-themed treats at your next Halloween party! Not only do they taste great, but they also look amazing. You can’t go wrong with these delicious zombie cake cups.
Key Ingredients
- Milk-You can use whatever kind of milk that you like, whole, 2% or even almond.
- Flour- All purpose flour is best but self rising flour can be used if you replace the baking powder.
- Neon Lime Green Food Coloring Gel- This is what gives the cake that creepy color.
- Oreo Cookies -The cookies will be crumbled to create the topping
- Frosting- Premade vanilla and chocolate frosting is piped into the cups as part of the layers. I am using Pillsbury Brand because in the pastry bag and has a tip. This way you can just open and use.
- Zombie Finger Suckers – This is going to be what you need to have the zombie fingers crawling out of the cakes.
How to Make Zombie Cake Cups
Cream the butter, sugar, eggs, vanilla and milk. In another bowl, combine the dry ingredients. Slowly add the dry ingredients to the wet ingredients and beat until creamy. Add the green coloring.

Place the cake batter into a 9 inch cake pan and bake. Once done, remove the cake and cool on a wire rack.
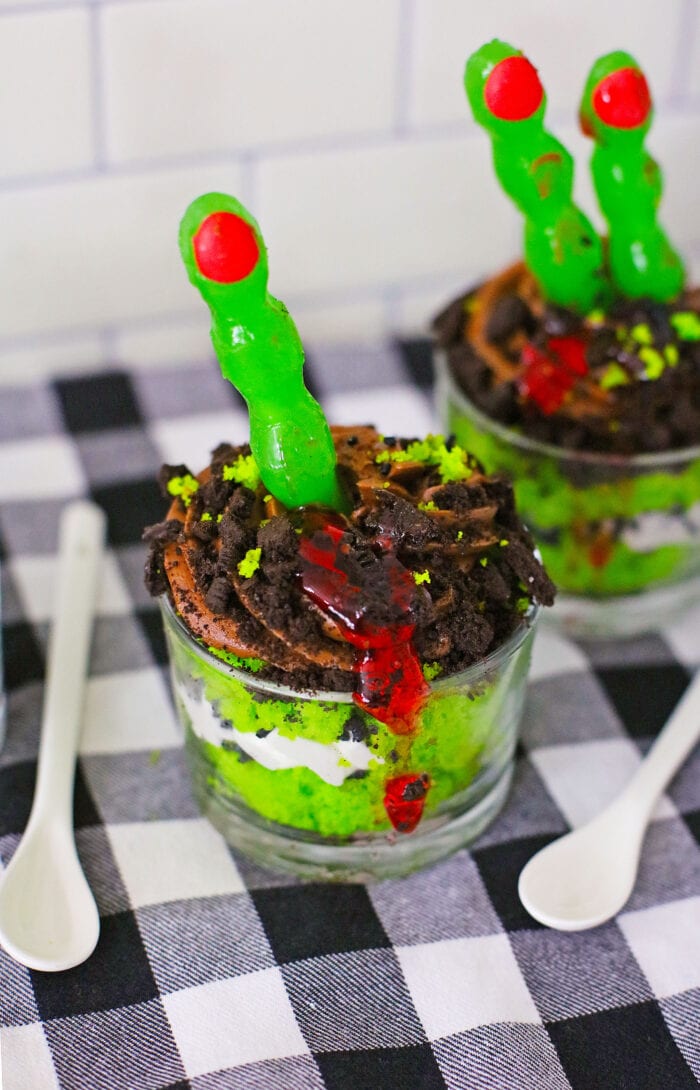
When the cake is cooled, crumble it into the bottom of the dishes. Add a layer of vanilla frosting and chocolate sprinkles. Make another layer of cake and add chocolate frosting. Add cookies. And then place the zombie finger into the cake.
How to Store
These zombie cakes can be stored at room temperature. Because the frosting is a shelf stable buttercream style frosting, it will last for up to 3 days at room temperature. Make sure to cover them so that the frosting stays fresh, the cake doesn’t get stale and nothing gets on the cakes.
Can I Make it A Different Flavor
This is a vanilla cake that comes out white, so that you can add the bright green color to make zombie cakes. If you want to make this cake has a different flavor, you will want to flavor it with extracts or flavor oils. There are all kinds of extracts and flavor oils that you can use to change the flavor of the cake.
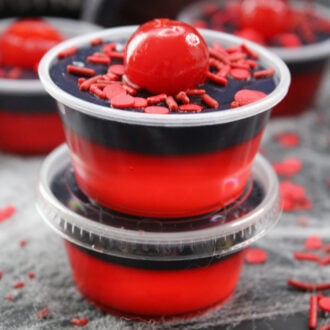
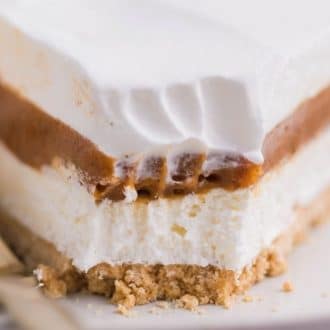
More Halloween Treats
Zombie Cake Cups
Ingredients
FOR THE CAKE:
TO LAYER:
- 1 package Oreo Cookies – about 16 cookies crushed or crumbled
- 1 pacakge Vanilla Frosting already prepared in the Piping bag – Pillsbury Brand
- 1 package Chocolate Frosting already prepared in the Piping bag – Pillsbury Brand
- 1 package Chocolate Sprinkles/Jimmies
- 1 package Zombie Finger Suckers
Instructions
- In the mixing bowl of a stand mixer, place the Butter, Sugar, Eggs, Vanilla, and Milk, and blend until creamy.
- In a separate bowl, add the Flour, Baking Powder, and salt, and stir well to mix. Add the to the mixing bowl, and mix on low speed until blended.
- Scrape down the bowl, and mix on high until smooth and creamy. Add the Lime Green Food Coloring Gel a few drops at a time (start with 3) until you get the bright green color you desire. Mix well.
- Grease and flour an 8 X 8 dish, or a 9 inch Cake Pan, and pour Cake Batter into the pan. Bake at 350 for 20 to 25 minutes, or until a toothpick inserted in the center comes out clean. Remove Cake to a wire rack to cool completely.
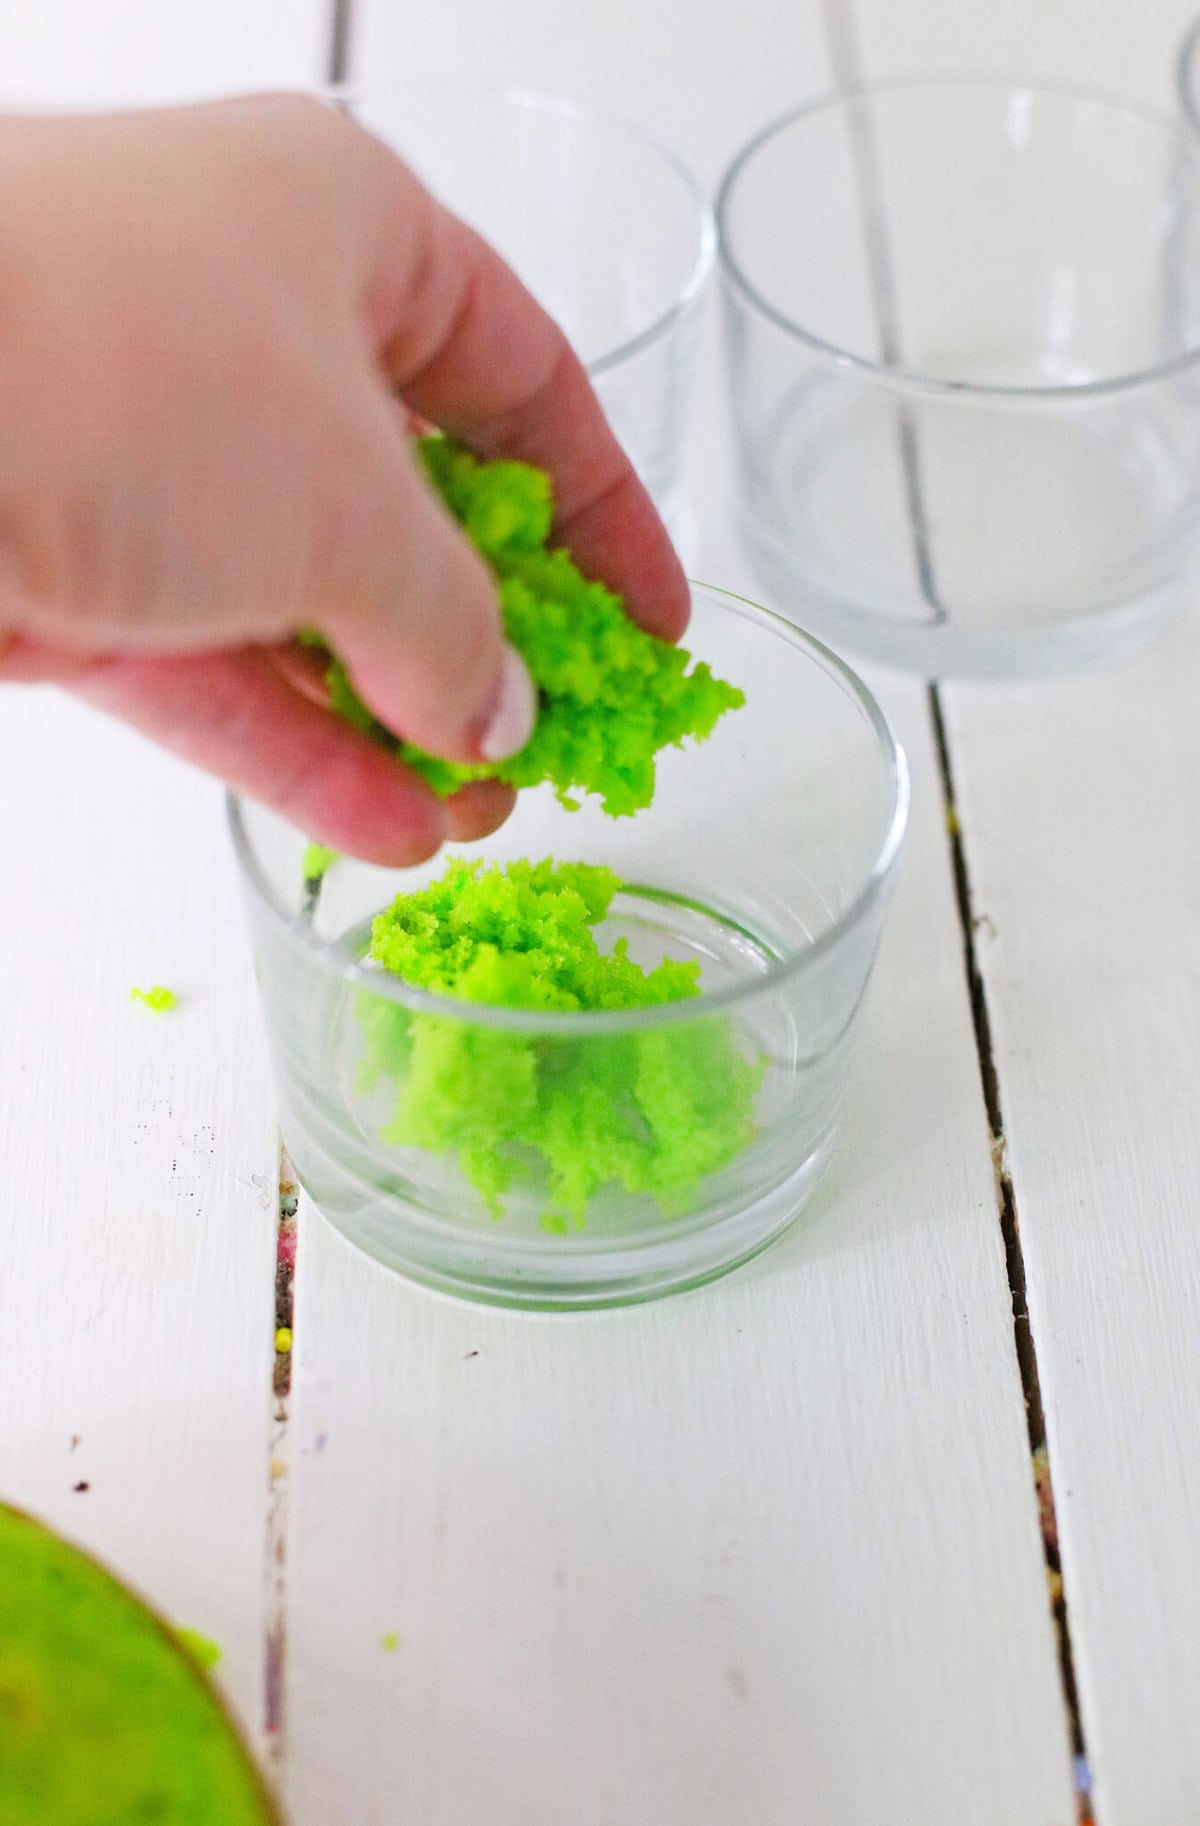
- When Cake is completely cool, crumble the cake into the bottom of the individual dishes, filling the bottom.
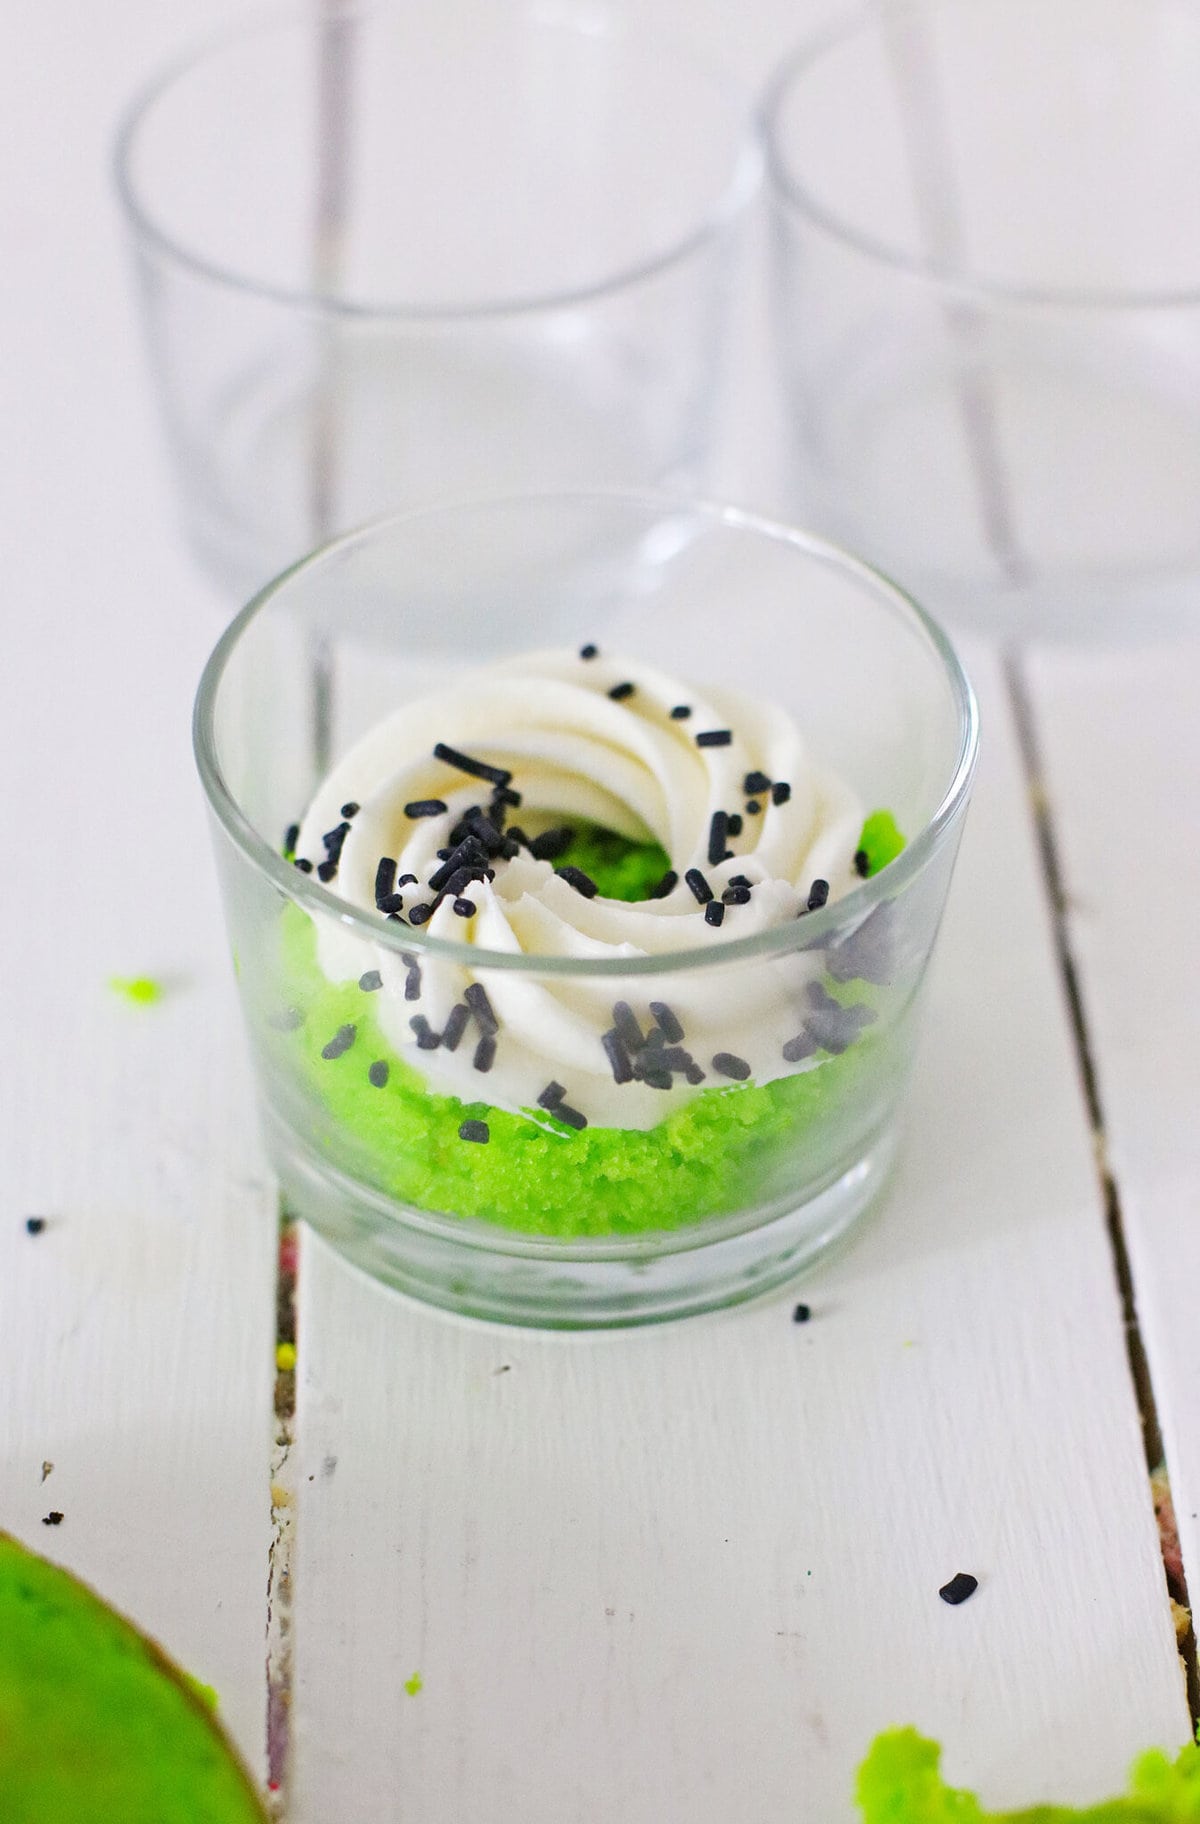
- Swirl on the Vanilla Frosting (See photo) and sprinkle with the Chocolate Sprinkles. Add another layer of the Cake, then swirl on the Chocolate Frosting, sprinkle on more Chocolate Sprinkles, and then add a generous layer of Crumbled Oreo Cookies.
- Place two (2) of the Zombie Finger Suckers down in the top of the Cakes, leaving the top part sticking up – see photo. Serve, and Enjoy!
Last Step:
Please leave a rating and comment letting us know how you liked this recipe! This helps our business to thrive and continue providing free, high-quality recipes for you.Equipment
- 10 small glass dishes
Notes
Nutrition


Leave a Review!
We LOVE hearing from you! Submit your question or comment here.
Your email address will not be published.