
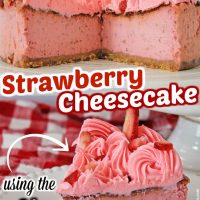
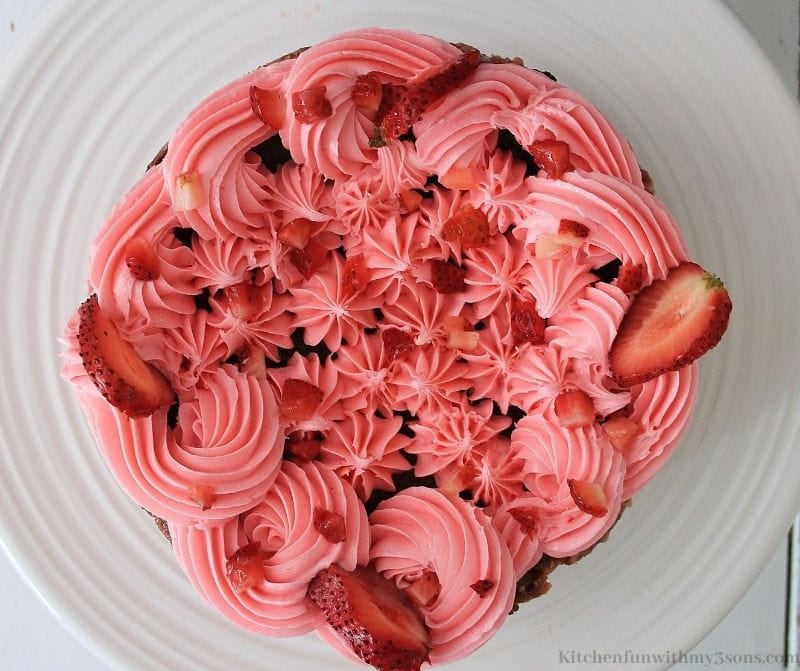
Calling everyone who enjoys the sweet taste of strawberries! This amazing Strawberry Air Fryer Cheesecake will be such a delight to share with your friends and family. The sweet and creamy flavor will be a great addition to your after-meal dessert.
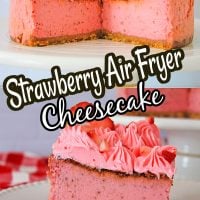
Strawberry Air Fryer Cheesecake
Have you jumped on the air fryer bandwagon yet? We LOVE using ours and have made so delicious Air Fryer recipes. Some of our favorites are Air Fryer Pickles, Parmesan Chicken, Air Fryer Donuts and Air Fryer Apple Fries.
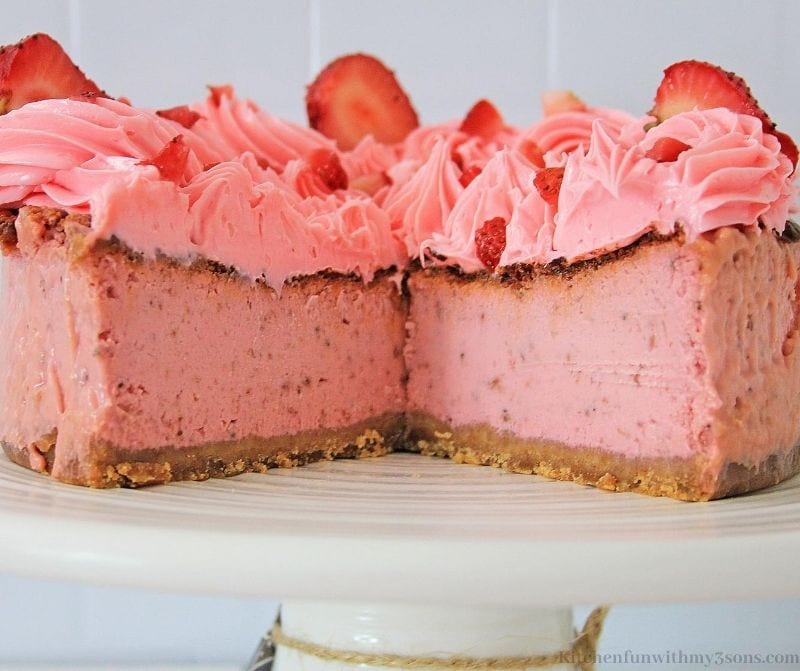
This Strawberry Air Fryer Cheesecake recipe is very easy to follow. This incredible mix of cheesecake and strawberry is a wonderful flavor for your taste buds. The cheesecake is yummy by itself but adds even more with the incredible strawberry frosting and even more fresh berries on top. This is a great addition to your recipe collection and will for sure become an incredible dessert that your family and you fall in love with.
If you don’t already have an Air Fryer, you should definitely consider purchasing one. You can find the highest rated Air Fryers HERE.
Ingredients
- Graham crackers – Make your own crumbs or buy them premade.
- Butter- Best to use unsalted butter to control the amount of salt in your dessert.
- Cream Cheese – Be sure to use softened or room temperature cream cheese.
- Heavy cream- This will whip better and hold better then regular whipping cream.
- Vanilla Instant pudding- This thickens the cheesecake.
- Vanilla extract- Always best for flavoring to use pure vanilla.
- Lemon juice- The lemon juice adds acidity and cuts through the richness.
- Eggs- use room temperature eggs
- Strawberry- This is used to make strawberry puree.
- Sugar- All good cheesecake needs sugar.
- Bright pink food coloring gel- Its best to make sure you buy the gel rather than regular food dye.
- Strawberry Frosting- This will be for topping off the finished cheesecake.
- Crisco Shortening- For the pan, and for parchment paper
How to Make a Strawberry Air Fryer Cheesecake
Step 1:
Put the graham wafers in a blender, or food processor, and mix into crumbs. Place the graham saltine in a bowl, and include the sugar, and mix well. Add the softened spread, and mix well to cover pieces in butter. Line the base of a 6 inch cake container with parchment paper, and press the scraps equitably into the base of the pan. Place the dish in the cooler. Wash the Strawberries, and dry on paper towels. Remove the stems of around 25 huge berries, and spot them in a blender or food processor. Add the 2 Tablespoons of sugar, and mix, or cycle the berries, until they are pureed. Set aside.
Step 2:
In a stand blender, place the cream cheese, sugar, and overwhelming cream, and mix until smooth. Include the vanilla extract, lemon squeeze, and eggs, and blend until well blended. Scrape down the sides of the bowl, and blend until smooth and velvety. Include the Instant pudding, and blend until mixed into the cheesecake batter. Add the pureed Strawberries, and mix until the berries are blended well in with the cheesecake; layer will be light pink. Add 3 or 4 drops of the brilliant pink food shading gel, and mix until very much blended, and all food shading gel is fused into the cheesecake. (If you think it needs somewhat more food shading gel, include a couple more drops until you accomplish wanted shading).
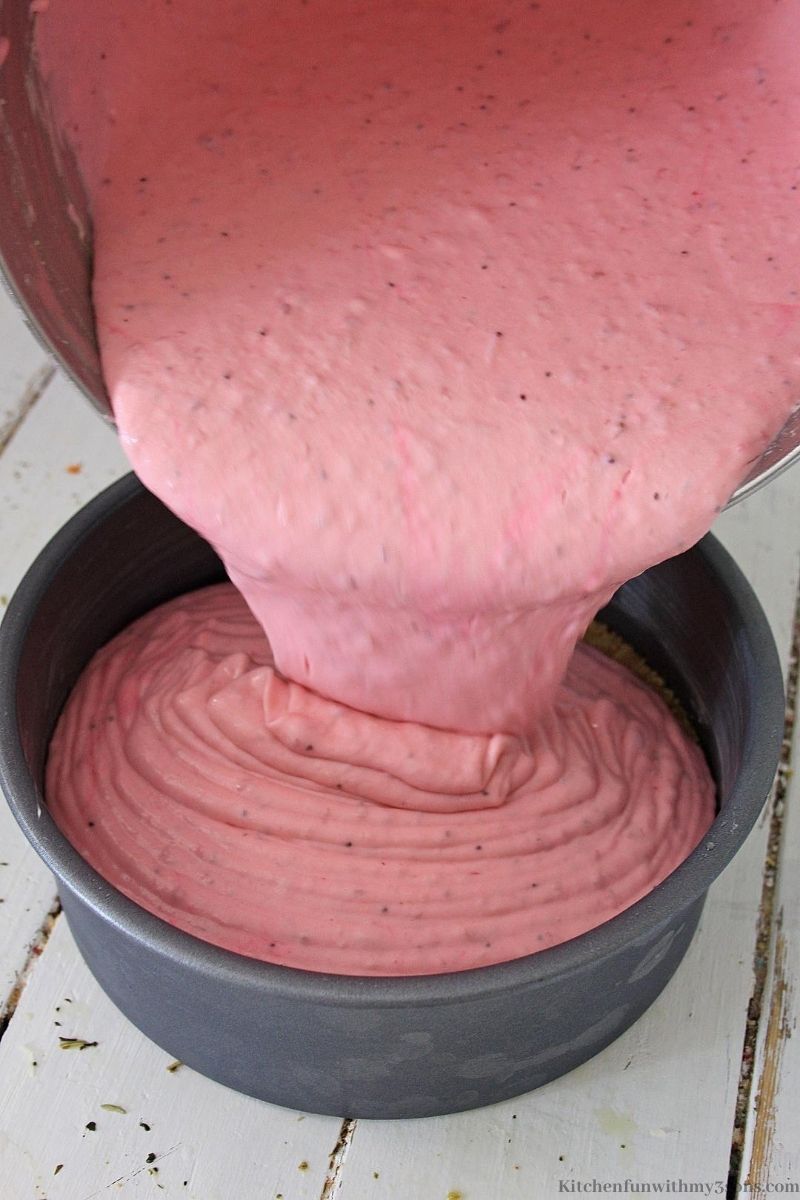
Step 3:
Take out the skillet from the cooler, and brush the container with Crisco shortening, from over the outside layer to the head of the dish, at that point empty the cheesecake into the dish, on head of the crust. Place in the Air Fryer, and turn the Air Fryer to the ‘Prepare’ setting. Turn the temperature to 325, and set the ideal opportunity for 20 minutes. When the 20 minutes is up, and the Air Fryer blares, delicately haul the bin of the fryer out, and, brush Crisco on a bit of Parchment paper, and spot over the head of the skillet, and spot a bit of foil over the material paper. You don’t need to seal the material or foil around the skillet, this is simply to keep the top from burning. Place the container back in the Air Fryer, and set the ideal opportunity for 20 minutes.
Step 4:
At the point when the air fryer signals, and goes to off, take the container out, and check the cheesecake, being mindful so as to eliminate the foil, and material paper. On the off chance that the Parchment paper sticks to the cheesecake, don’t worry as you’re going to add icing to the top when it’s cool. The cheesecake will most likely be extremely wiggly in the center, So be sure to place the material and foil back over the dish, and spot it back noticeable all around fryer, and set the ideal opportunity for another 20 minutes.
Step 5:
Remove the cheesecake toward the finish of the 20 minutes, and check it again to check whether it’s still wiggly in the middle; in the event that it is, set it for 10 additional minutes, and wrap up the cheesecake. At the finish of the 10 minutes, don’t pull the container to the Air fryer, and rather, let the cheesecake cool for about an hour. At the end of the hour, remove the bin from the Air Fryer, and remove the foil and parchment. Remove the skillet from the bin, and set on a wire rack to cool completely. When the cheesecake has cooled, spread it with foil, and spot in the cooler short-term to totally set the cheesecake. simultaneously, when you put the cheesecake in the cooler, place the jar of icing in the ice chest to chill too.
Step 6:
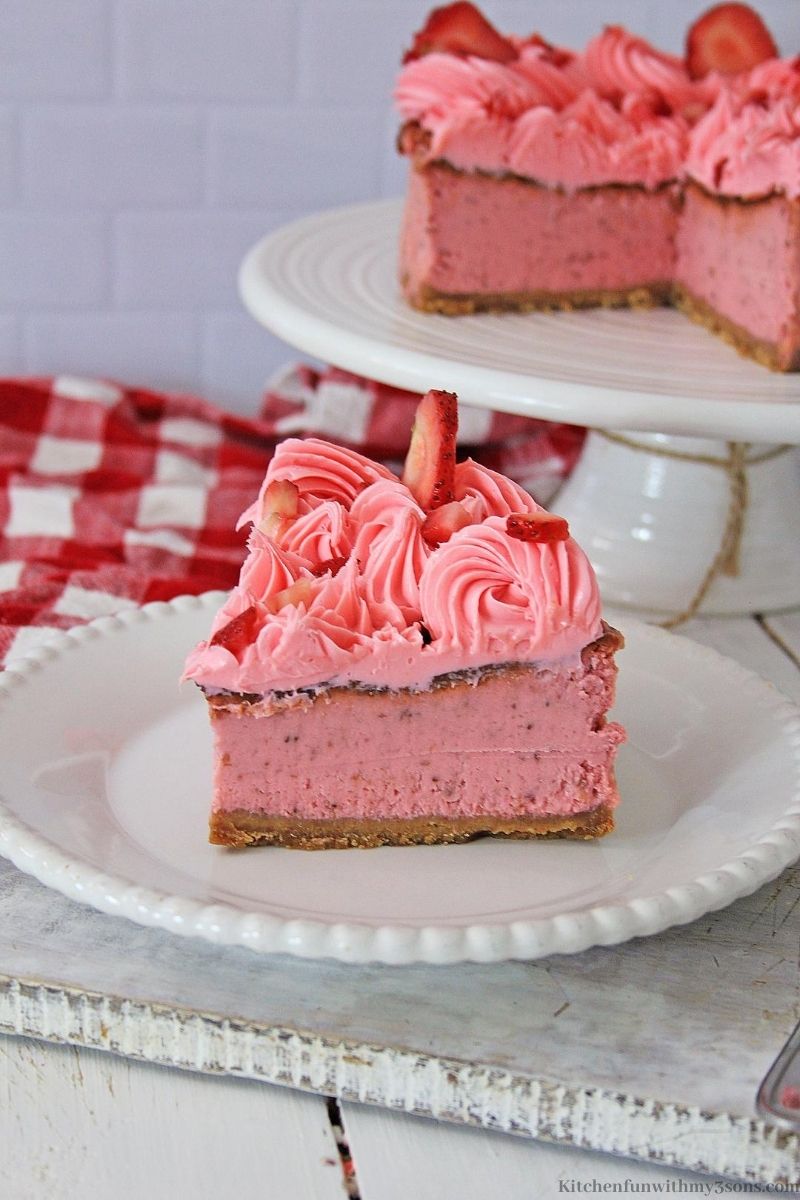
Prior to serving, Remove the Frosting from the fridge, and let represent around 10 minutes. Place the icing in a funneling pack, with a big star tip. Remove the cheesecake from the cooler, and eliminate the foil. Run a sharp blade around the container, between the dish and the cheesecake, to relax it. Turn the skillet over onto a plate, and have prepared, a cake plate, cake stand, or serving plate. Tap the base of the dish to extricate, and continue tapping the base of the skillet until the cheesecake slides out. Place the serving bit of decision on the base of the outside layer, and flip the cheesecake over onto the serving piece, i.e., cake plate, stand, etc. When the cheesecake is on the cake plate or stand, pipe the Strawberry icing onto the head of the cheesecake, in a cushioned strip, or huge bits around the edge and in the center. Place cuts of new Strawberries, and slashed bits of berries on top of the icing to design the cheesecake. Serve, and Enjoy!
What Size Cheesecake Pan Fits an Air Fryer?
You should be using a 6 inch springform pan. You can also use a 7 inch pan but the cheesecake will not be as thick.
How Long do I Cook This in the Air Fryer?
It is quite simple to figure out what time to cook your ingredients in the air fryer. The times listed in the directions are the times you should follow. The process is overall very simple and should last about 4o minutes in the air fryer and if there is still a chance that the cheesecake still jiggles, just let it sit for another 10 minutes.
More Air Fryer Recipes
- Copycat Air Fryer Chick-Fil-A Nuggets
- Air Fryer Pretzel Crusted Chicken Tenders
- Air Fryer Hush Puppies
- Air Fryer Chimichangas
Strawberry Air Fryer Cheesecake
Ingredients
HERE’S WHAT YOU NEED:
FOR THE CRUST:
- 1 sleeve of graham crackers – crushed
- 1 Tablespoon sugar
- 1/2 stick of butter melted
FOR THE FILLING:
- 3 – 8 ounce packages Cream Cheese softened
- 1 cup sugar
- 1/2 cup heavy cream Plus a little more if needed
- 4 ounces Jello Vanilla Instant pudding
- 1 teaspoon Vanilla extract
- 1/2 teaspoon lemon juice
- 2 eggs
- 1 cup fresh strawberry puree about 25 berries
- 2 Tablespoons sugar Add to the berries
TO DECORATE:
- 1 can Strawberry Frosting
- Additional berries to top
Instructions
- HERE’S WHAT YOU DO:
- Place the graham crackers in a blender, or food processor, and blend into crumbs. Place the graham cracker crumbs in a bowl, and add the sugar, and stir well. Add the melted butter, and blend well to coat crumbs in butter. Line the bottom of a 6 inch cake pan with parchment paper, and press the crumbs evenly into the bottom of the pan. Place the pan in the freezer.
- Wash the Strawberries, and dry on paper towels. Remove the stems of about 25 large berries, and place them in a blender or food processor. Add the 2 Tablespoons of sugar, and blend, or process the berries, until they are pureed. Set aside.
- In the mixing bowl of a stand mixer, place the cream cheese, sugar, and heavy cream, and blend until smooth. Add the Vanilla extract, lemon juice, and eggs, and mix until well blended. Scrape down the sides of the bowl, and mix until smooth and creamy. Add the Instant pudding, and mix until blended into the cheesecake batter. Add the pureed Strawberries, and blend until the berries are mixed well with the cheesecake; batter will be light pink. Add 3 or 4 drops of the bright pink food coloring gel, and blend until well mixed, and all food coloring gel is incorporated into the cheesecake. (If you think it needs a little more food coloring gel, add a couple more drops until you achieve desired color).
- Remove the pan from the freezer, and brush the pan with Crisco shortening, from above the crust to the top of the pan, then pour the cheesecake into the pan, on top of the crust. Place in the Air Fryer, and turn the Air Fryer to the ‘BAKE’ setting. Turn the temperature to 325, and set the time for 20 minutes. When the 20 minutes is up, and the Air Fryer beeps, gently pull the basket of the fryer out, and, brush Crisco on a piece of Parchment paper, and place over the top of the pan, and place a piece of foil over the parchment paper. You don’t have to seal the parchment or foil around the pan, this is just to prevent the top from burning. Place the basket back in the Air Fryer, and set the time for 20 minutes. When the air fryer beeps, and goes to off, pull the basket out, and check the cheesecake, being careful to remove the foil, and parchment paper. If the Parchment paper sticks to the cheesecake, don’t worry, you’re going to add frosting to the top when it’s cool. The cheesecake will probably be really wiggly in the middle, so, place the parchment and foil back over the pan, and place it back in the air fryer, and set the time for another 20 minutes. Remove the cheesecake at the end of the 20 minutes, and check it again to see if it’s still wiggly in the center; if it is, set it for 10 more minutes, and finish baking the cheesecake. At the end of the 10 minutes, don’t pull the basket to the Air fryer, and instead, let the cheesecake cool in the basket for about an hour. At the end of the hour, remove the basket from the Air Fryer, and remove the foil and parchment. Remove the pan from the basket, and set on a wire rack to cool completely. When cheesecake has cooled, cover it with foil, and place in the refrigerator overnight to completely set the cheesecake. At the same time, when you put the cheesecake in the refrigerator, place the can of frosting in the fridge to chill as well.
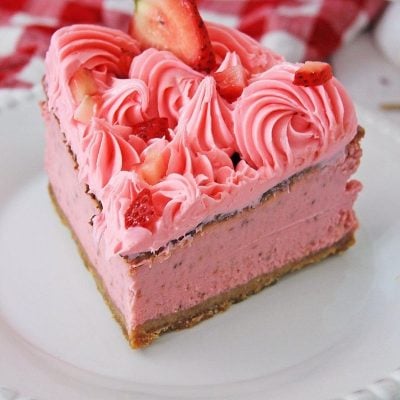
- Before serving, Remove the Frosting from the refrigerator, and let stand for about 10 minutes. Place the frosting in a piping bag, with a large star tip. Remove the cheesecake from the refrigerator, and remove the foil. Run a sharp knife around the pan, between the pan and the cheesecake, to loosen it. Turn the pan over onto a plate, and have ready, a cake plate, cake stand, or serving plate. Tap the bottom of the pan to loosen, and keep tapping the bottom of the pan until the cheesecake slides out. Place the serving piece of choice on the bottom of the crust, and flip the cheesecake over onto the serving piece, i.e., cake plate, stand, etc. When the cheesecake is on the cake plate or stand, pipe the Strawberry frosting onto the top of the cheesecake, in a fluffy ribbon, or large dollops around the edge and in the center. Place slices of fresh Strawberries, and chopped pieces of berries on top of the frosting to decorate the cheesecake. Serve, and Enjoy!
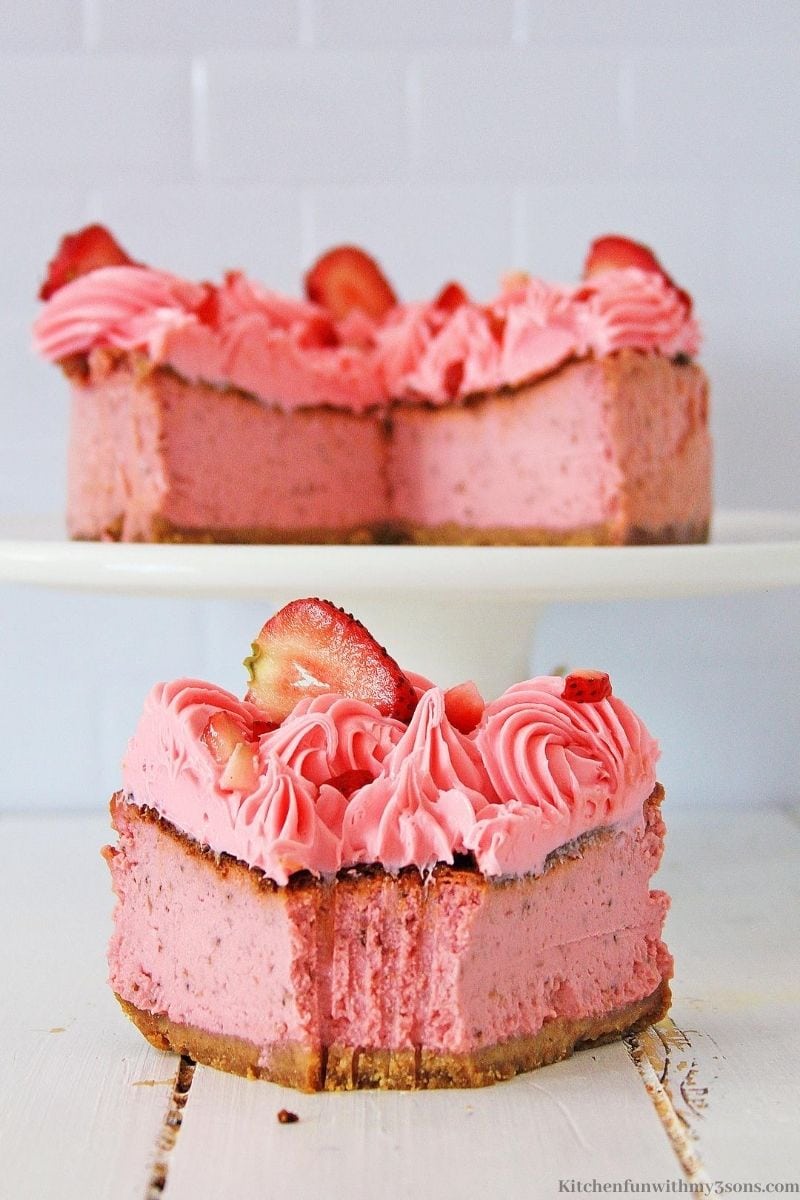
- Makes approximately 8 – 2 inch pieces of cheesecake
- NOTE: When mixing the cheesecake, after you add the Instant pudding, you may need a few more drops of heavy cream. Don’t add a lot of heavy cream, because even though the cheesecake batter may appear really thick, when the Strawberry puree is added, it will thin the batter a bit. ALSO: If you don’t have a 6″ pan, you can use a 7″ Spring-form pan to bake this – however, it won’t be quite as thick as the piece shown, but it will be close, and you’ll probably get one more piece to serve from the 7″ pan!
Last Step:
Please leave a rating and comment letting us know how you liked this recipe! This helps our business to thrive and continue providing free, high-quality recipes for you.Equipment
- Crisco Shortening – for the pan, and for parchment paper – see instructions
- Bright pink food coloring gel
Notes
Nutrition


Leave a Review!
We LOVE hearing from you! Submit your question or comment here.
Your email address will not be published.
1 thought on “Strawberry Air Fryer Cheesecake”
The recipe Instructions were a bit hard to follow, seems to be written by someone else entirely based on the use of language. After a bit of deciphering I was able to make the cheesecake and it was tasty!